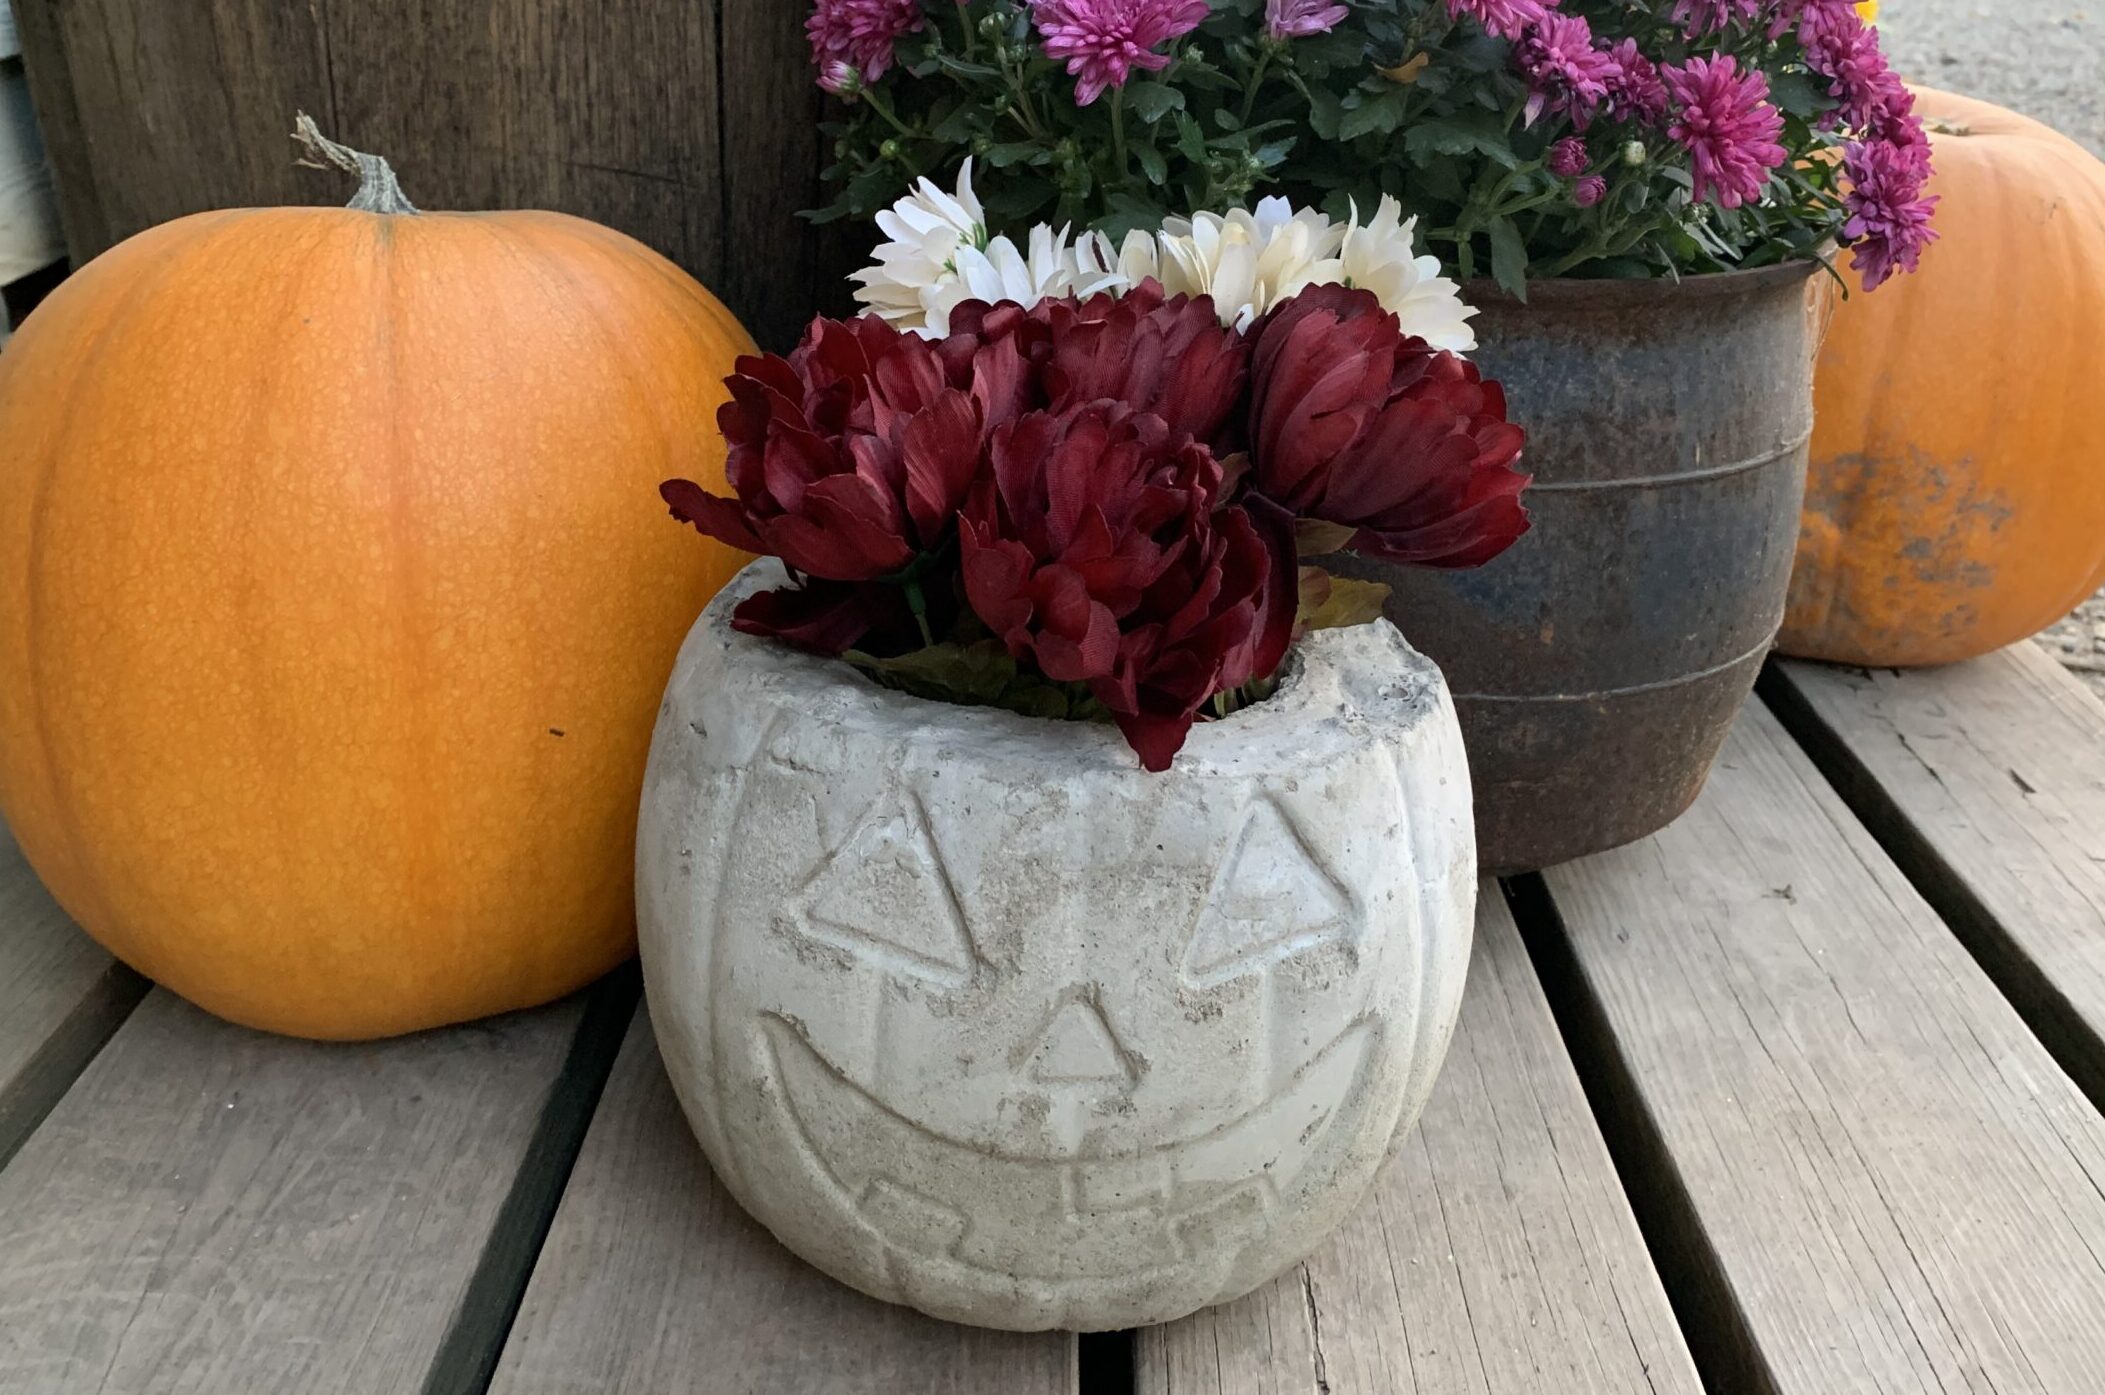
DIY Concrete Pumpkin
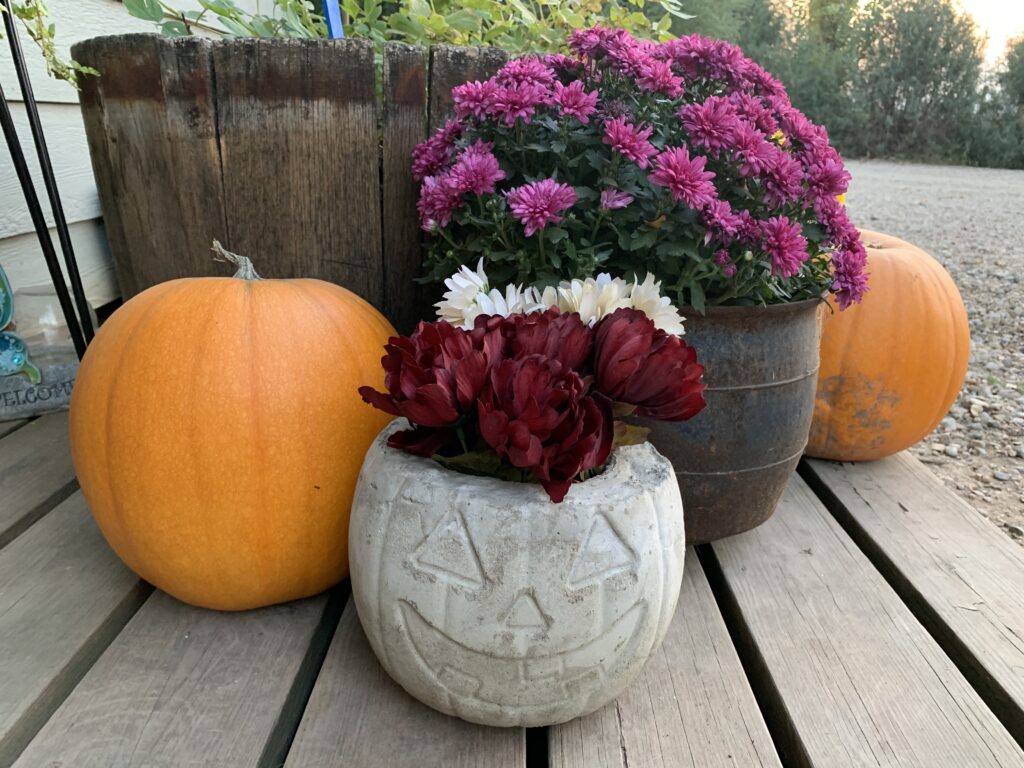
I had so much fun making this DIY concrete pumpkin! I was totally inspired by some of the amazing people I follow on Instagram! (You can follow me here)
I am always searching Pinterest for fun ideas! (follow me over there)
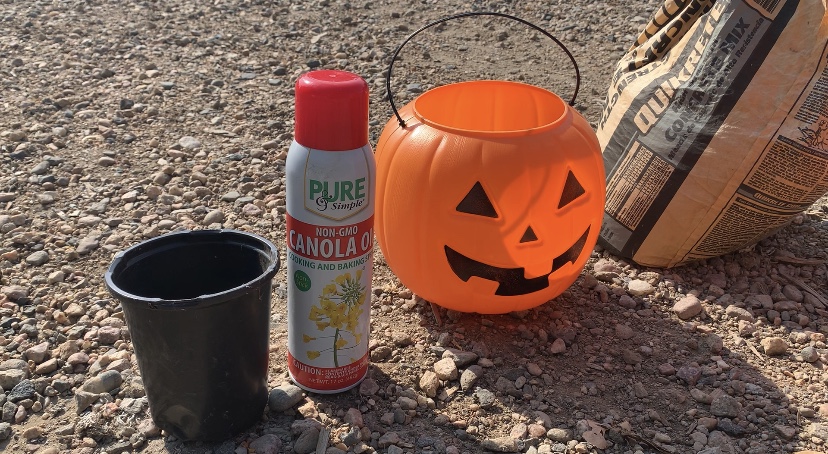
DIY Concrete Pumpkin Supplies:
Concrete – I used what I had on hand but I totally recommend this product here so you don’t have to separate the big chucks in the concrete.
Bucket – for mixing
Plastic Pumpkin – the kind we used for trick or treating
Disposable Gloves – optional
Here we go!
I mixed the concrete in a bucket (according to the directions), sprayed the inside of the plastic pumpkin GENEROUSLY with cooking spray so that the concrete could be removed easier, and put the concrete in that bucket, just above the pumpkins eyes. I then put a plastic pot (the kind you get from a nursery when you buy a tomato plant, herbs, or flower….. I also sprayed the outside of the plastic planter and put aluminum foil in the bottom of the planter since it had holes in the bottom to prevent the concrete from seeping into the pot. I then filled the plastic pot with large rocks to hold it into place. And then I let it sit for over 24 hours.
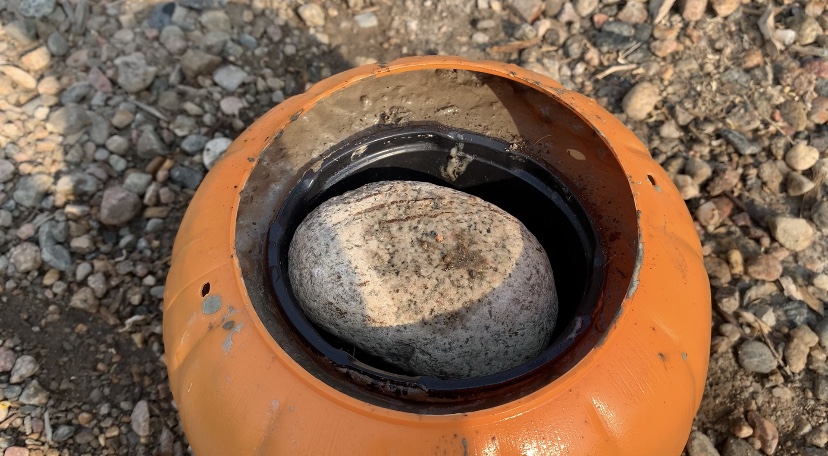
This part can be optional if you just want to do a solid pumpkin. I wanted to make it a planter or candle holder plus it uses less concrete.
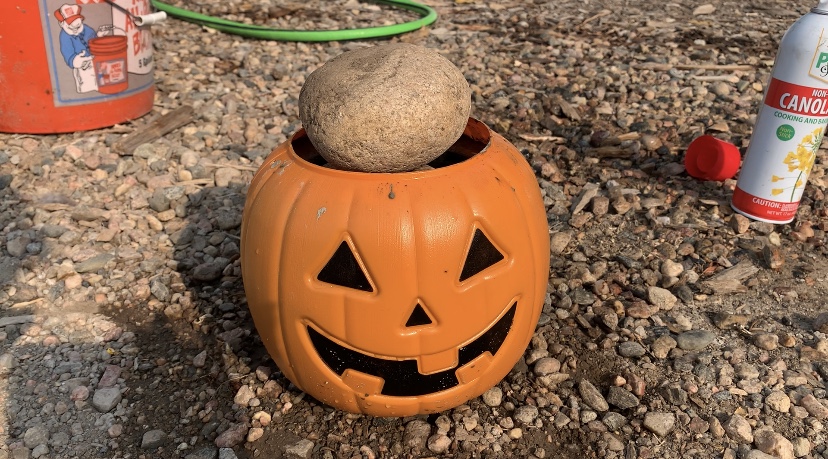
Now let it sit for at least 24 hrs!
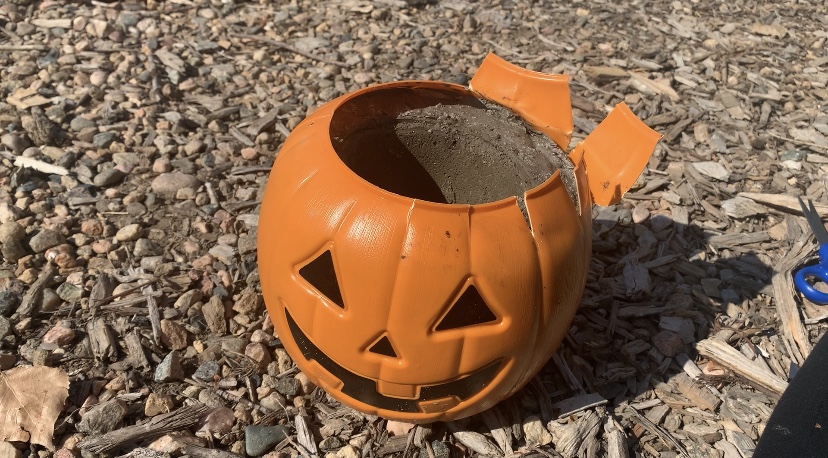
After 24 hours I went out to check on it, it was still a bit wet but hard enough to take out of the pumpkin mold. I took scissors and a box cutter to cut the plastic away from the pumpkin.
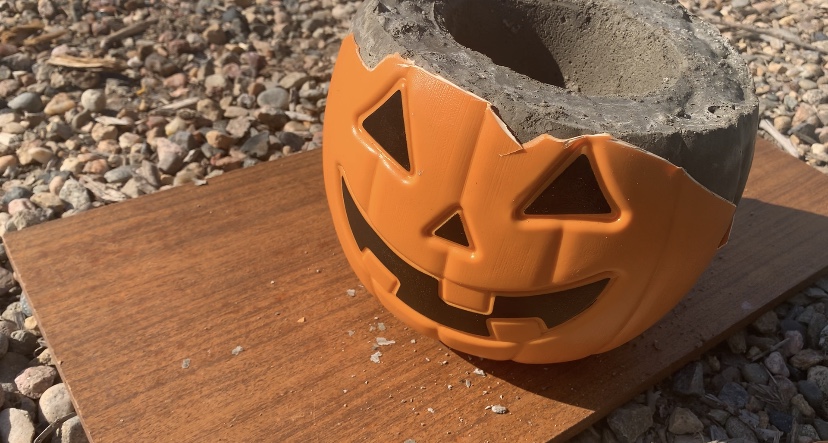
I slowly peeled it off the top part making sure not to cut into the concrete.
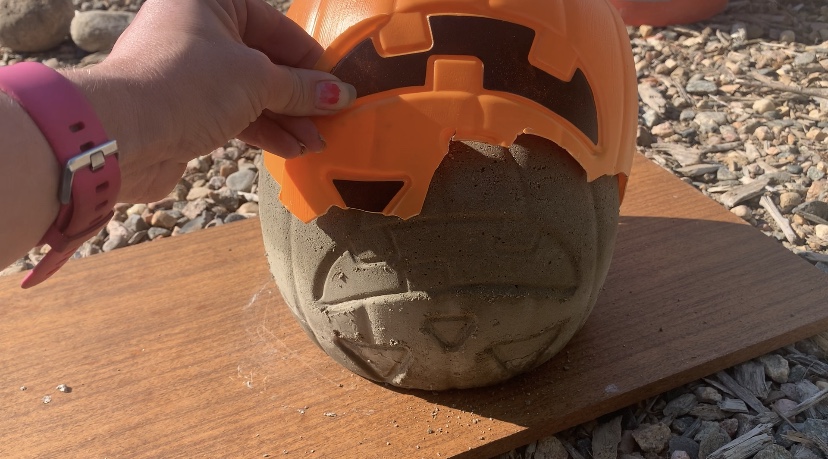
I put it upside down to pull off the rest of the plastic pumpkin.

I was so EXCITED to see how this amazing concrete pumpkin turned out!!
UPDATE!!
NOTE: I have later seen a tip that before you put the concrete into the pumpkin cut the plastic pumpkin down the side and duct tape it back together that way when it’s time to remove from the plastic pumpkin all you have to do is remove the tape and pull it off! The best part is the pumpkin is reusable to make another concrete pumpkin! I will be trying this next time for sure!!
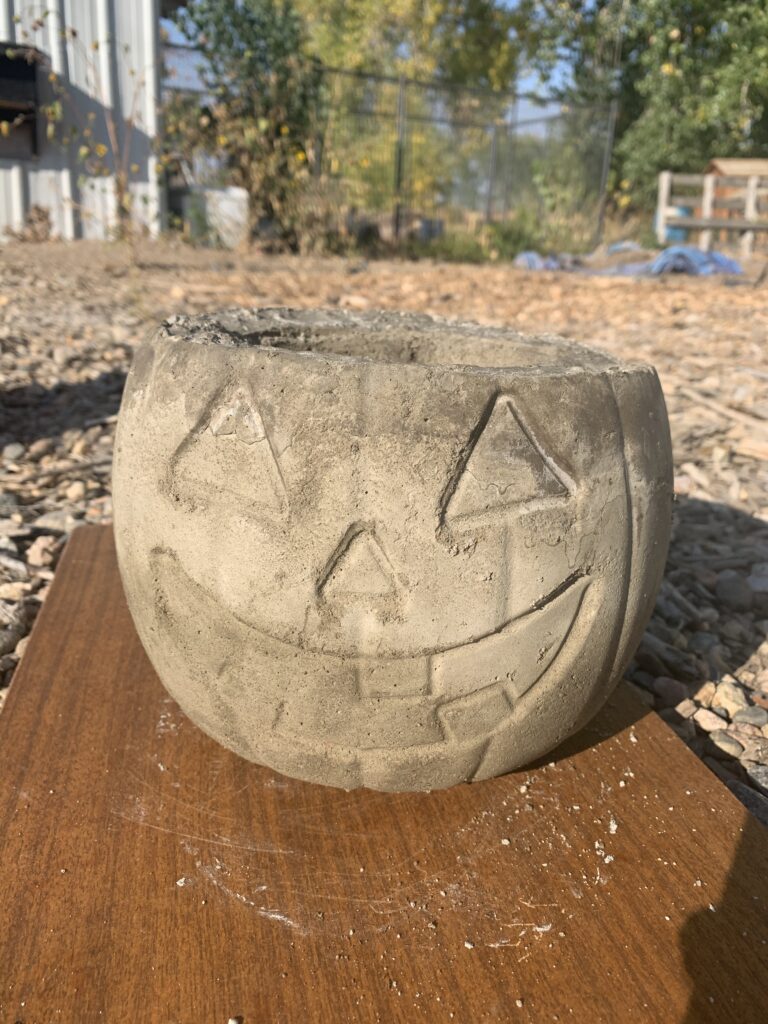
Add some flowers or a candle and you are ready to enjoy a beautiful concrete pumpkin for years to come! I’m wanting to make mini pumpkins and put either a tea light or candlestick in them! The possibilities are endless! You could also paint the eyes black or glow in the paint.
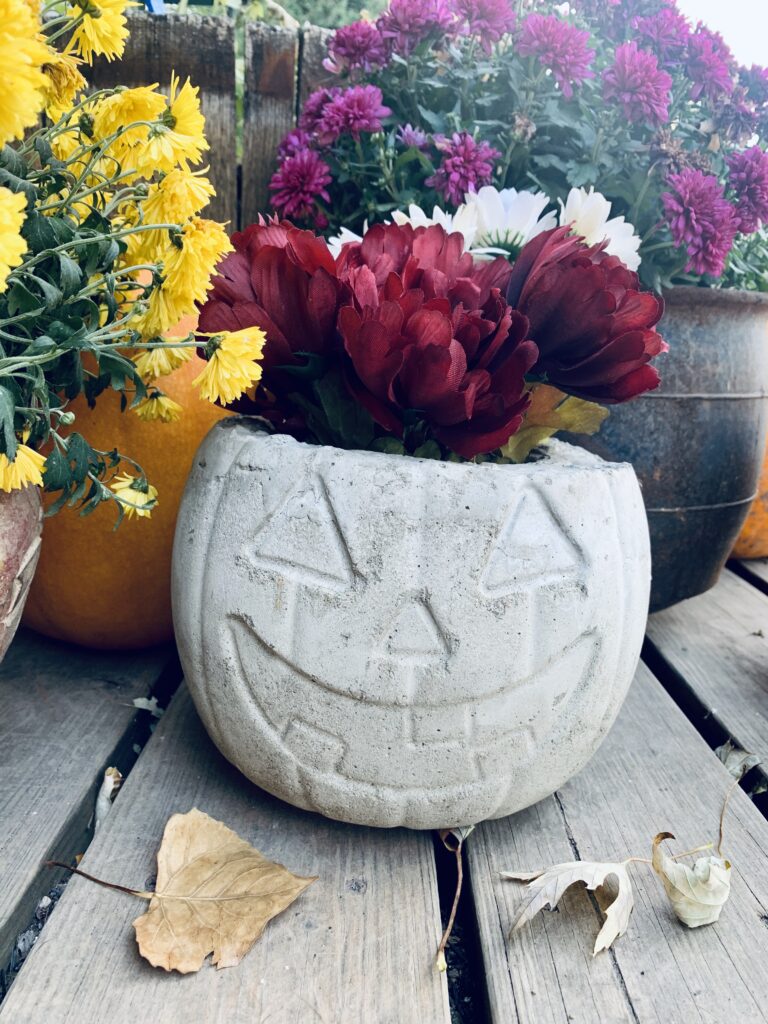
If you decide to make one I’d love to see it!


Related posts:

Hi!! I’m Kristin McConnell, I am so glad you are here! I am a wife to my amazing husband and a Mom of two fabulous kids. I love gardening, raising chickens, bee keeping and baking sourdough bread!






What a fun project! I love how it turned out. Thanks for sharing the idea!
Thank you so much! =)