DIY Farmhouse Table Transformation: From Facebook Marketplace Find to Farmhouse Charm
Have you ever wanted to update your dining room without spending a fortune? I did too! Our old table was in great shape, but after our kitchen remodel (coming to the blog soon!), we realized it was just too big for the space. So, I decided to sell it on Facebook Marketplace and search for something smaller and more fitting for our new space.
Out with the Old, In with the “New”
That same day, I listed our large dining room table on Facebook Marketplace and sold it for $400. Then, I started looking for a new table that I could customize. My goal? A small, round table that needed a little love so I could paint it. I didn’t want to feel guilty about painting over a perfect piece!
By the evening, we had picked up our “new” table for just $25—also from Facebook Marketplace! It was the perfect project piece for a farmhouse-style makeover.
Before: The Original Table
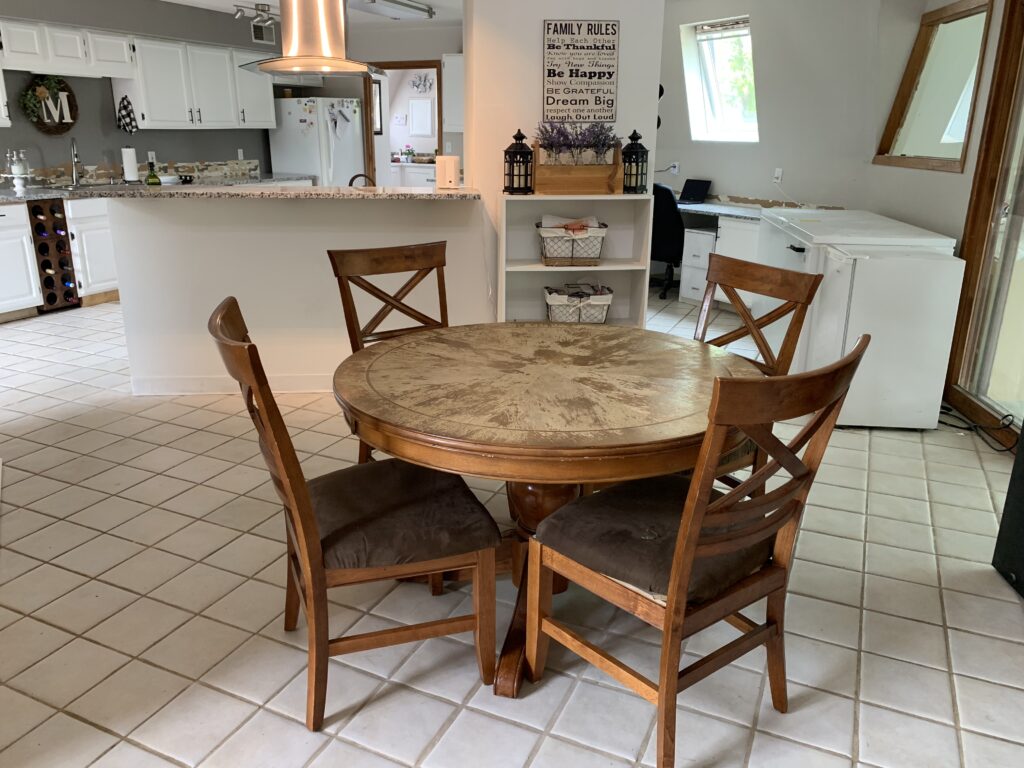
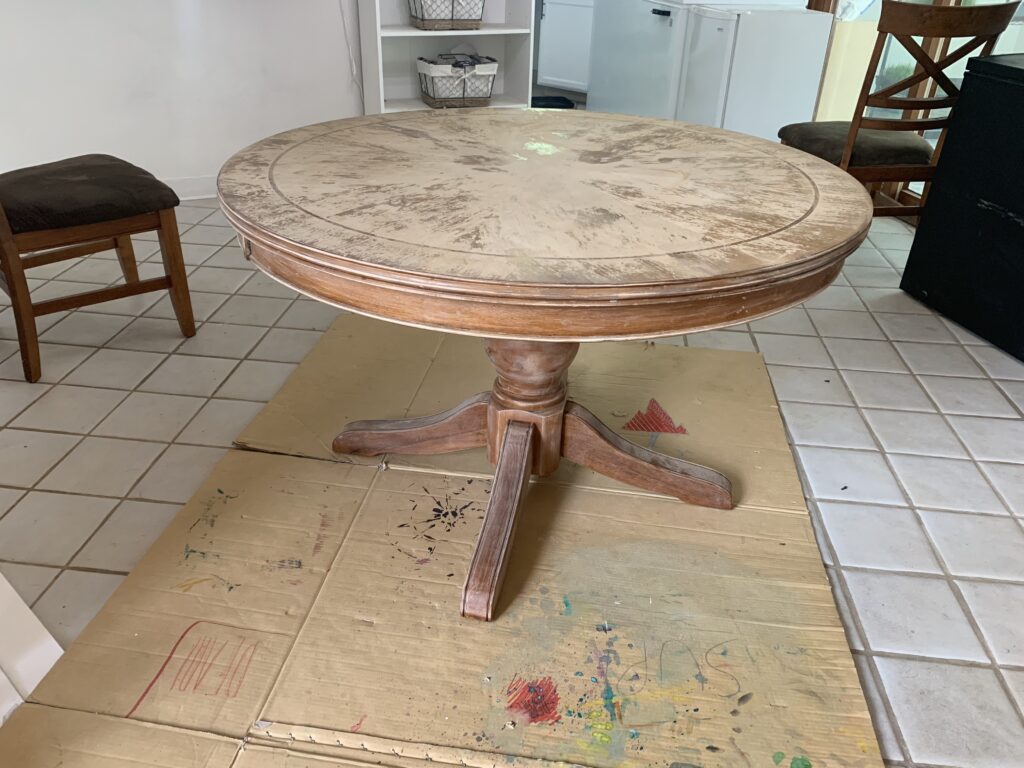
Painting the Table
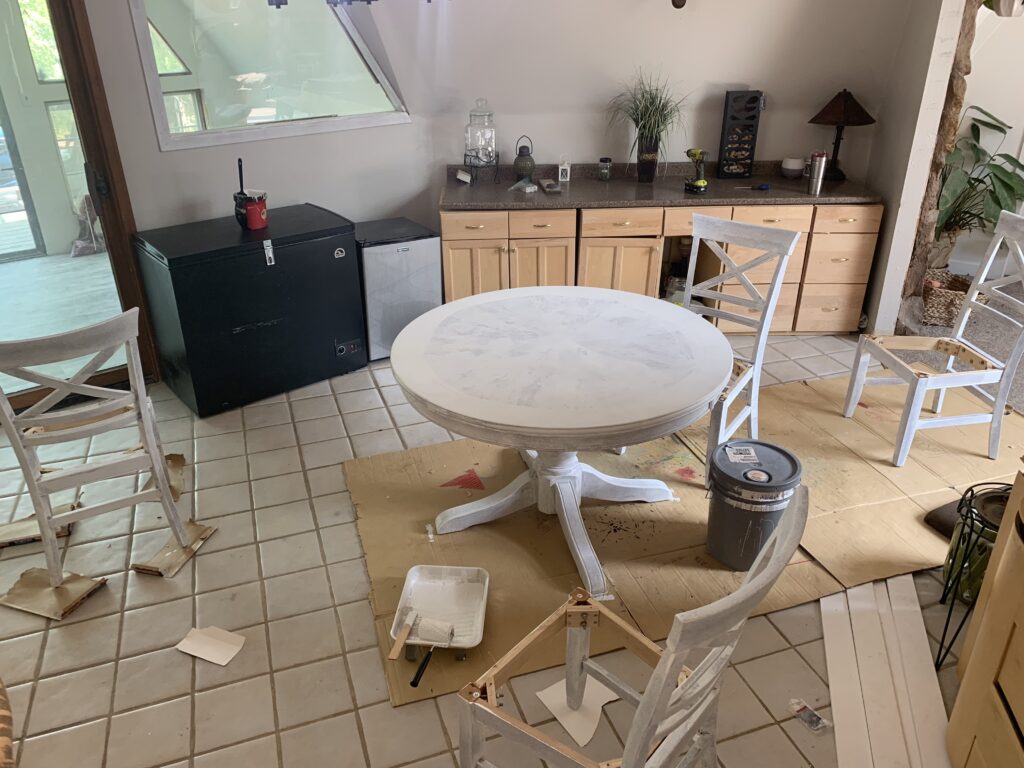
It took about three coats of paint to get the look I wanted. If you’re planning a similar project, don’t forget to add a coat (or two) of clear polyurethane to protect the finish! I haven’t done that yet, but it’s definitely on my to-do list.
Seat Cushions Makeover
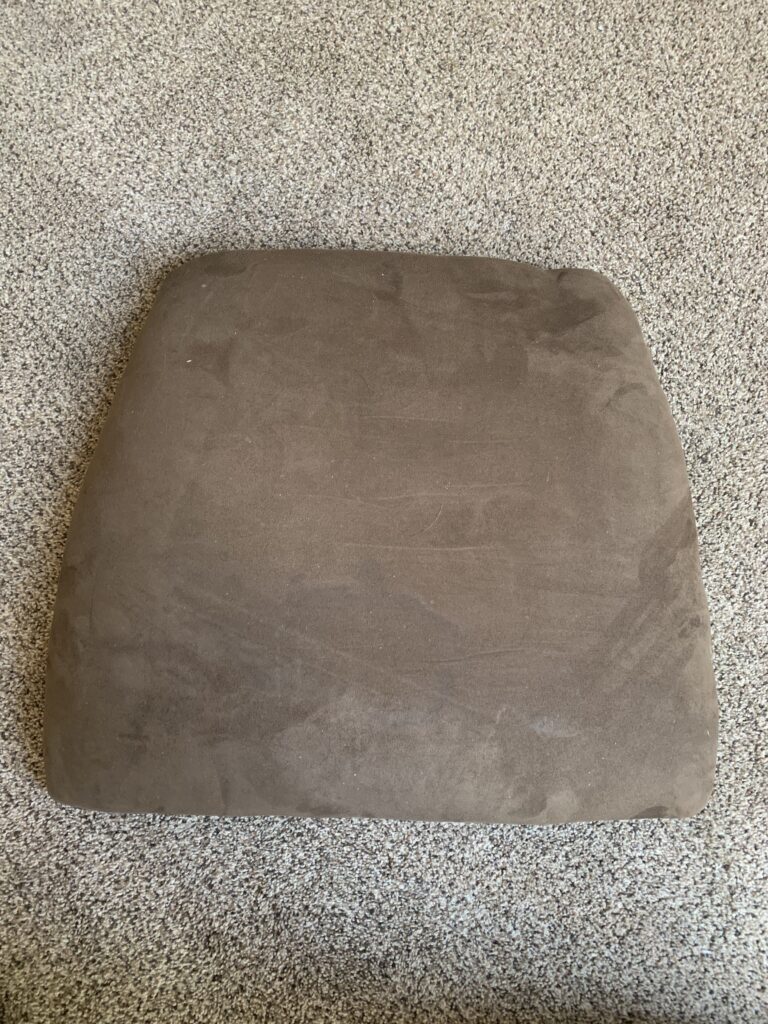
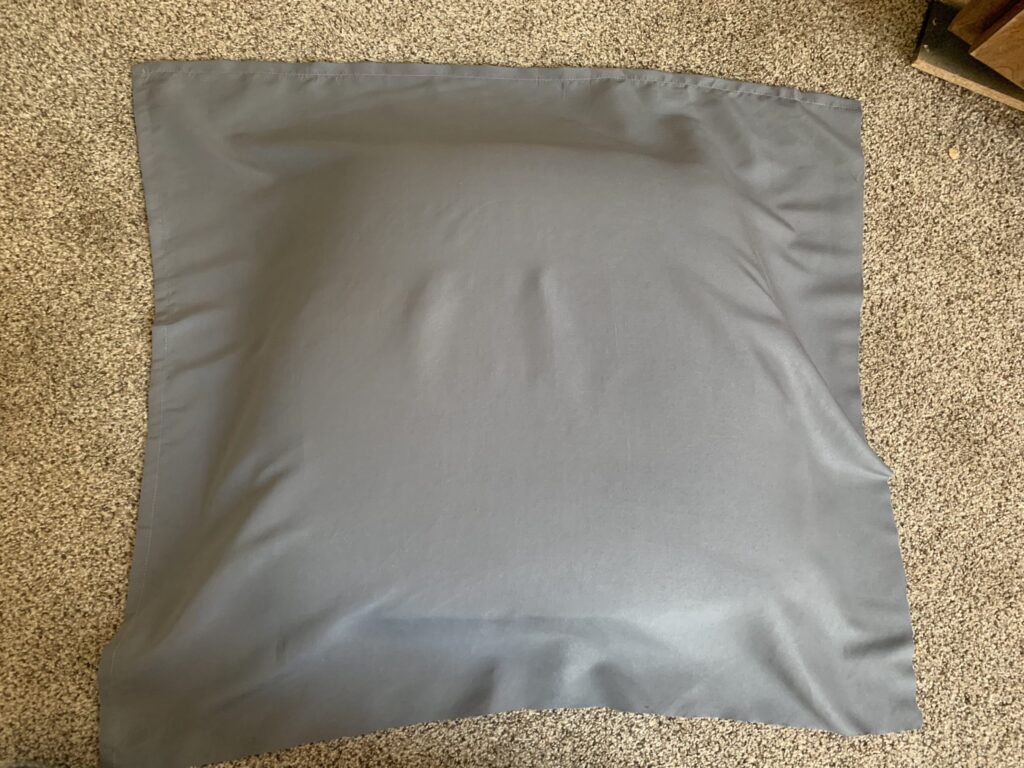
While updating the table, I decided the chairs needed a refresh too. I grabbed some inexpensive sheets from Walmart (check them out here). These sheets made perfect cushion covers!

Here’s what I did:
- Measured the cushions, adding 2 extra inches on all sides.
- Aligned the sheet, flipped the cushion over, and stapled the fabric tightly to the back.
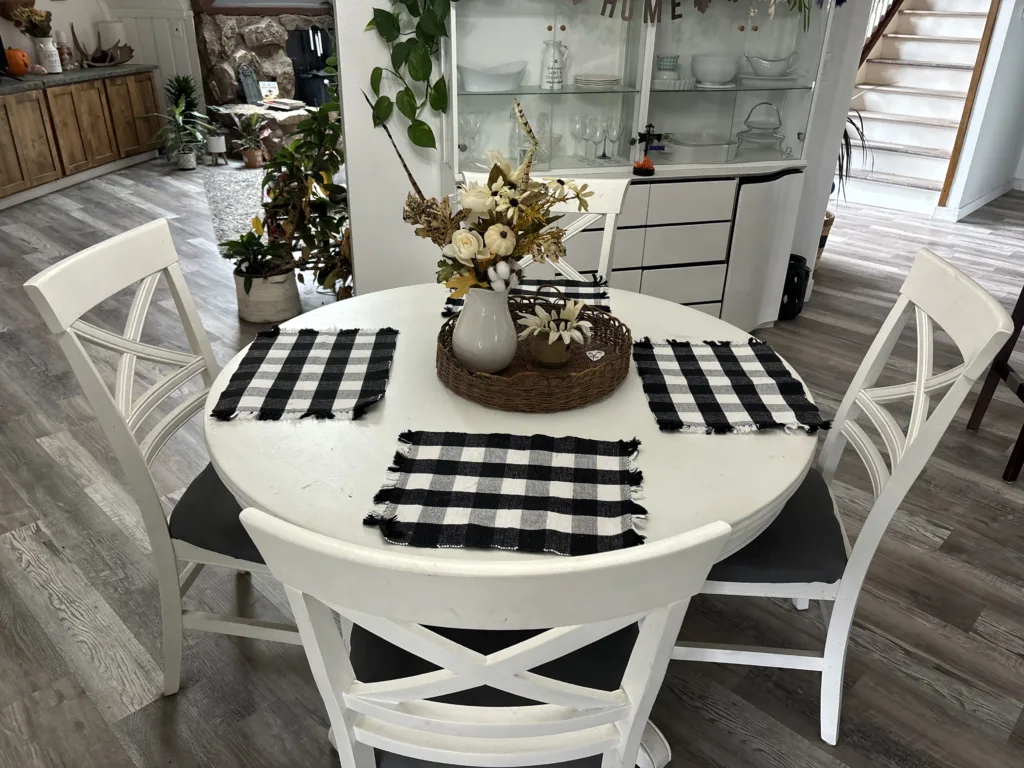
After: A Farmhouse Dining Set for Less!
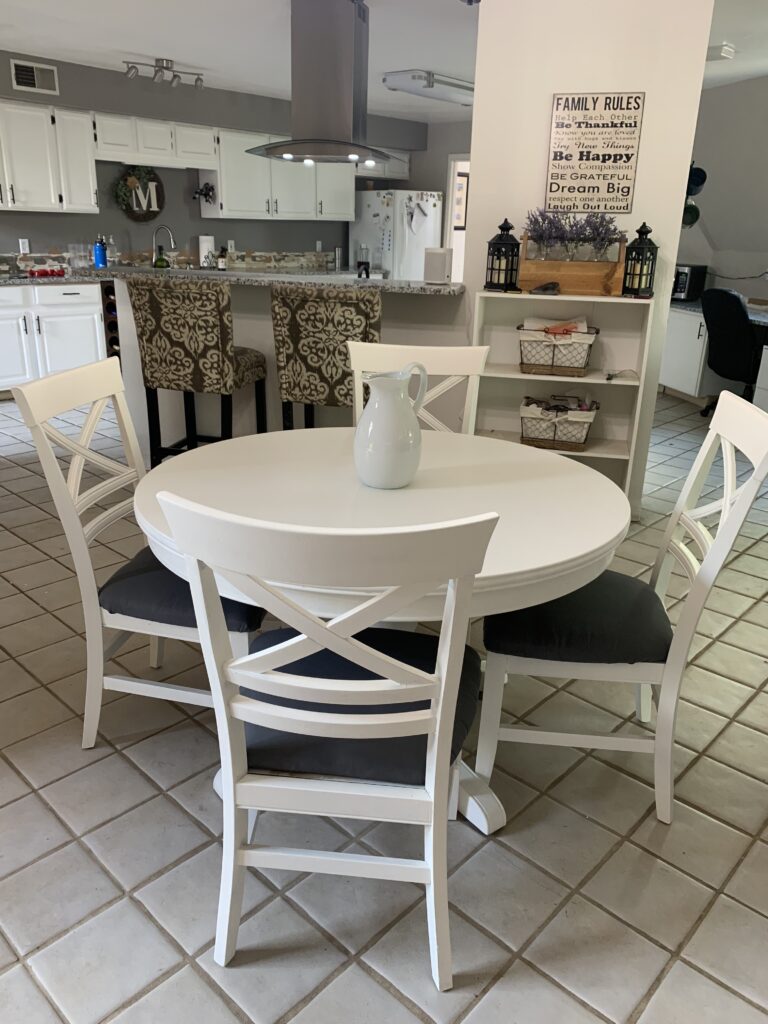
I love how it turned out! This DIY farmhouse table project was super easy and only took a day to complete. Plus, it’s always satisfying to upcycle furniture and give it a second life.
Have you tackled any DIY furniture projects lately? Share them in the comments below!

Related posts:
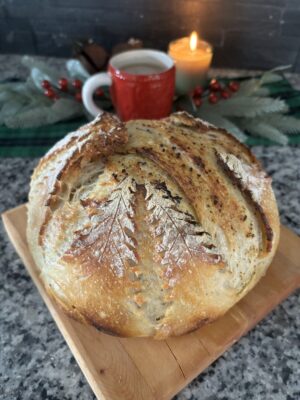
Hi!! I’m Kristin McConnell, I am so glad you are here! I am a wife to my amazing husband and a Mom of two fabulous kids. I love gardening, raising chickens, bee keeping and baking sourdough bread!
Kristin McConnell
Hi!! I'm Kristin McConnell, I am so glad you are here! I am a wife to my amazing husband and a Mom of two fabulous kids. I love gardening, raising chickens, bee keeping and baking sourdough bread!