How to Make a Simple DIY Bee Watering Station
Water is essential for a healthy, thriving apiary, but keeping our buzzing friends safe while they hydrate can be a challenge. If bees try to drink from deep water features, they risk drowning. That’s why creating a dedicated, shallow watering space is a game-changer for backyard beekeepers and garden enthusiasts alike.
In this week’s episode of Bee Wednesday, we are walking through a super quick, beautiful, and incredibly affordable project: a DIY Bee Watering Station.
Why Do Bees Need a Watering Station?
Bees don’t just drink water; they use it to dilute honey for feeding their young and to regulate the temperature inside the hive during hot summer days. However, because they can’t swim, they need safe landing zones to sip without falling in. This simple setup gives them the perfect gravelly, dry footing they need right at the water’s edge.
Supplies You’ll Need
- Shallow Container: A terracotta or plastic plant saucer works beautifully.
- A Large Focal Rock: This acts as a sturdy center landing pad and anchors the station.
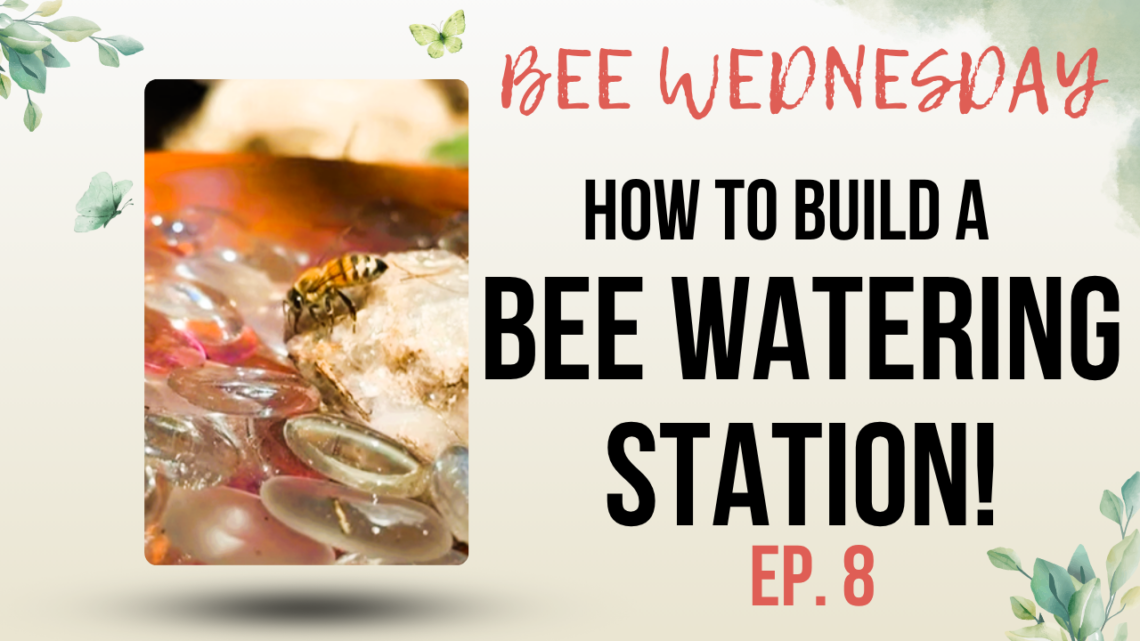
- Glass Gems: These provide hundreds of tiny, safe spots for the bees to stand.
- Fresh Water
Budget Tip: Don’t overpay for your glass gems! While the Dollar Tree sells them for $1.25 a pack, you can find a wider variety of colors (including beautiful pinks and purples) at Walmart for just 98 cents a bag.
Step-by-Step Instructions
1.Prep Your Base:1-2 minutes.
Place your shallow container on a flat, stable surface in your garden or near your hives. If you want to elevate it, you can flip an empty garden pot upside down and balance the saucer right on top.
2.Anchor the Center:1 minute.
Place your large rock directly in the center of the saucer. This ensures the station won’t easily tip over if a breeze catches it, and it gives the bees an easy-to-spot destination.
3.Add the Glass Gems:2-3 minutes.
Pour your colorful glass gems all around the center rock. Spread them out evenly until they form a dense, textured layer that fills the bottom of the shallow dish.
4.Fill with Water:1 minute.
Gently pour fresh water into the station. You want the water level to come up around the gems, but do not submerge them completely. The tops of the gems should remain dry so they can serve as individual landing pads.
Tips for Success
- Location Matters: Place your watering station in a sunny spot near your garden or apiary, but slightly away from the direct flight path of the hive entrance to keep it clean.
- Keep it Fresh: Refresh the water every few days to keep it clean and prevent mosquitoes from breeding.
- Add a Scent Hook: If your bees are ignoring the new station, try adding a splash of sugar water or a drop of lemongrass oil nearby the first time you set it out to draw them in!
Happy Bee Keeping!

Related posts:


Kristin McConnell
Hi!! I’m Kristin, the heart behind Live Simply with Kristin. As newly empty-nest empty nesters, Ryan and I sold it all and live full-time in our cozy camper—trading big house stress for simple joys, freedom, and adventures together. Here, I share wholesome recipes that fit tiny spaces, fitness tips to stay strong on the go, small-space living hacks, and the beauty of intentional, less-is-more living. Grateful you're along for the ride—let's keep it simple and joyful! 🩷 ✝️


You May Also Like
Bee Wednesday: Our Very First Hive Check & Expanding the Hive! 🐝✨
🐝Backyard Beekeeping for Beginners: Inspecting the Hive and Checking the Super