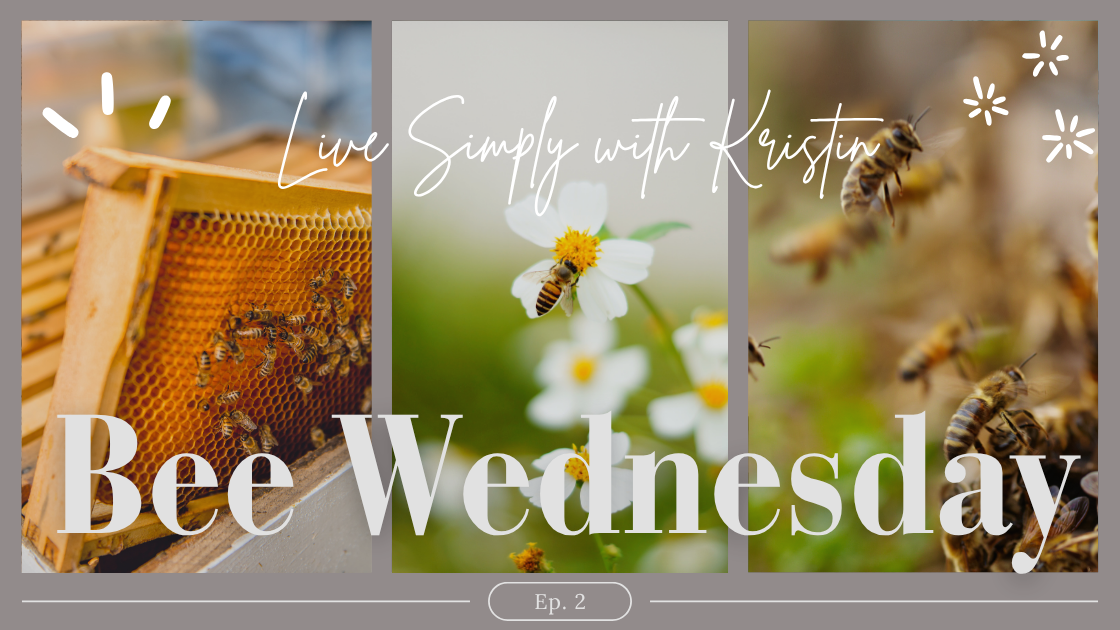
Bee Wednesday Ep. 2: Our Very First Hive Check & Expanding the Hive! 🐝✨
If you’ve been following our journey, you know we recently embarked on our beekeeping adventure. In our latest milestone, we suited up for our very first official beehive check, and it was an absolute whirlwind of excitement, learning, and growth. Not only did we get a firsthand look at how our queen and workers are settling in, but we also officially expanded the hive by adding a brand new deep box and a honey super!
Catch the full video walkthrough here on YouTube and read on for the breakdown of how the inspection went, what we looked for, and why we upgraded their living space.
🛠️ Suiting Up & Gearing Up
Before cracking open the hive, safety and preparation are everything. We made sure our smoker was lit and producing a nice, cool, thick smoke to help calm the bees. Working in our enclosed bee yard, we got into our protective gear—veils, jackets, and gloves—and grabbed our trusty hive tool.
If there’s one thing we learned right away, it’s that beekeeping is a practice in mindfulness. Moving slowly and calmly is the best way to keep the colony at ease!
🔍 The First Inspection: What We Found
Opening the hive for the first time is incredibly thrilling. Our main goals for this first check were to monitor the health of the colony, ensure the queen is actively laying, and see how much comb the workers have drawn out.
- Building Beautiful Comb: Pulling out the first few frames, we were thrilled to see the progress. The workers have been incredibly busy drawing out clean, perfect wax comb across the frames.
- Signs of a Healthy Queen: While finding the queen herself can sometimes be like finding a needle in a haystack, we looked for the next best thing: eggs and healthy brood. Seeing a solid, tight brood pattern (uncapped larvae and capped brood) is the ultimate sign that our queen is healthy, accepted, and doing her job flawlessly.
- Resources: We also spotted glistening pools of nectar and stored pollen, showing that the foragers are actively working the surrounding flowers and bringing back vital resources.
🏢 Scaling Up: Adding a Deep Box & Honey Super
Bees grow fast when conditions are right! Because our colony has been thriving and drawing out comb so quickly, they were rapidly running out of space in their single bottom box. If a hive gets too crowded, the bees might decide to swarm—meaning half the colony leaves to find a new home. To prevent this and give them room to multiply, it was time to expand.
1. Adding the Second Deep Box
We placed a second deep hive body directly on top of the original brood box. This gives the queen double the space to lay eggs and allows the colony to grow its population strongly ahead of the changing seasons.
2. Adding the Honey Super
On top of our new deep box, we also added a honey super. While deep boxes are primarily used for the bees’ actual living quarters (brood and winter food stores), supers are where the magic happens for us—this is where they will store the excess honey that we can eventually harvest!
💡 Lessons Learned from Episode 2
As beginners, every single step is a learning experience. This inspection taught us to trust the bees but also recognize when they need our intervention to help manage their space. Seeing the intricate architecture of the honeycomb up close makes you truly appreciate the phrase “busy as a bee.”
We are so incredibly proud of how this little colony is growing, and we can’t wait to see how they take to their newly expanded home.
👉 Watch the Action unfold!
Want to see the beautiful brood frames, watch us handle the smoker, and see exactly how we stacked the new boxes? Check out the full vlog over on our channel: First Beehive Check & Adding a Deep Box and Super! Ep. 2.
Don’t forget to hit the Subscribe button and follow along on our channel for more Bee Wednesday updates as we navigate our first year of beekeeping! Have questions or tips for beginner beekeepers? Drop them in the comments below!

Related posts:


Kristin McConnell
Hi!! I’m Kristin, the heart behind Live Simply with Kristin. As newly empty-nest empty nesters, Ryan and I sold it all and live full-time in our cozy camper—trading big house stress for simple joys, freedom, and adventures together. Here, I share wholesome recipes that fit tiny spaces, fitness tips to stay strong on the go, small-space living hacks, and the beauty of intentional, less-is-more living. Grateful you're along for the ride—let's keep it simple and joyful! 🩷 ✝️


You May Also Like
Getting Started with Bees for Beginners
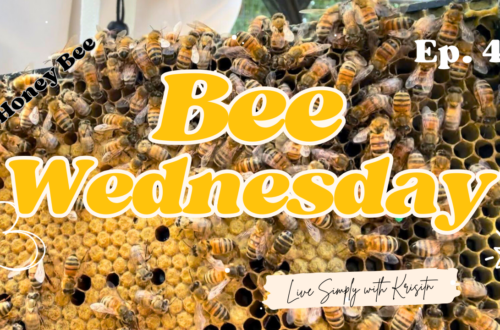
Bee Wednesday Ep. 4: 🐝Backyard Beekeeping for Beginners: Inspecting the Hive and Checking the Super