
Kitchen Remodel Part 1
This remodel took several months to complete. We also did this in several stages. Today I am sharing part 1 of our kitchen remodel! I had thought about sharing the whole process in one post but it was just getting too long so I am breaking it out into at least two parts.
If you missed my Before Home Tour you can check it out here.
I am so excited about this remodel! Now that this project is over there are still a few things I would like to do to imprve the kitchen even more.
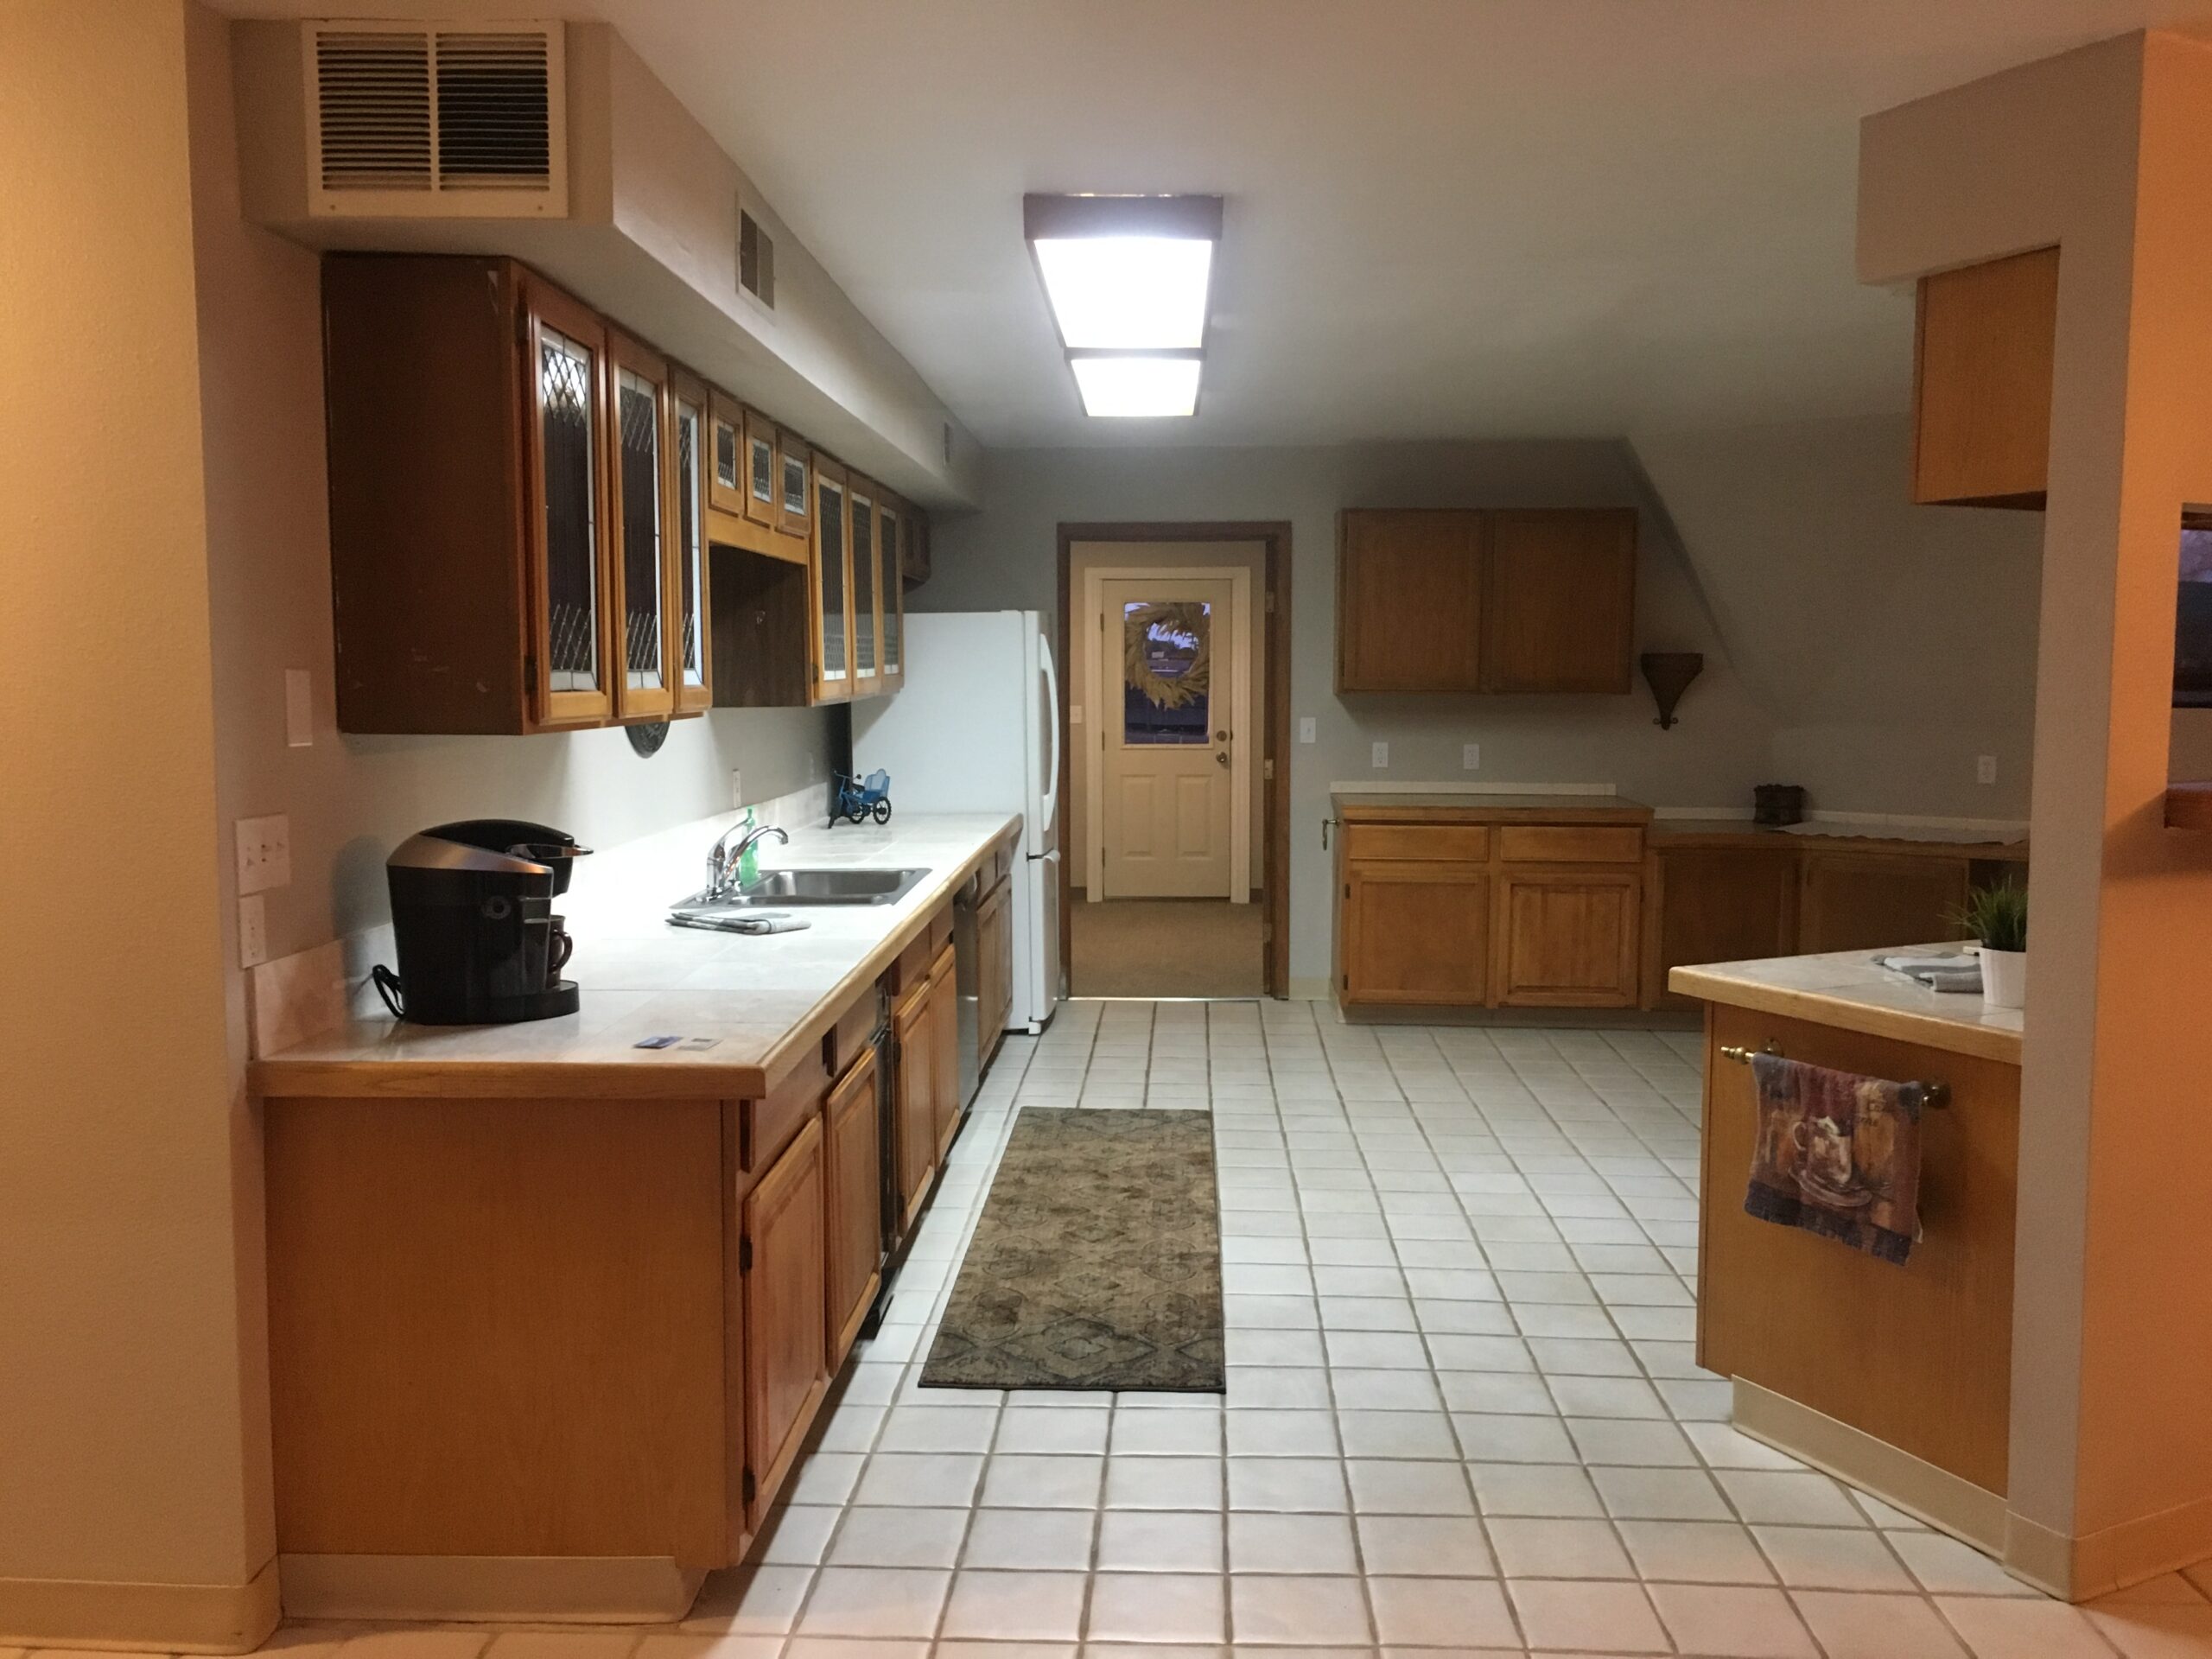
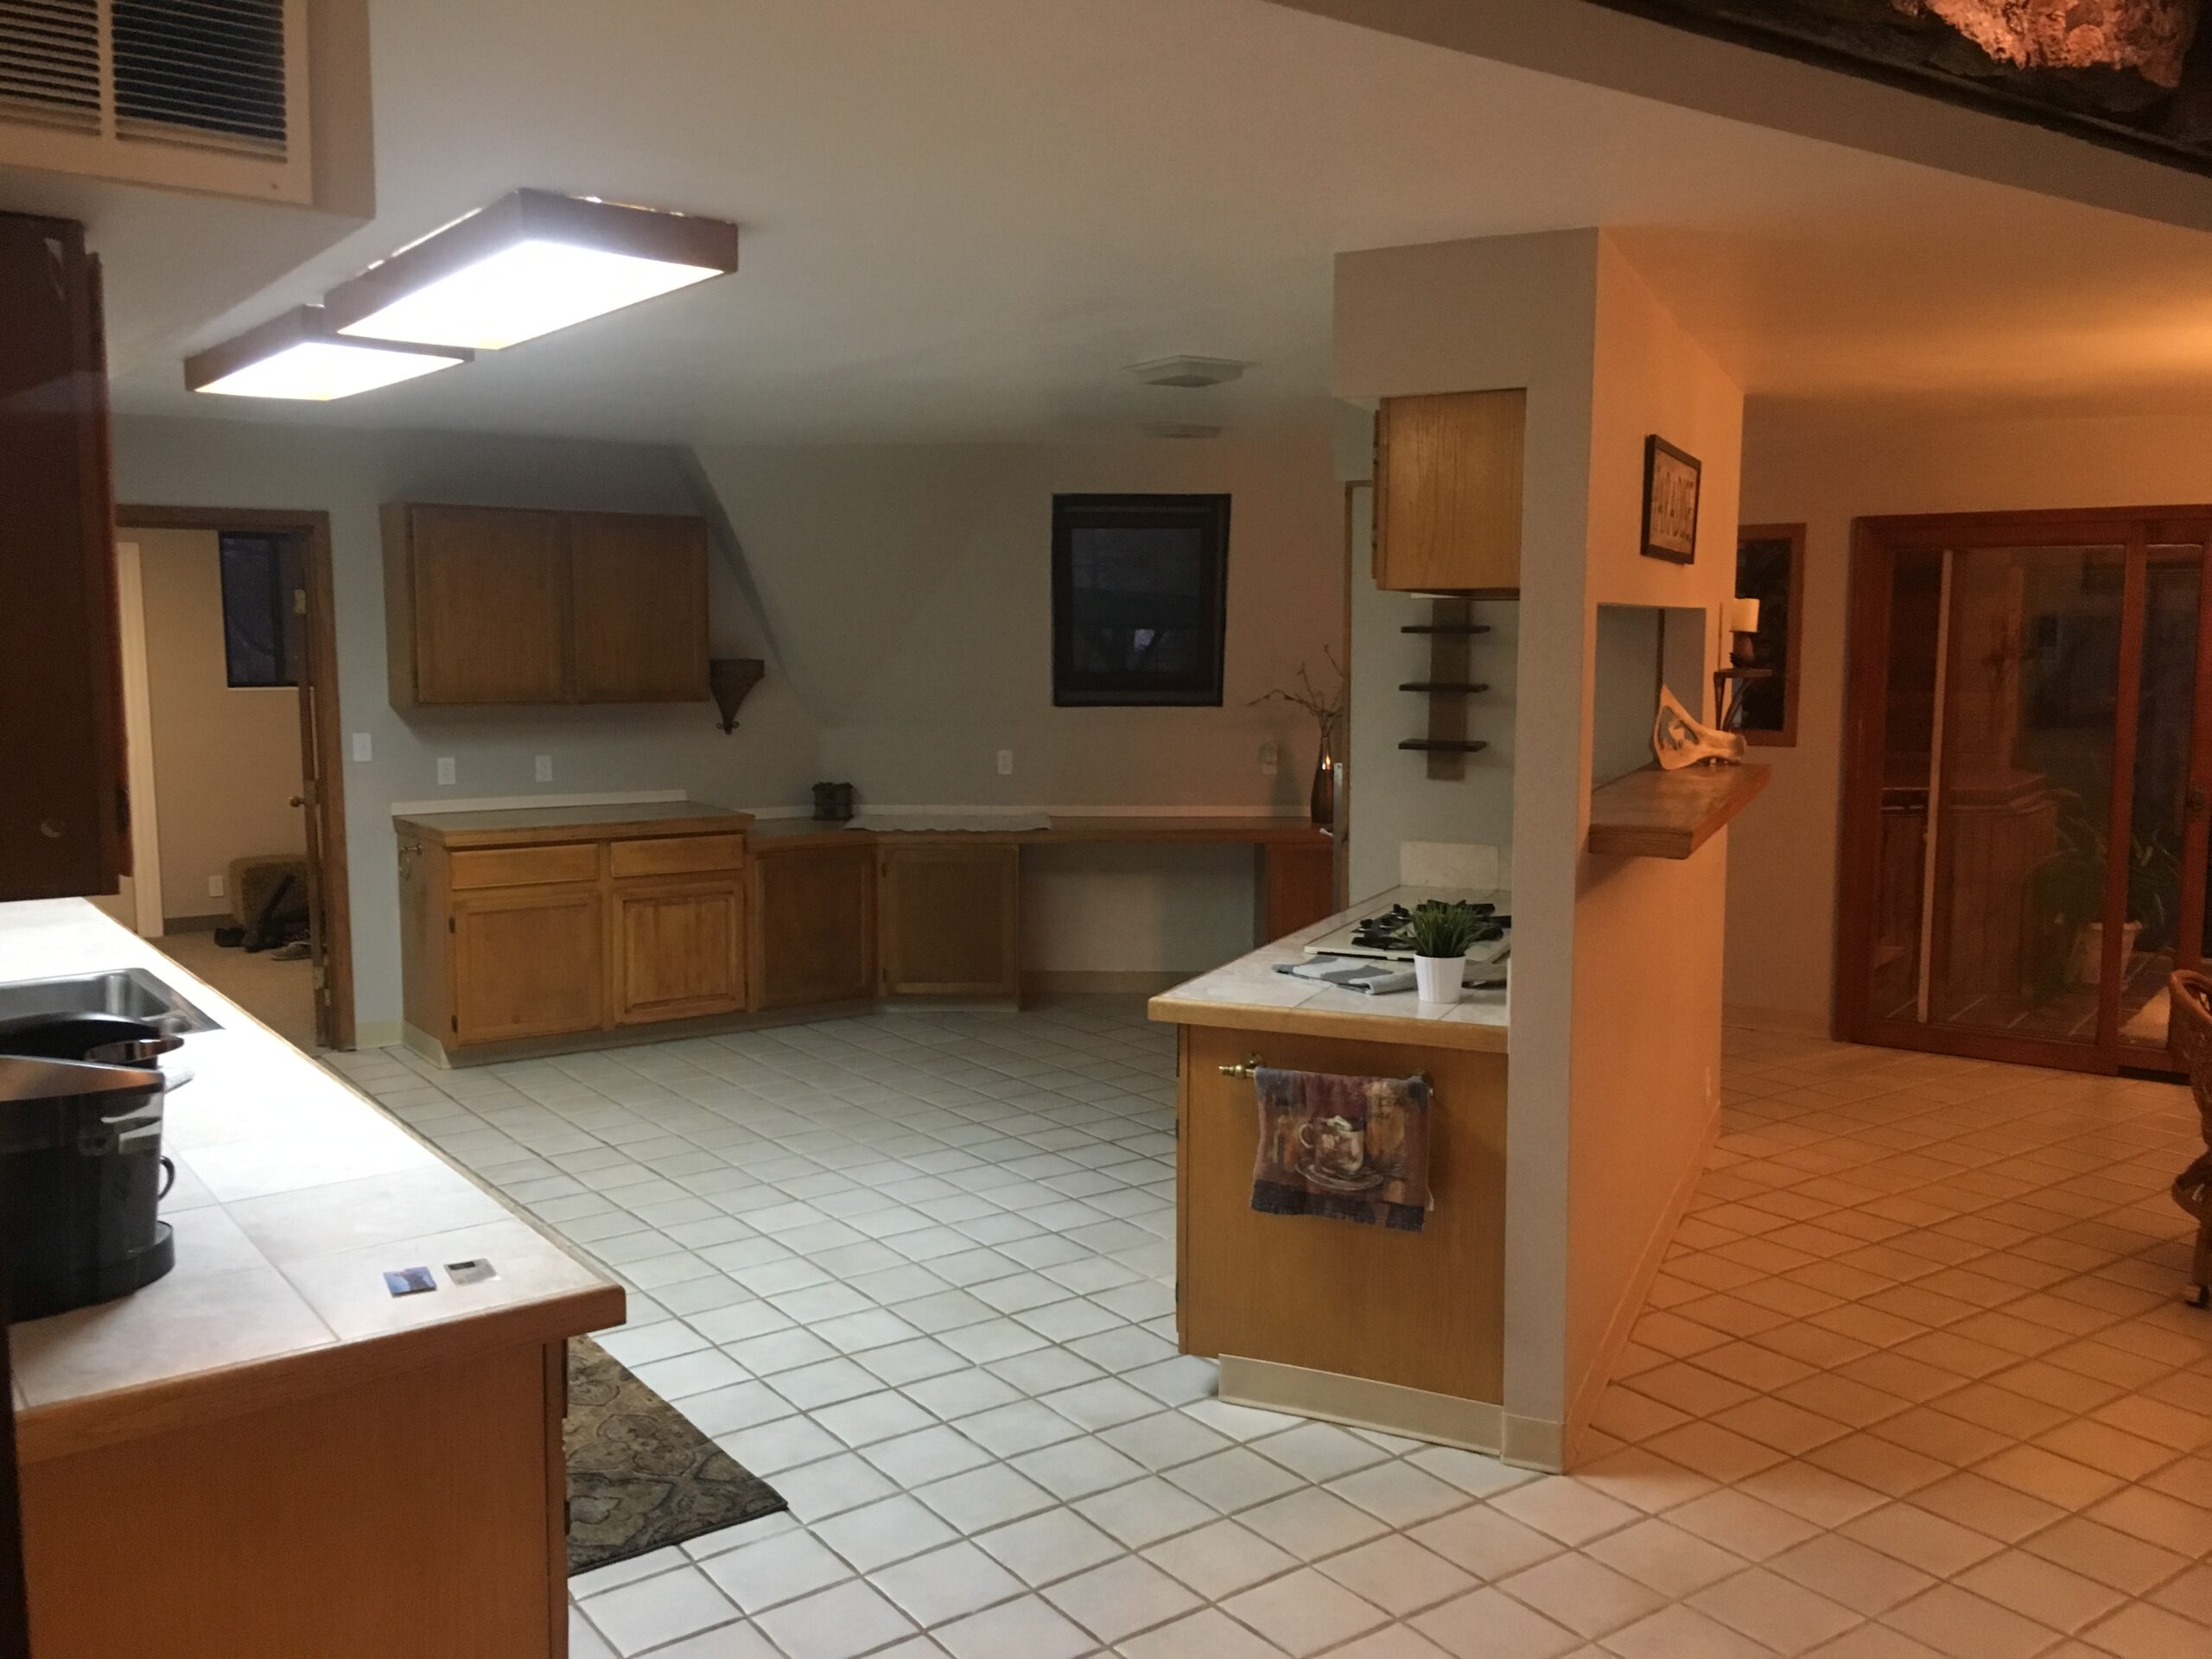
Let’s start with a few before pictures!
These next few pictures are from when our house was up for sale.
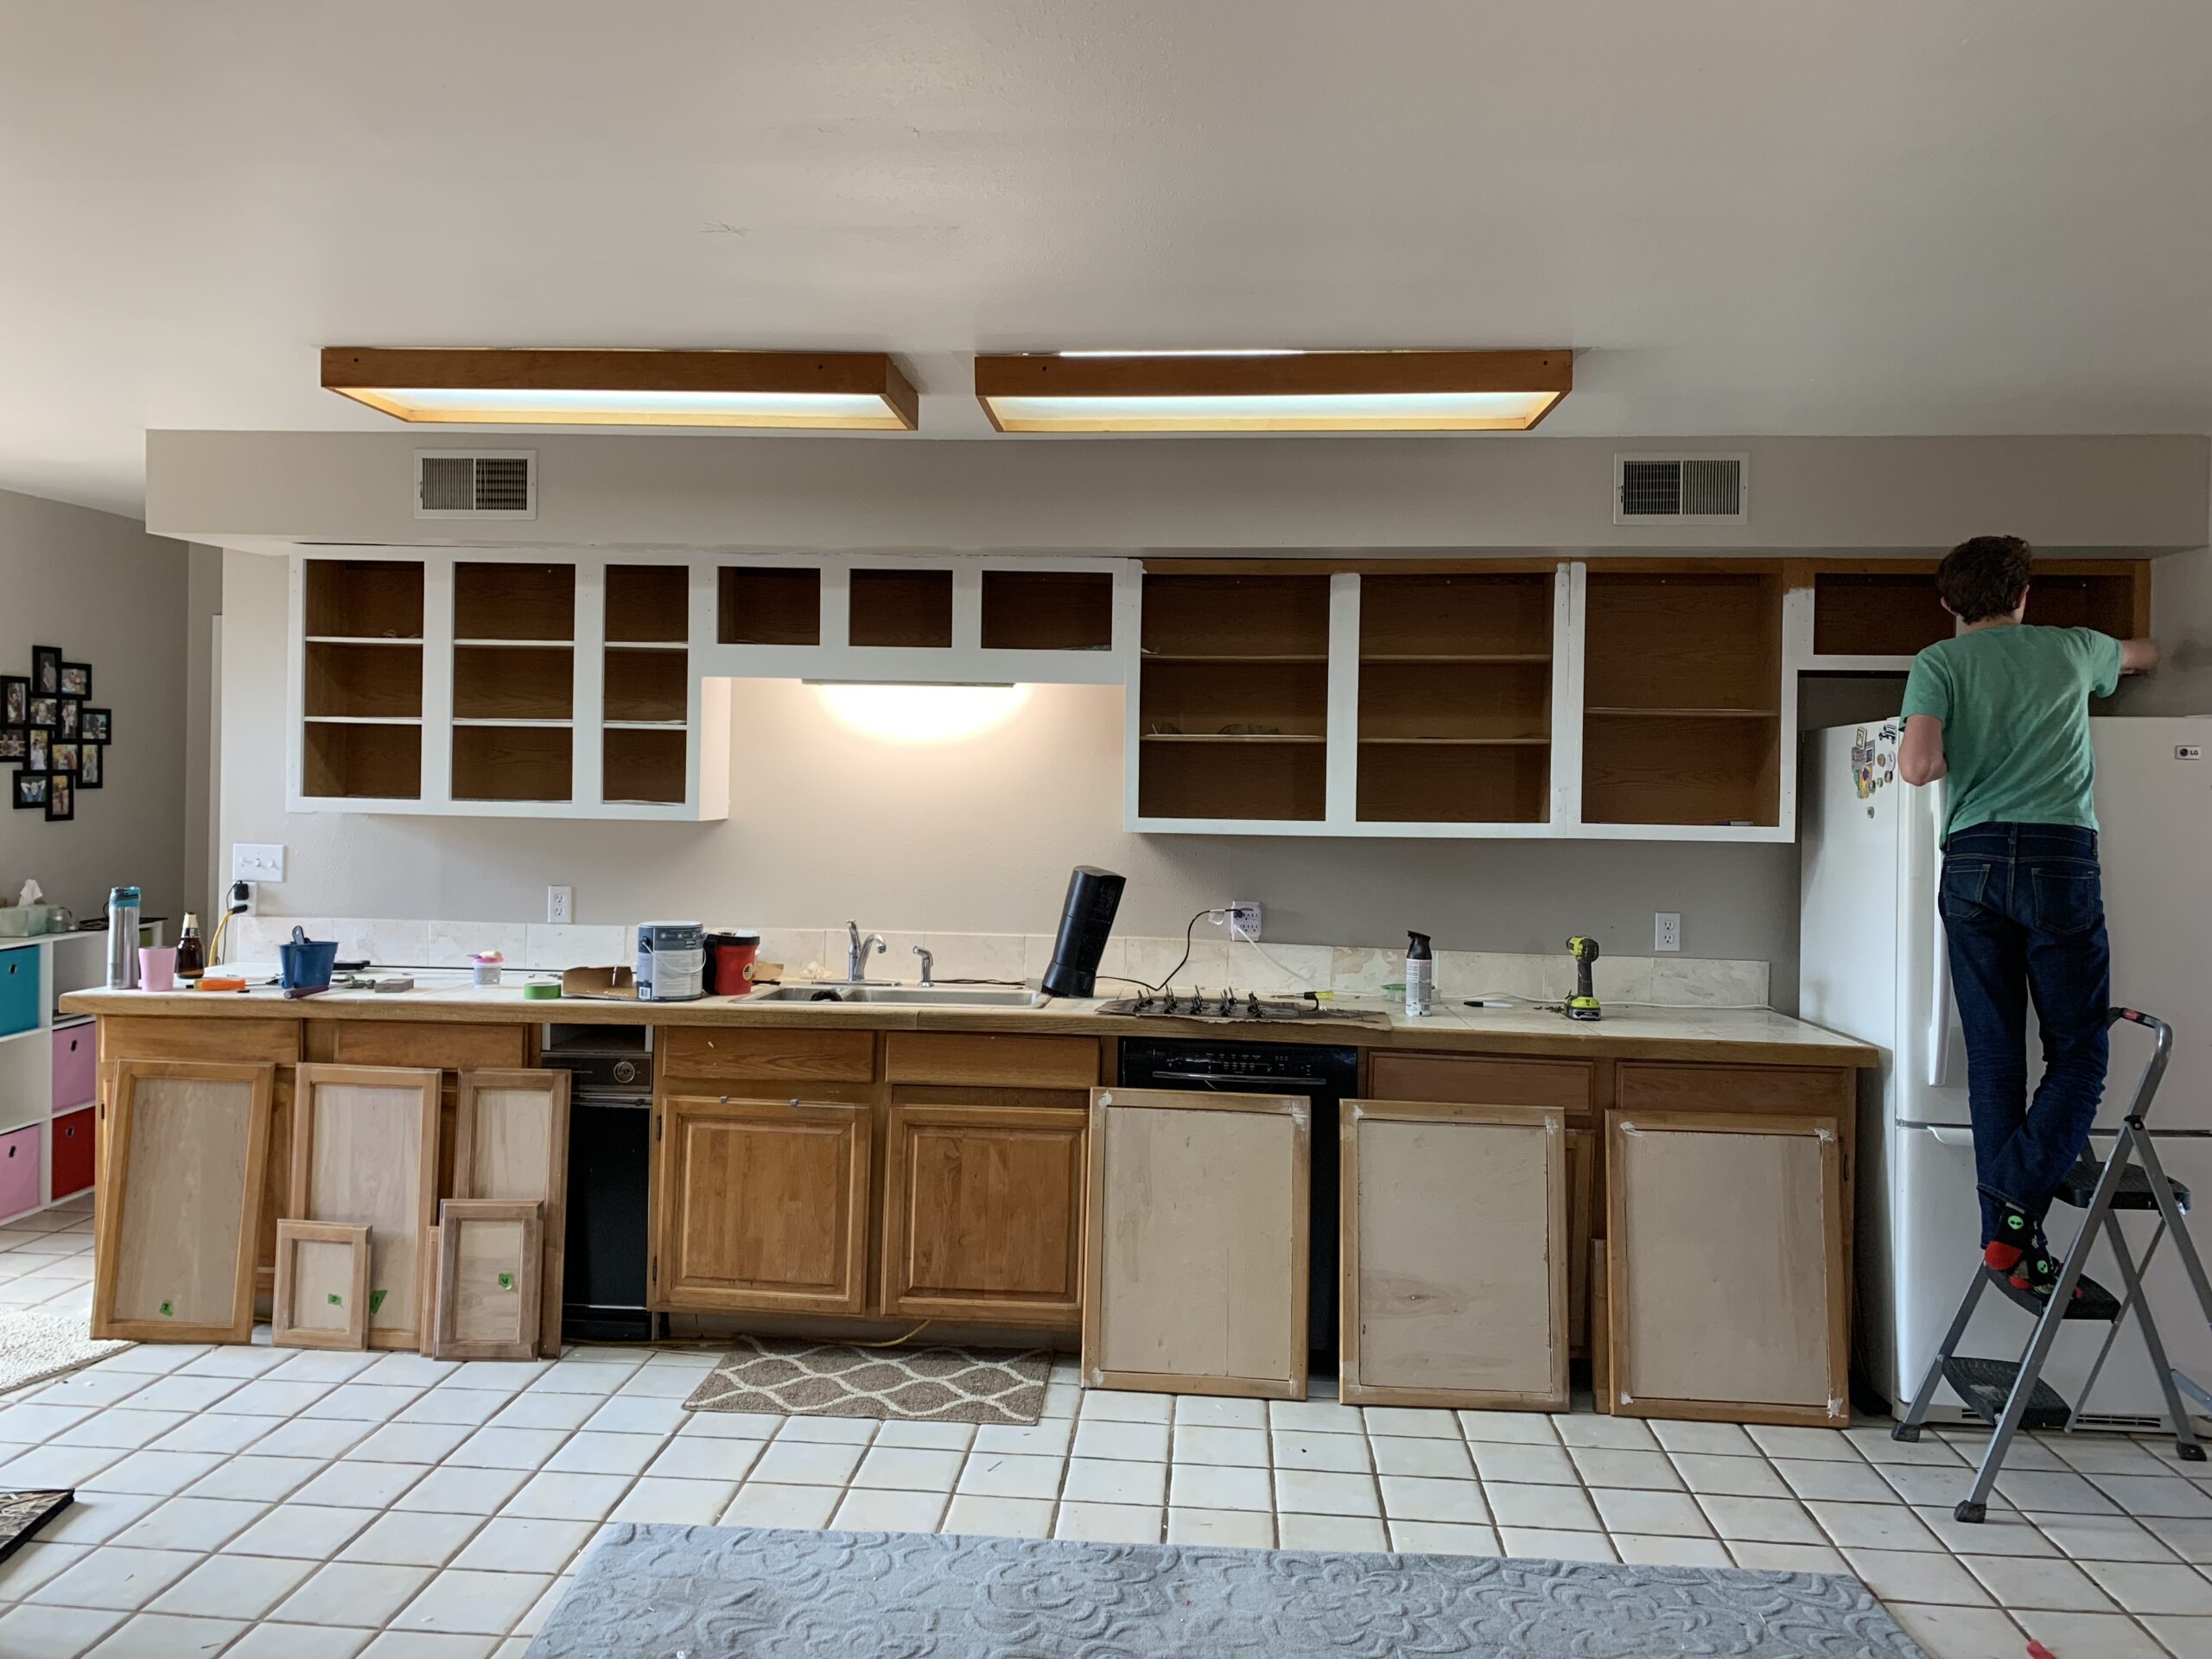
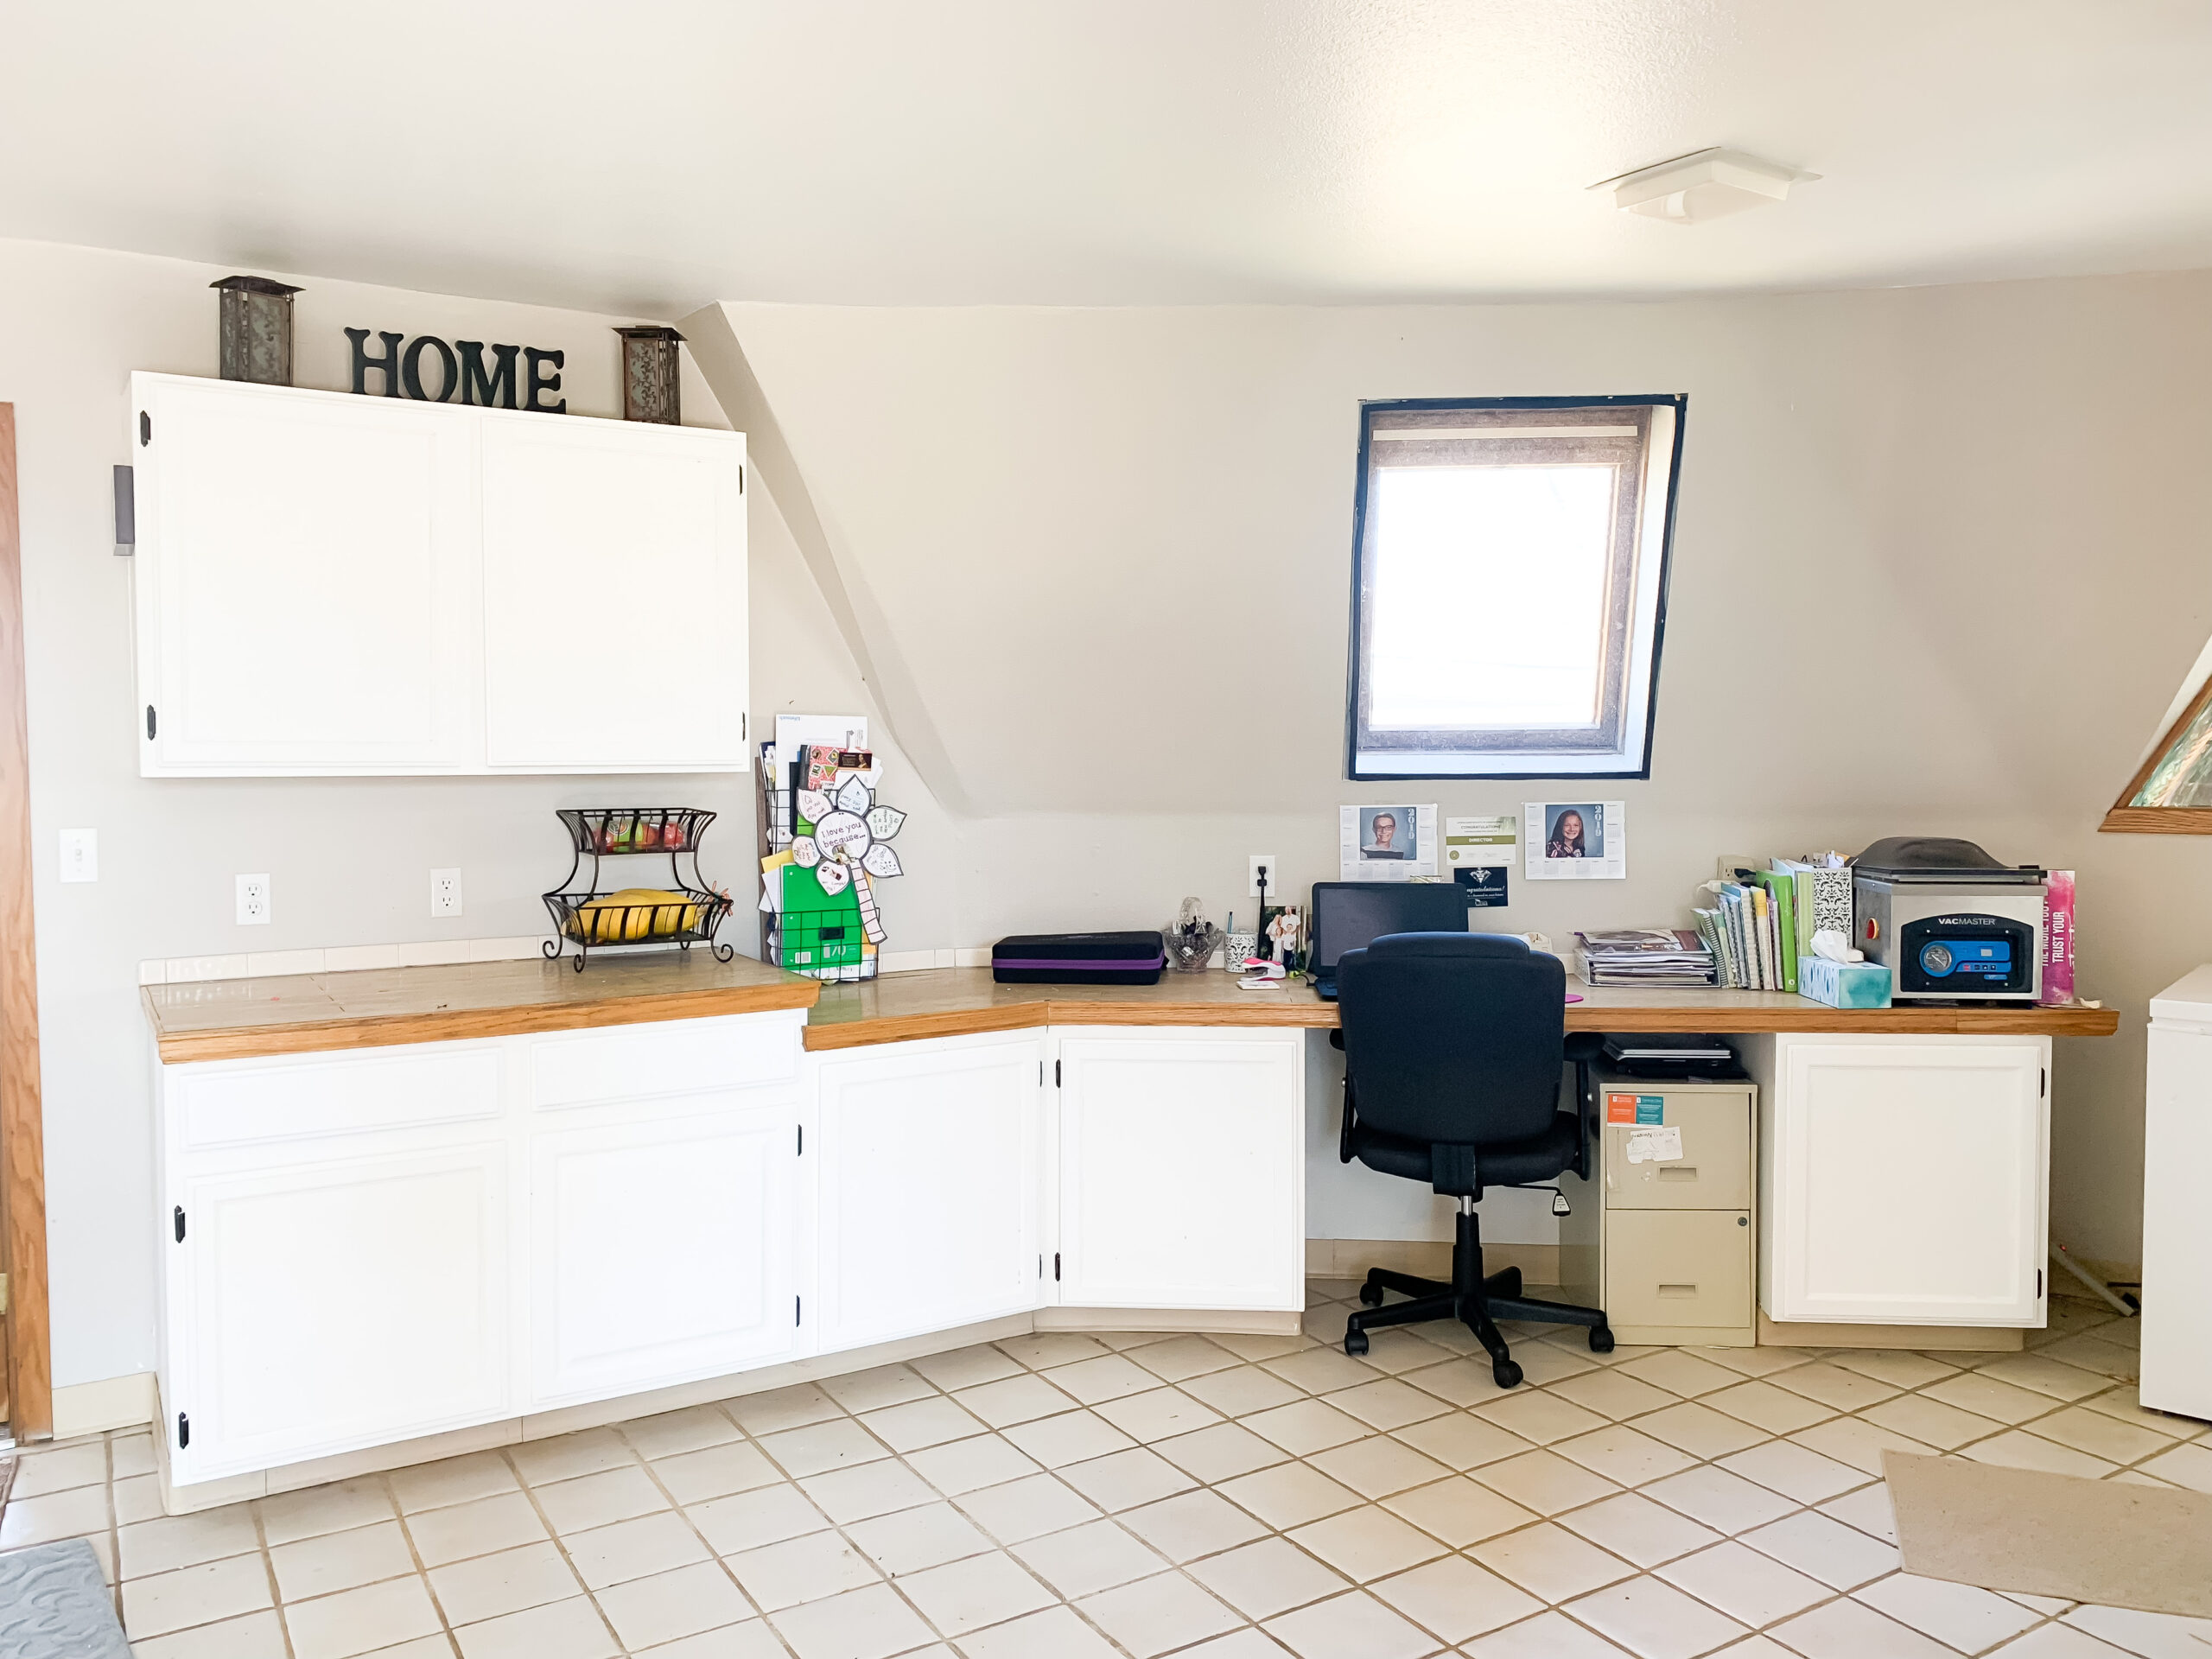
Day 1 of our Kitchen Remodel
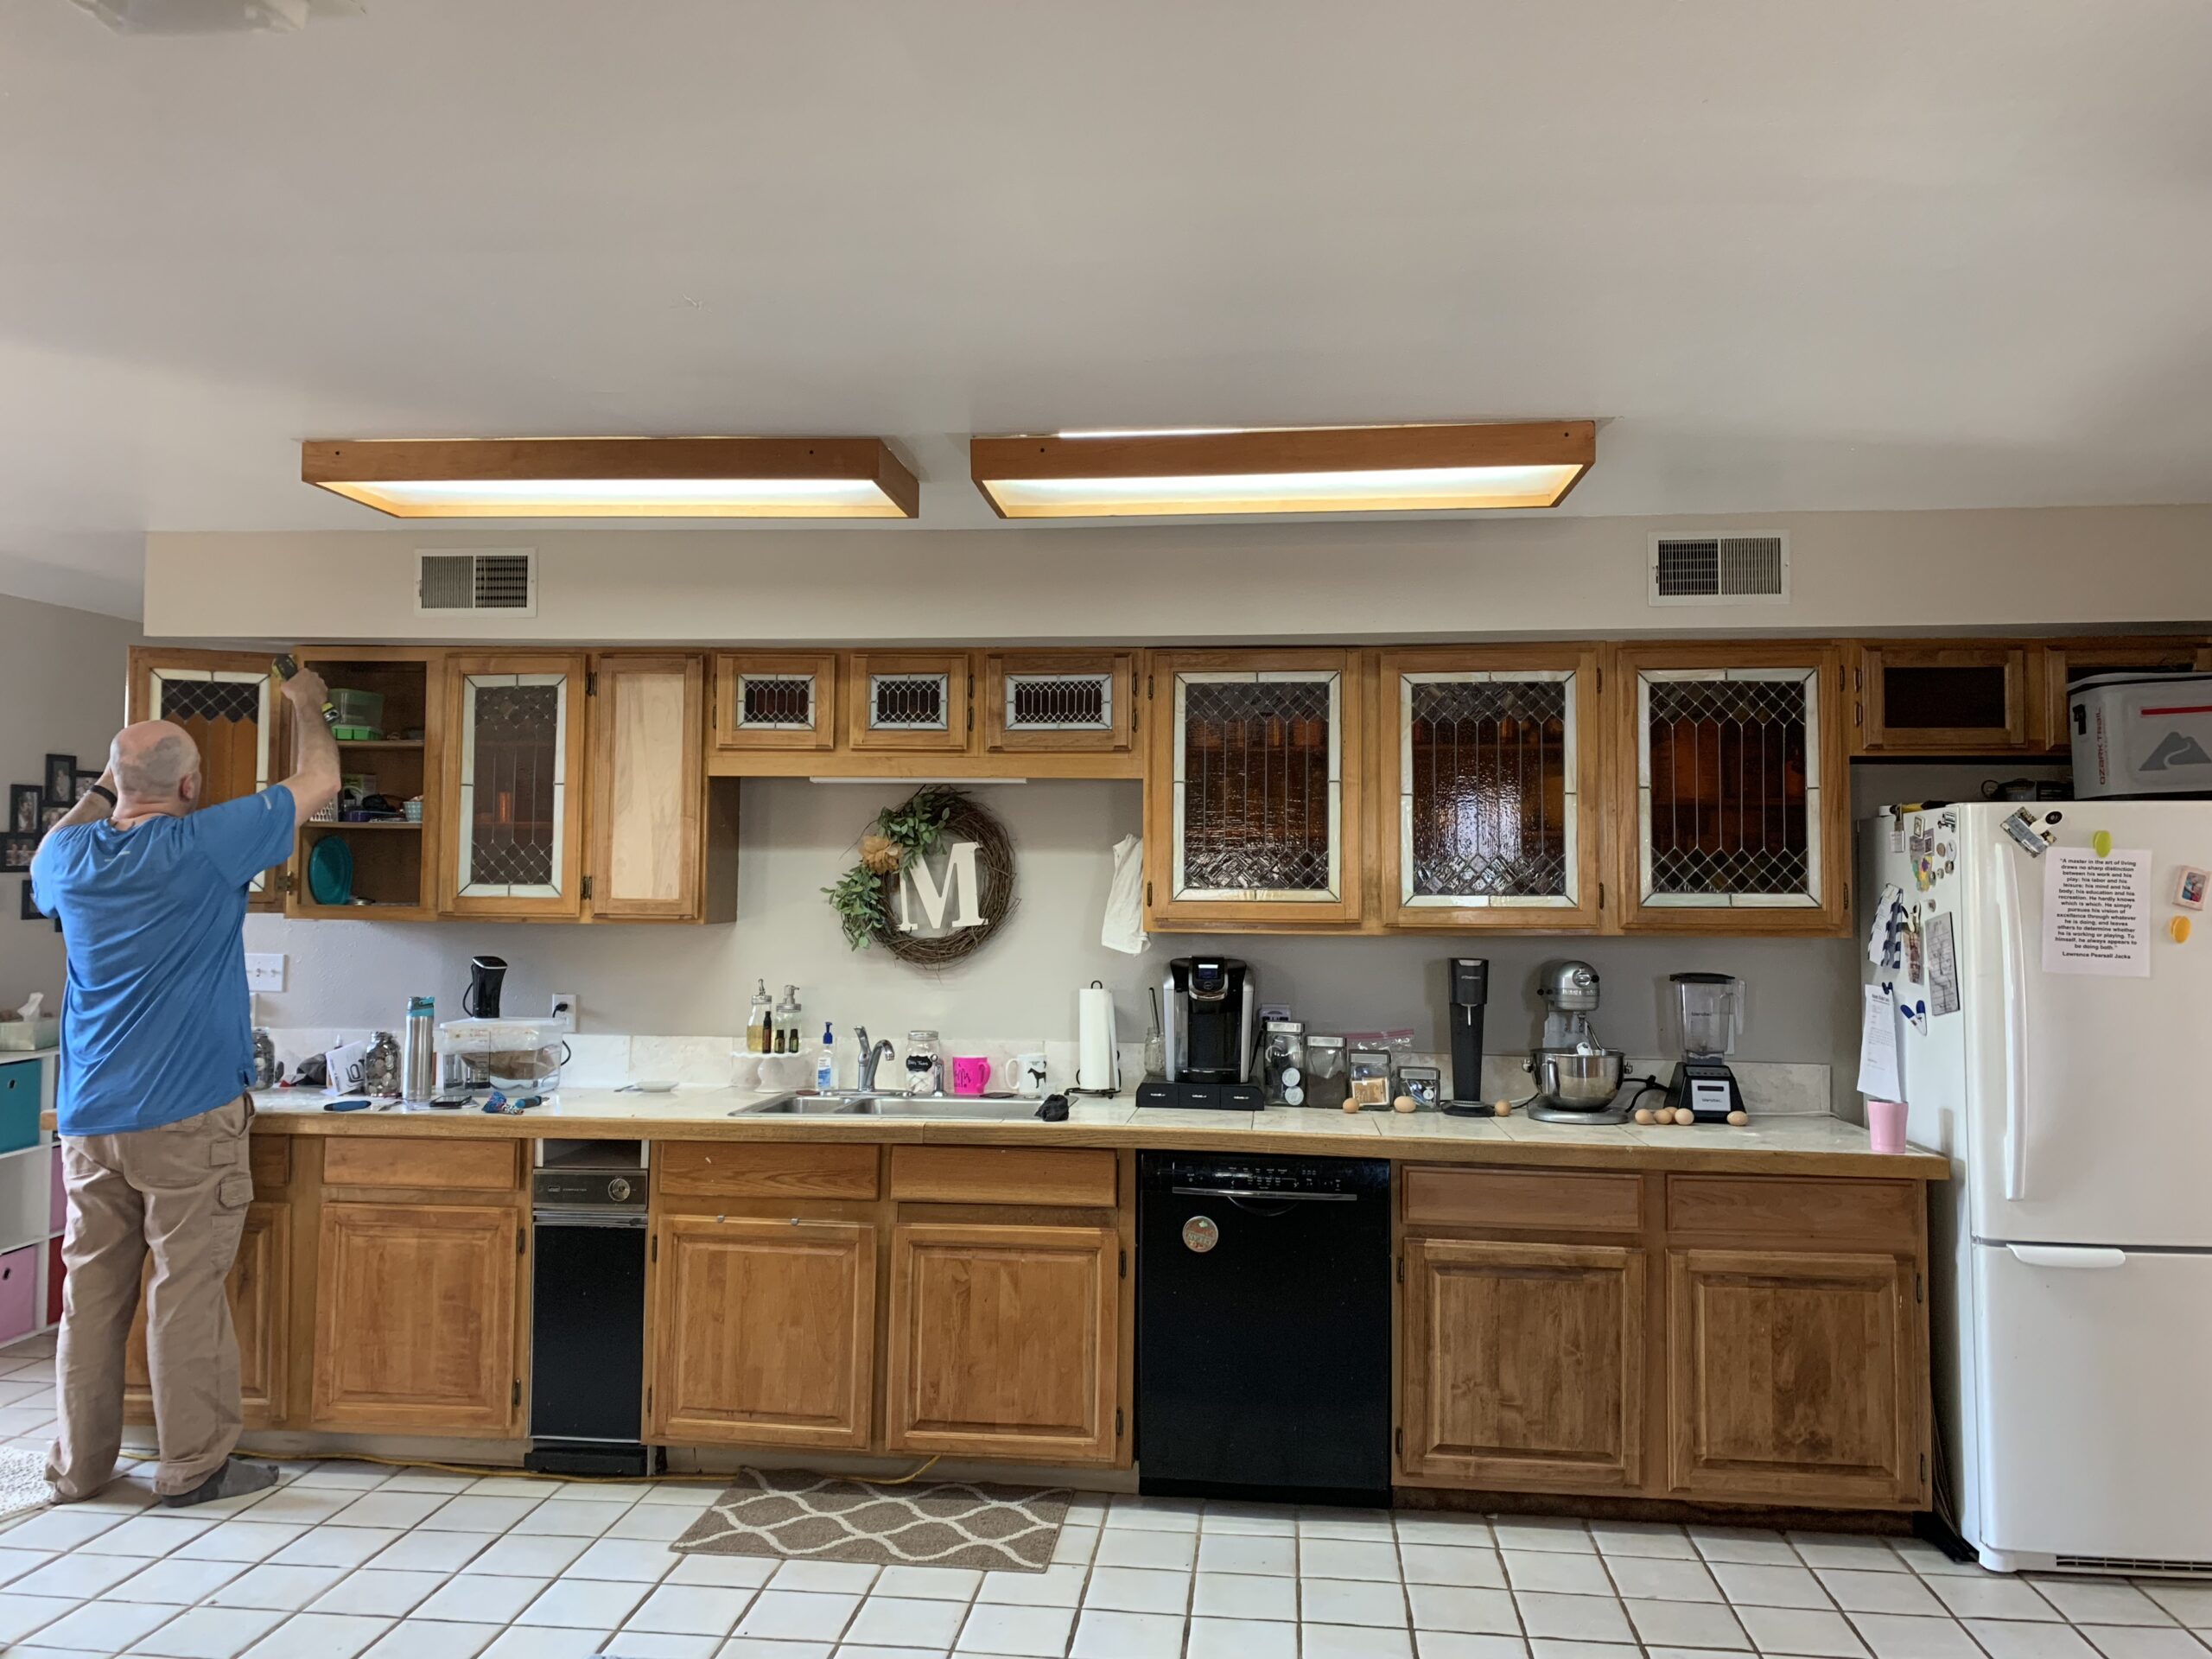
This is the only BEFORE picture I had of this view of the kitchen. I’m not sure why I never took one before but I quickly snapped this picture before Ryan took out all the stained glass. I listed the stained glass on Facebook Marketplace and sold them for $50! Yay!! The lady that bought them was having custom cabinets built and wanted to put the stained glass in her new cabinets!
The cabinets were in good condition so we decided to just remove the stained glass and replace it with sanded plywood and then paint them.
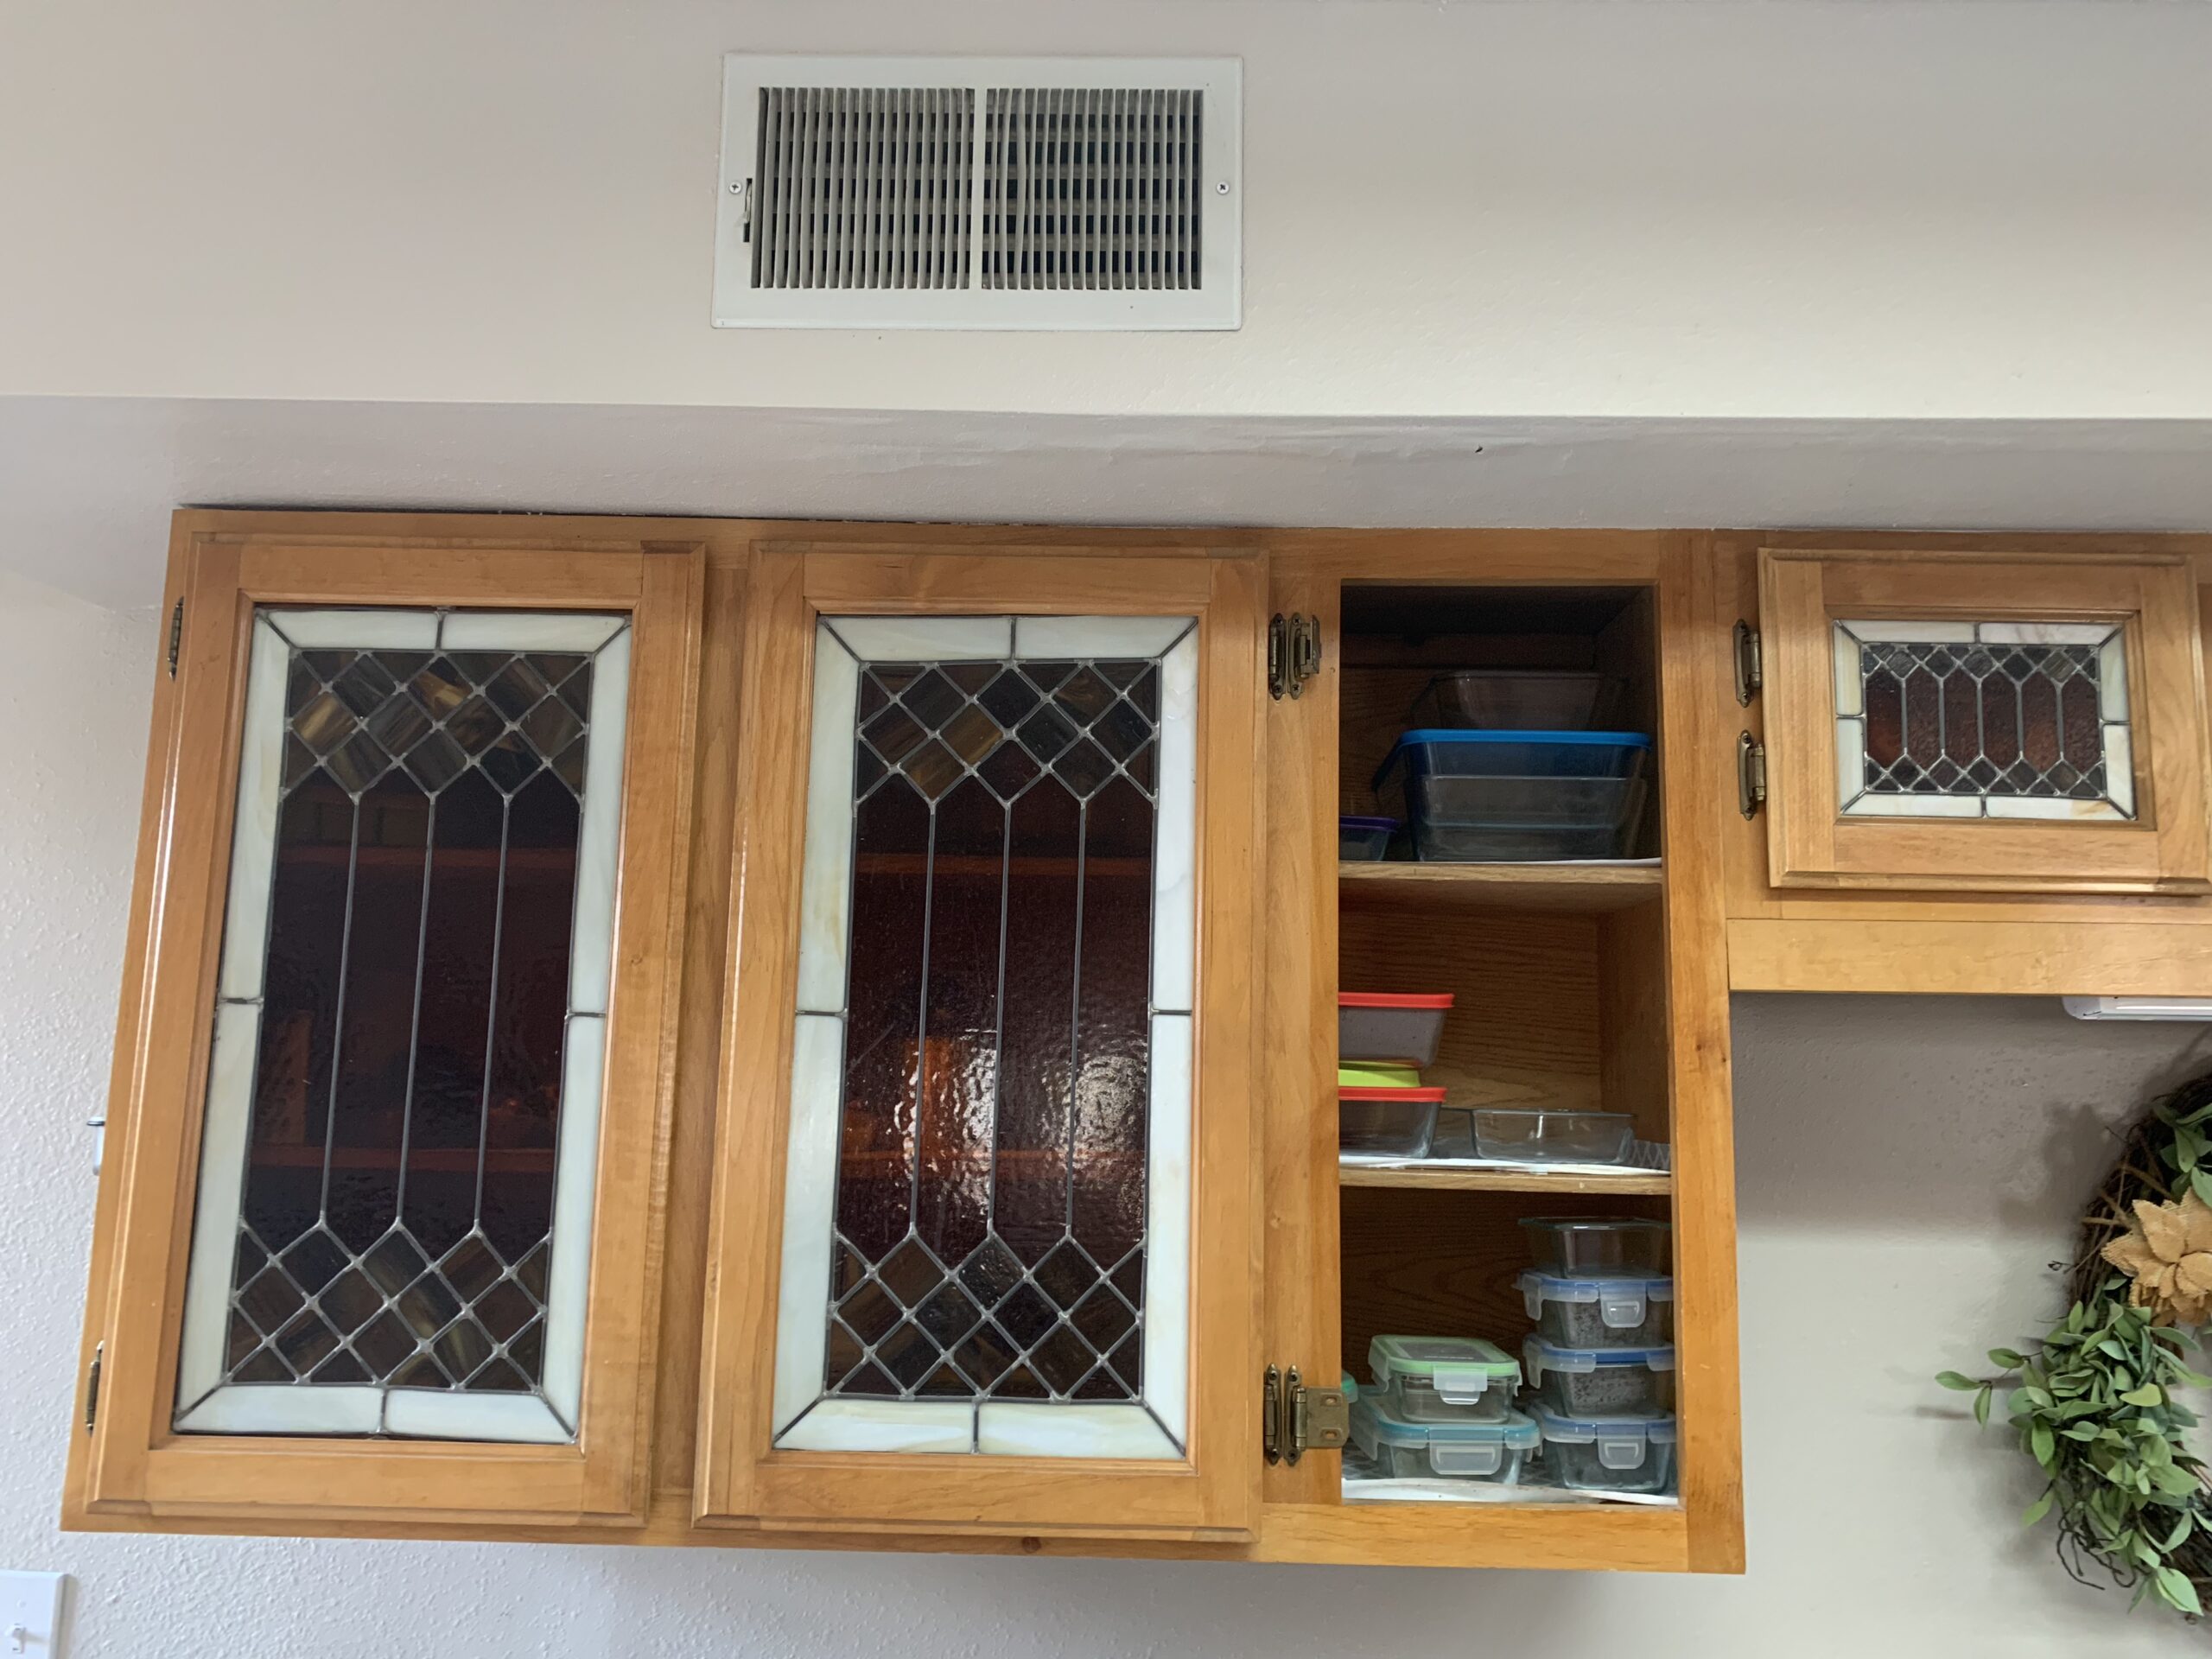
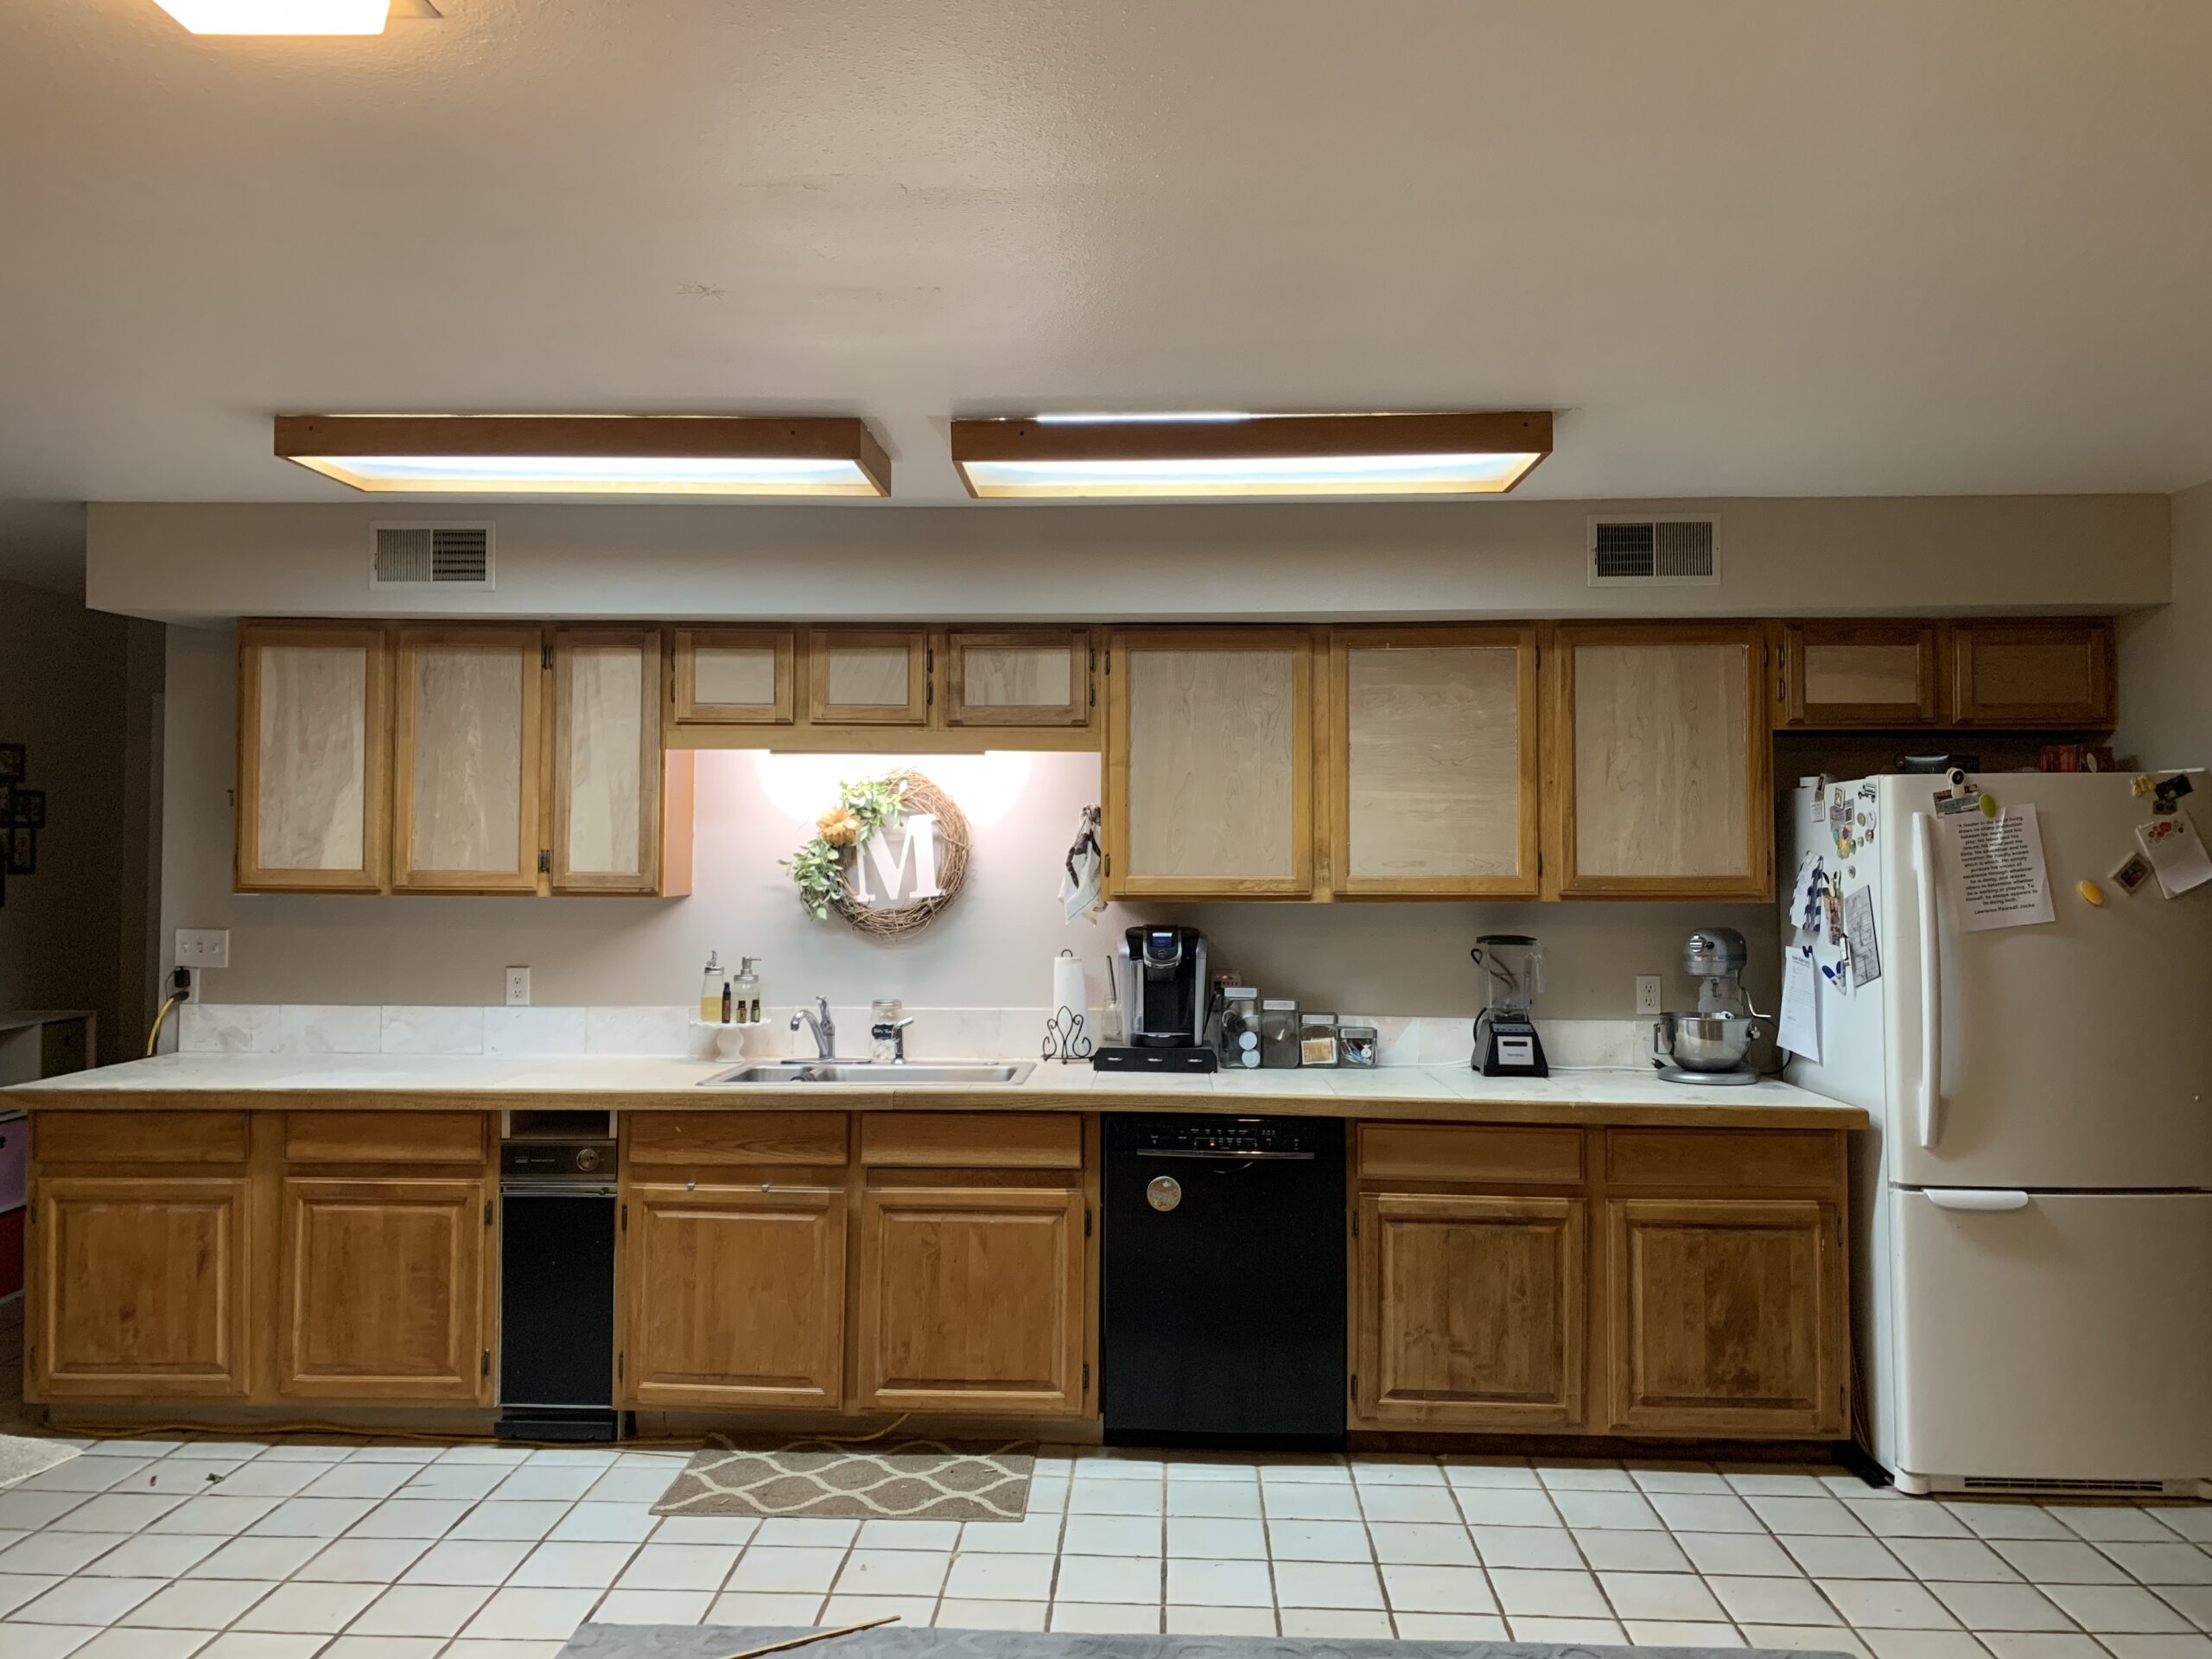
My husband did a great job with the cabinets!
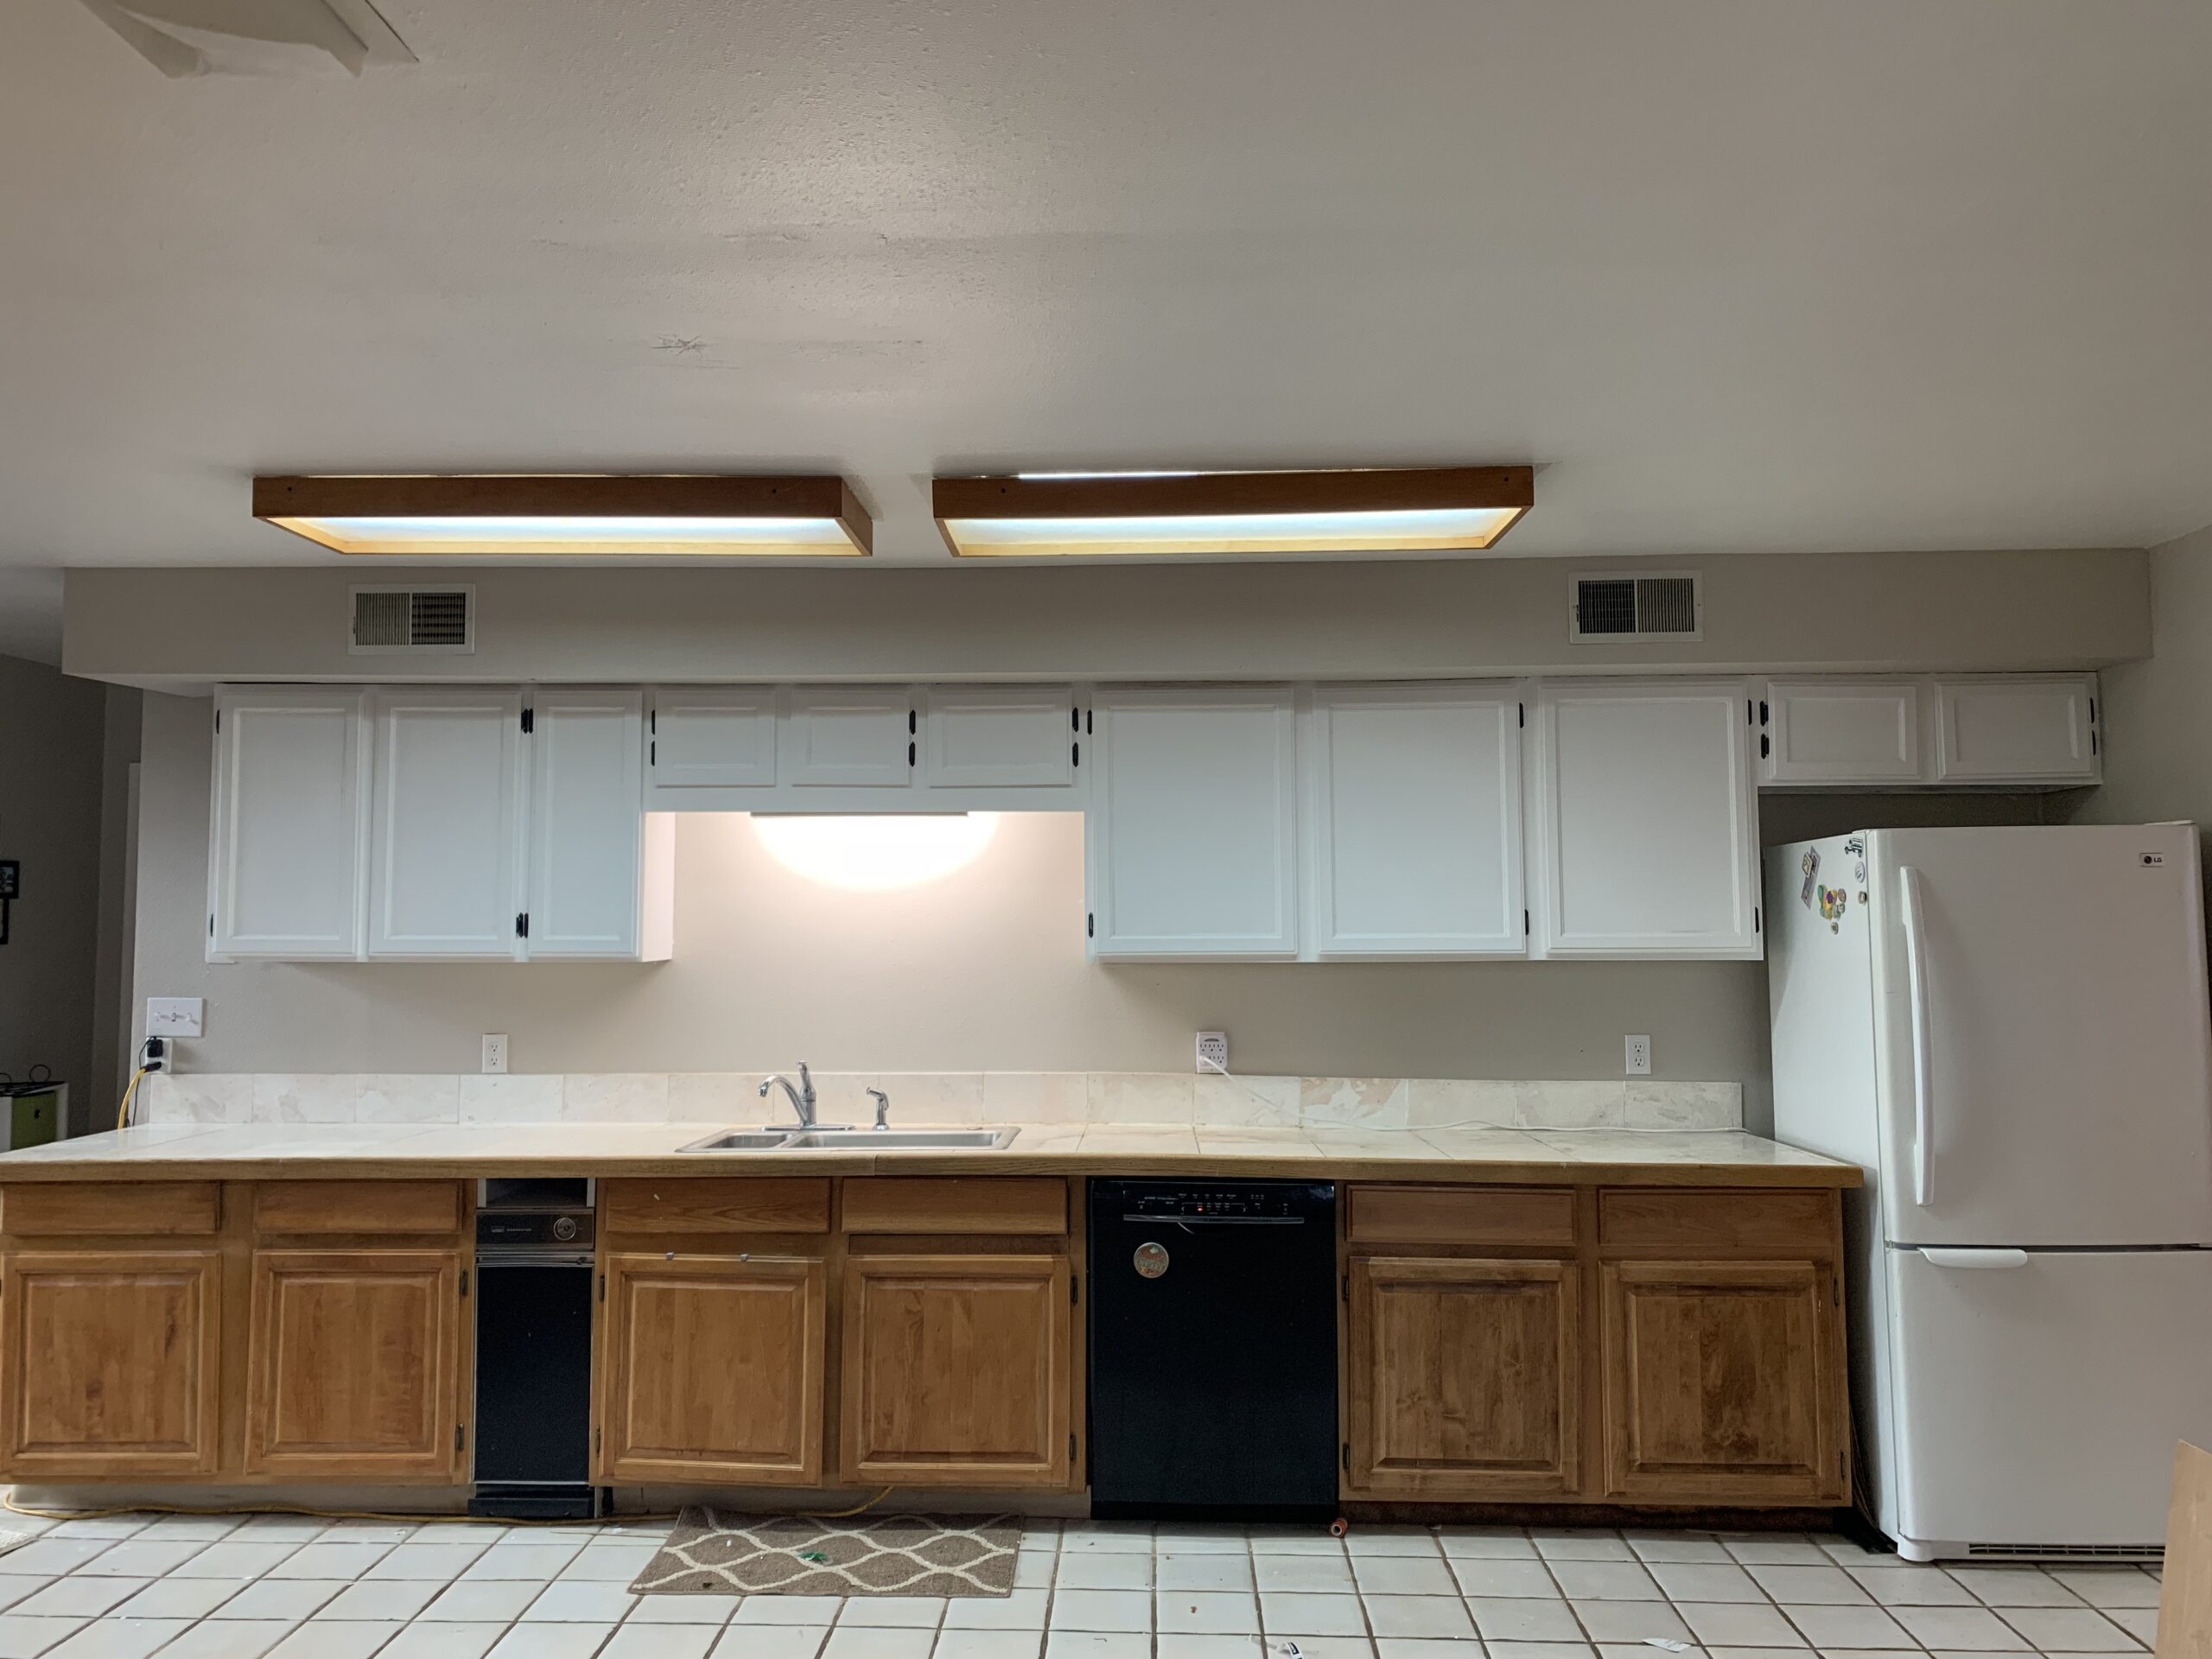
Already looking so much better now time to caulk and paint!!
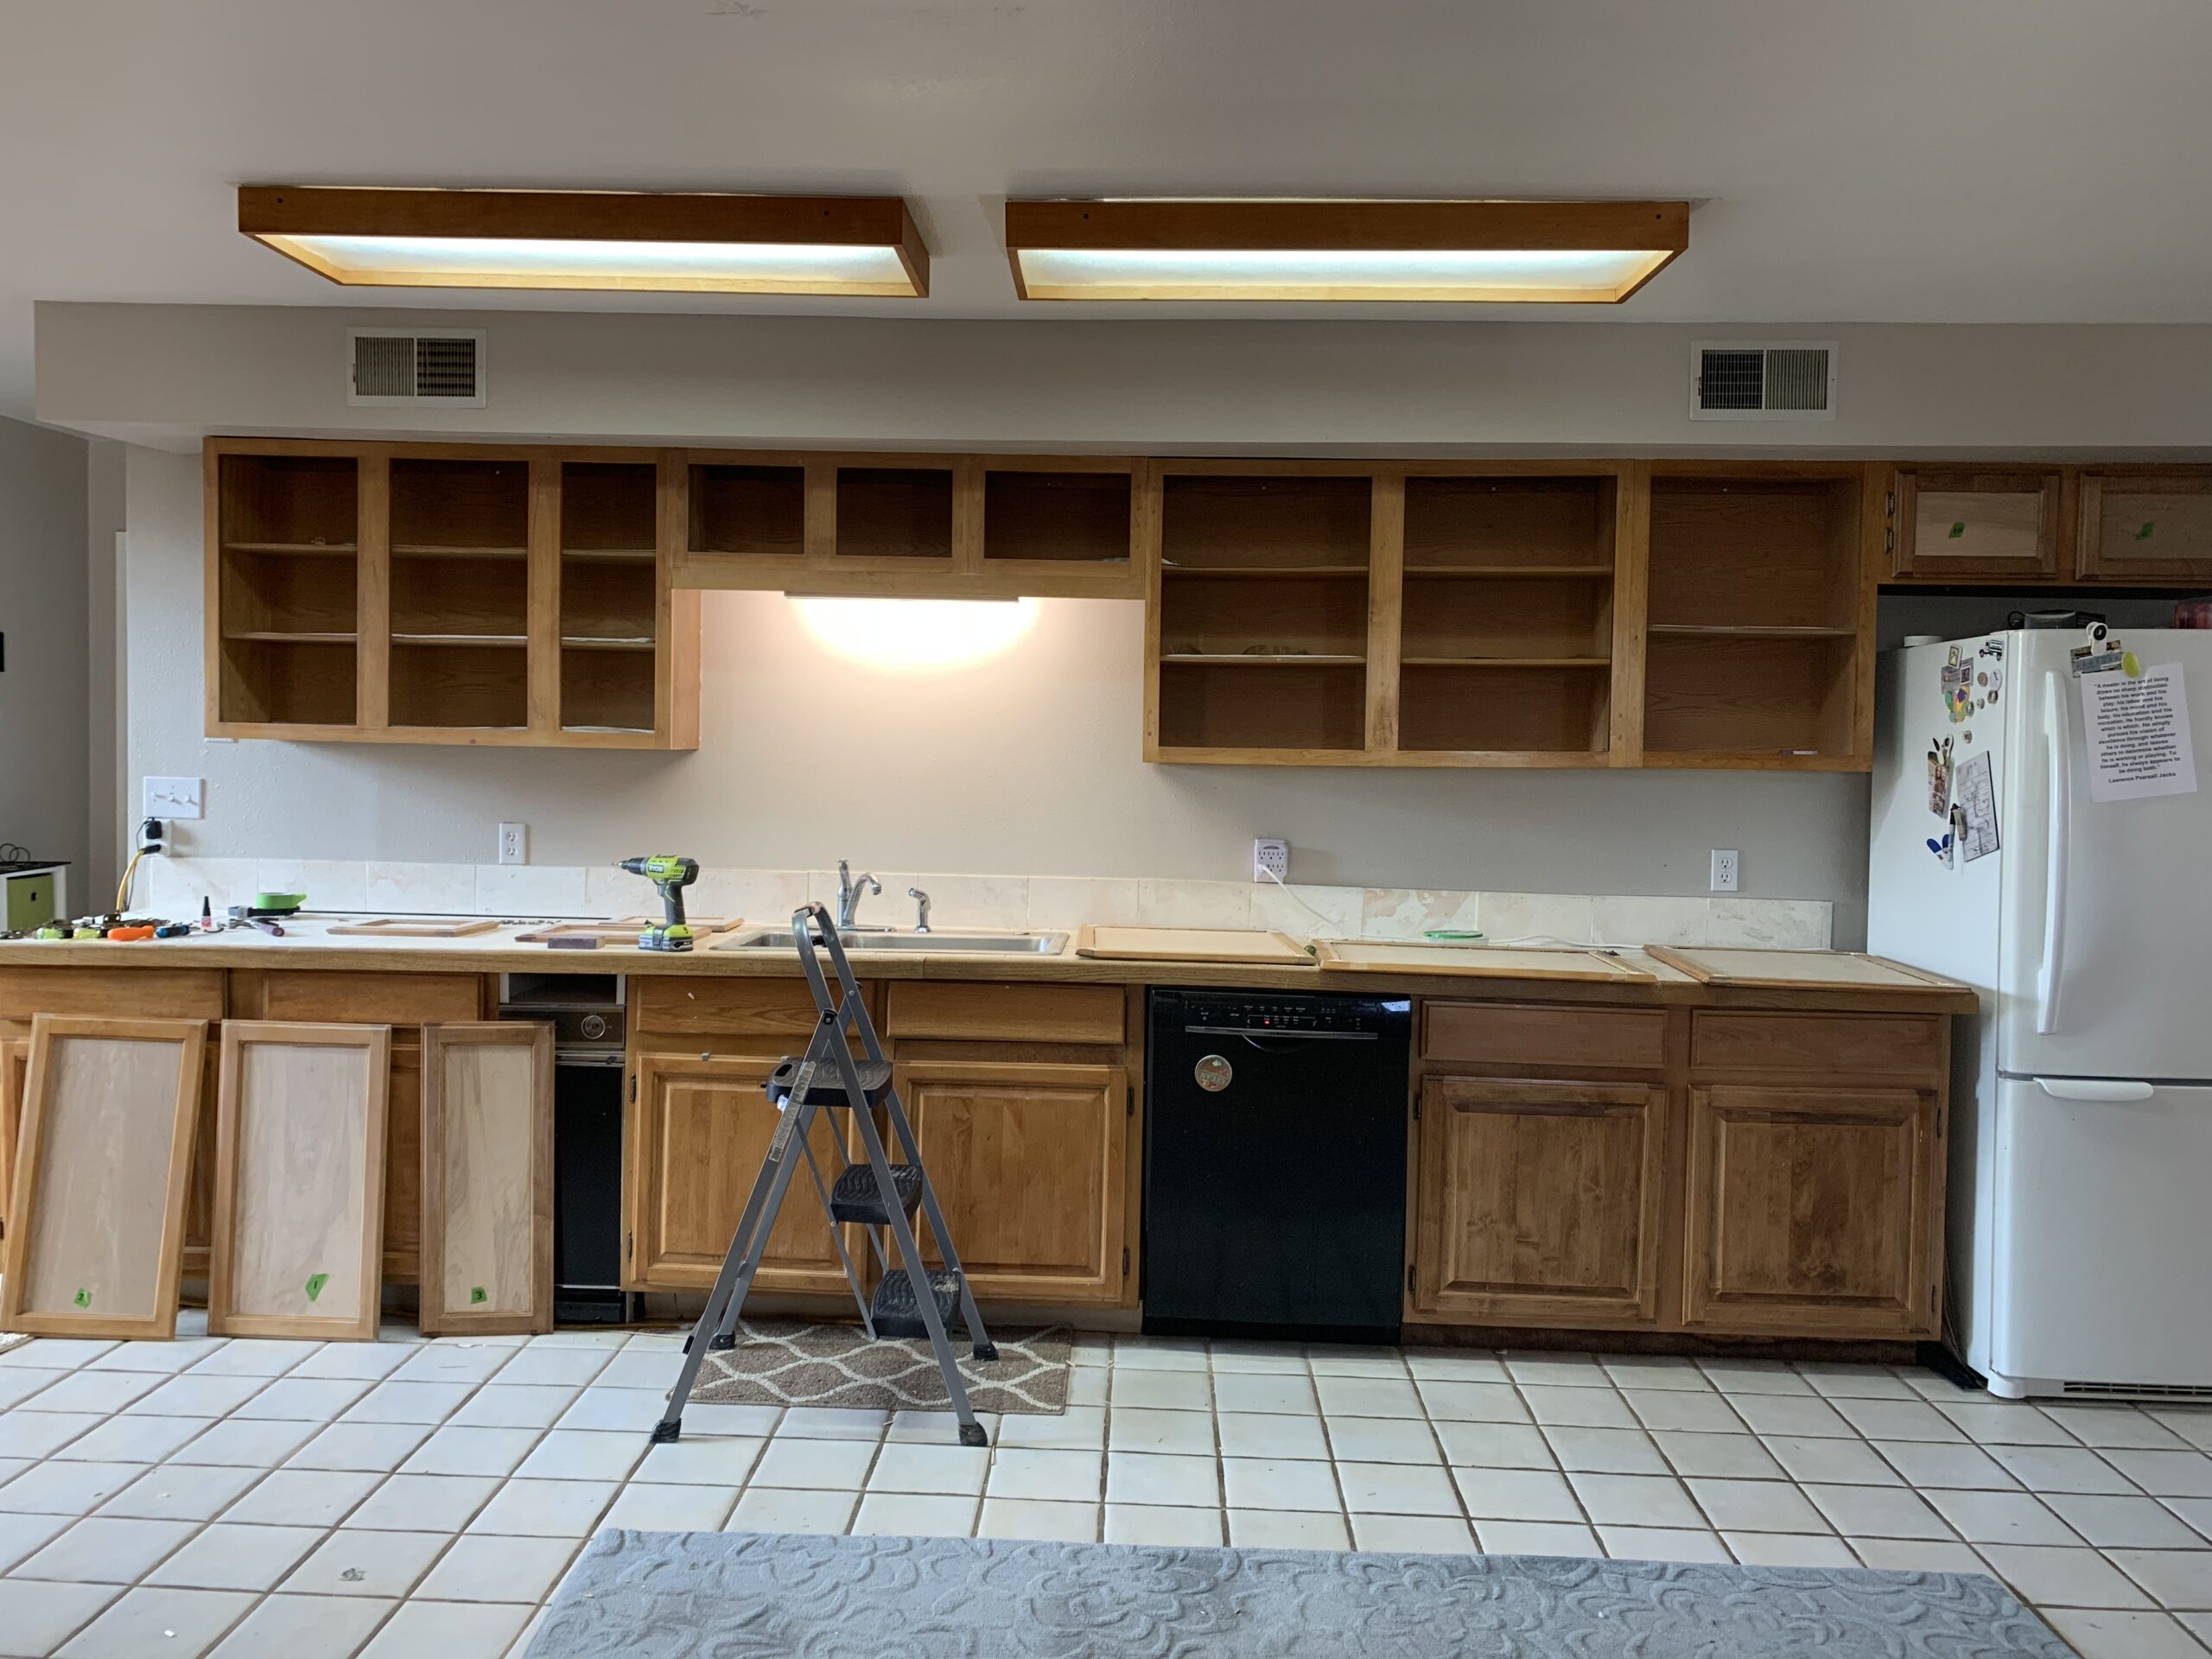
Day 2
The plan
- Remove the top doors
- Label the doors so we can put them back in the right cabinet.
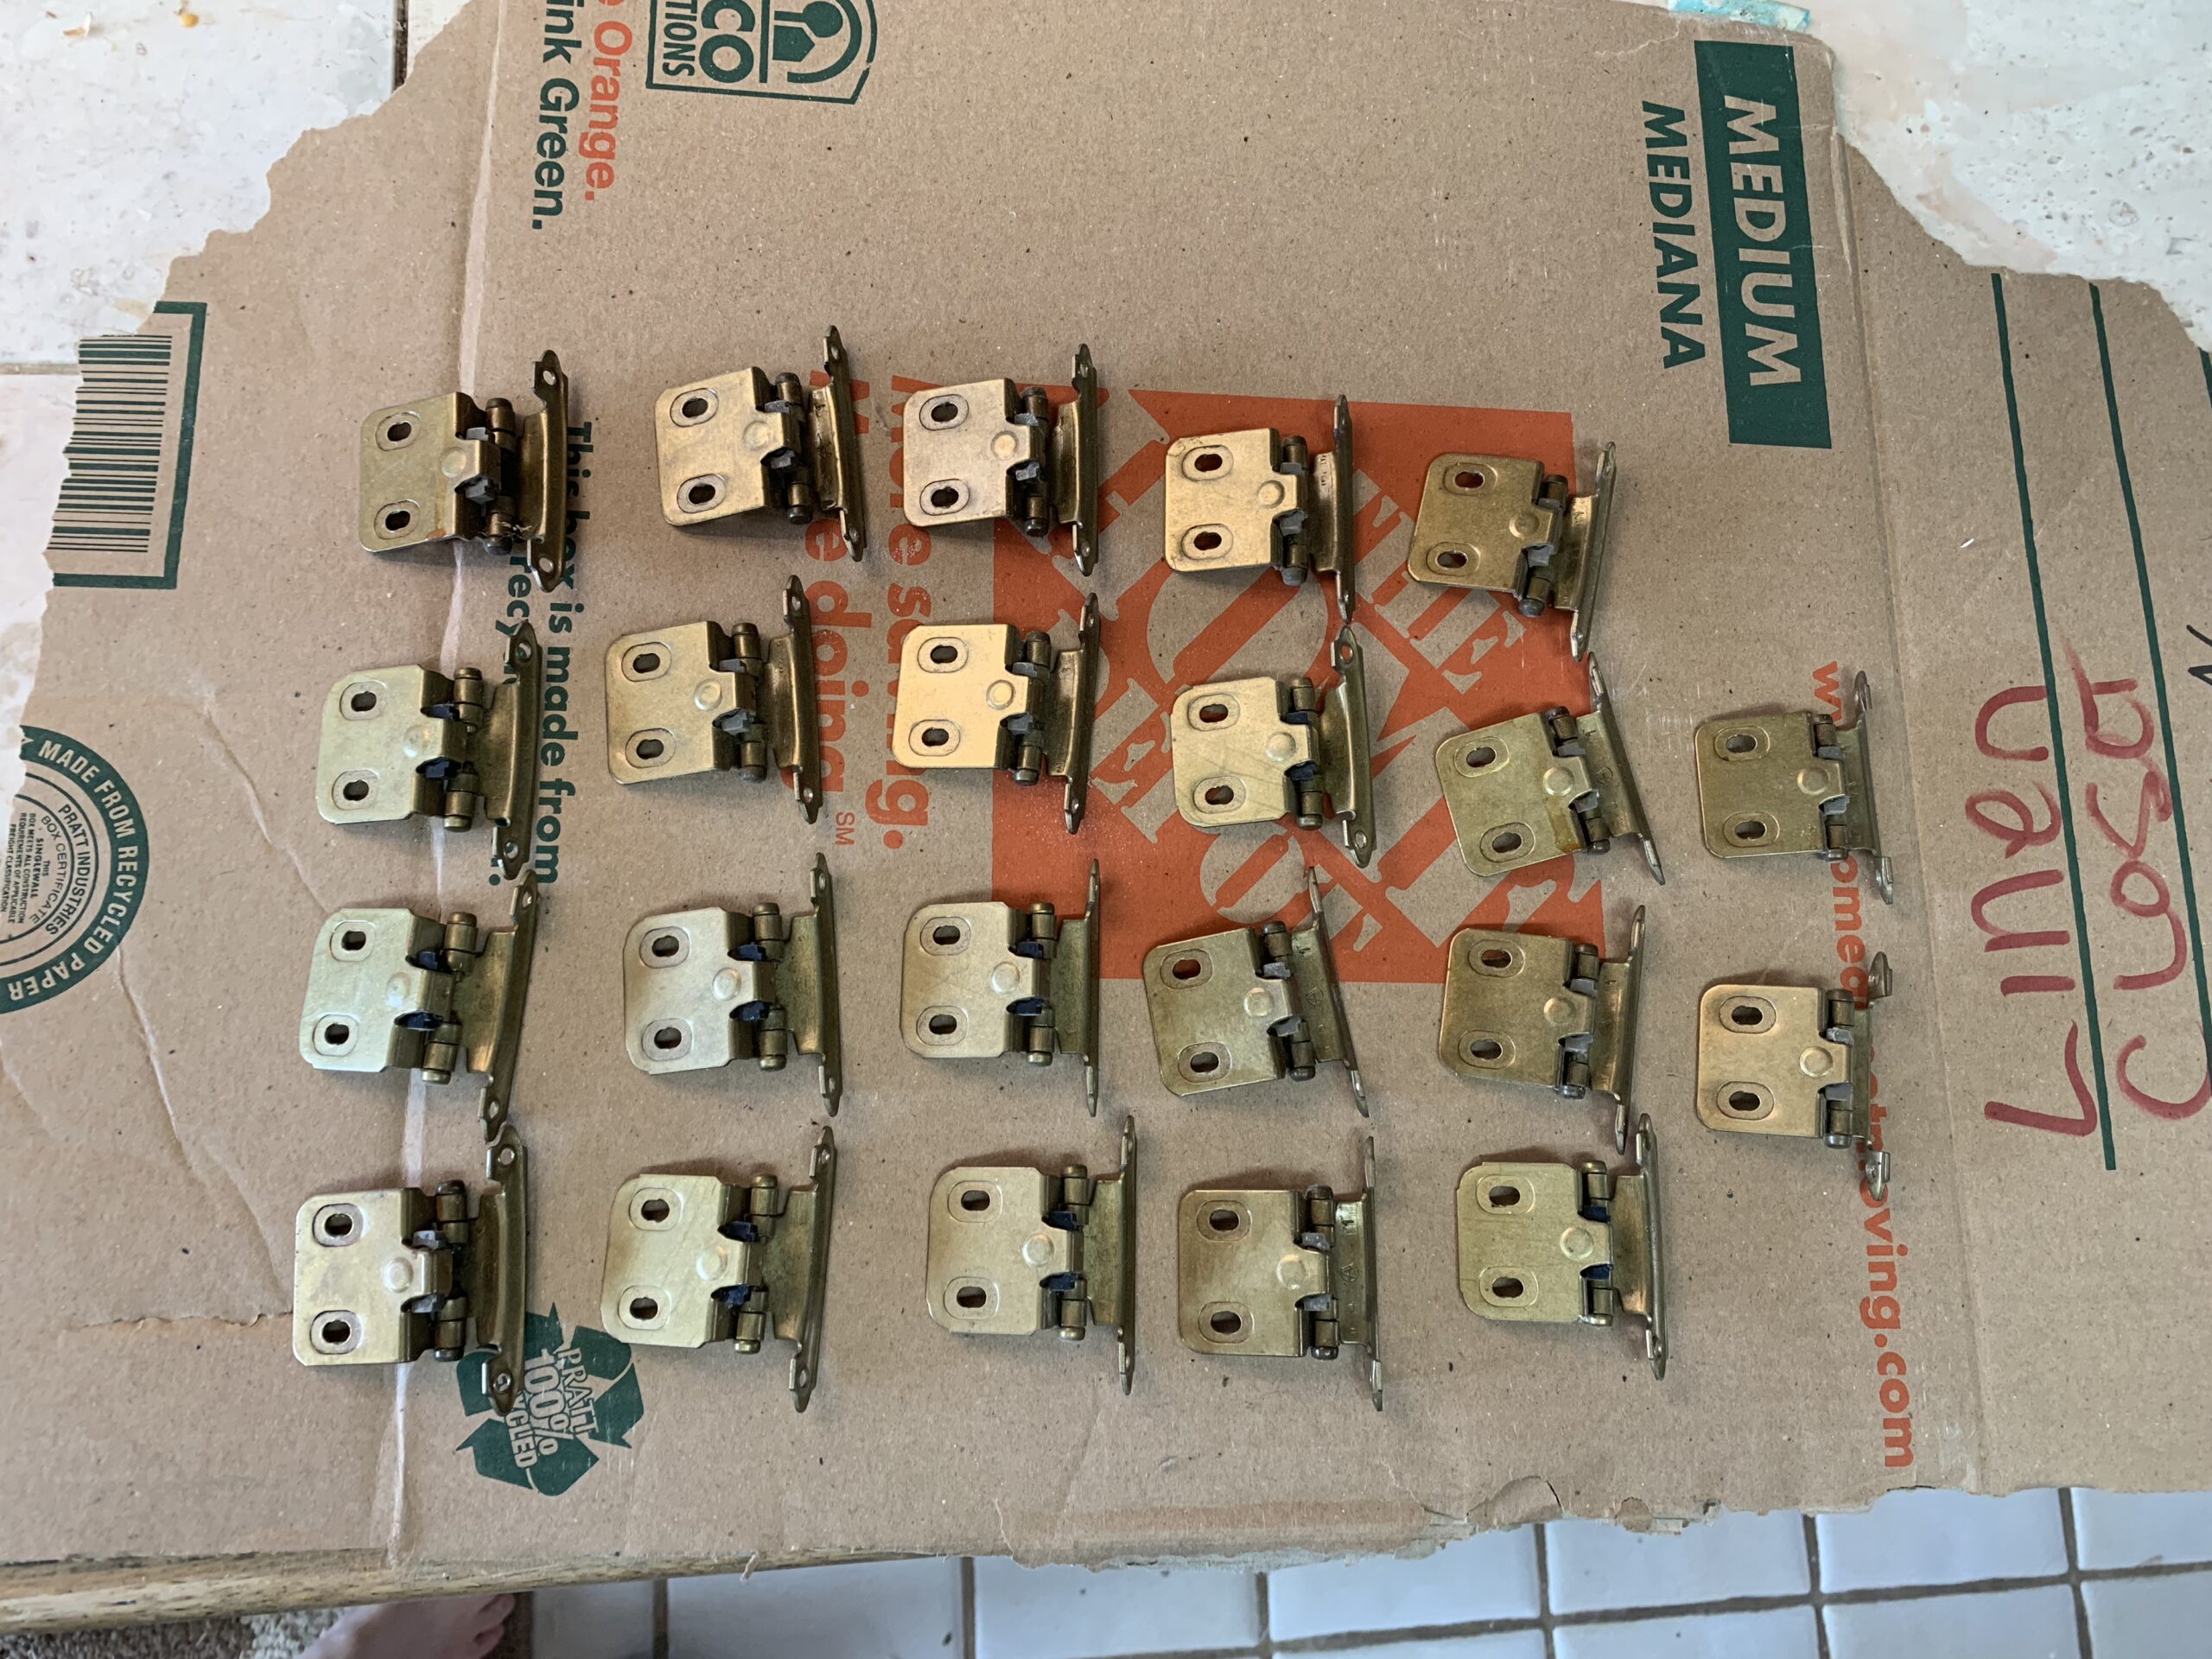
- Remove hinges
- Caulk
- Paint cabinets
- Paint doors and hinges
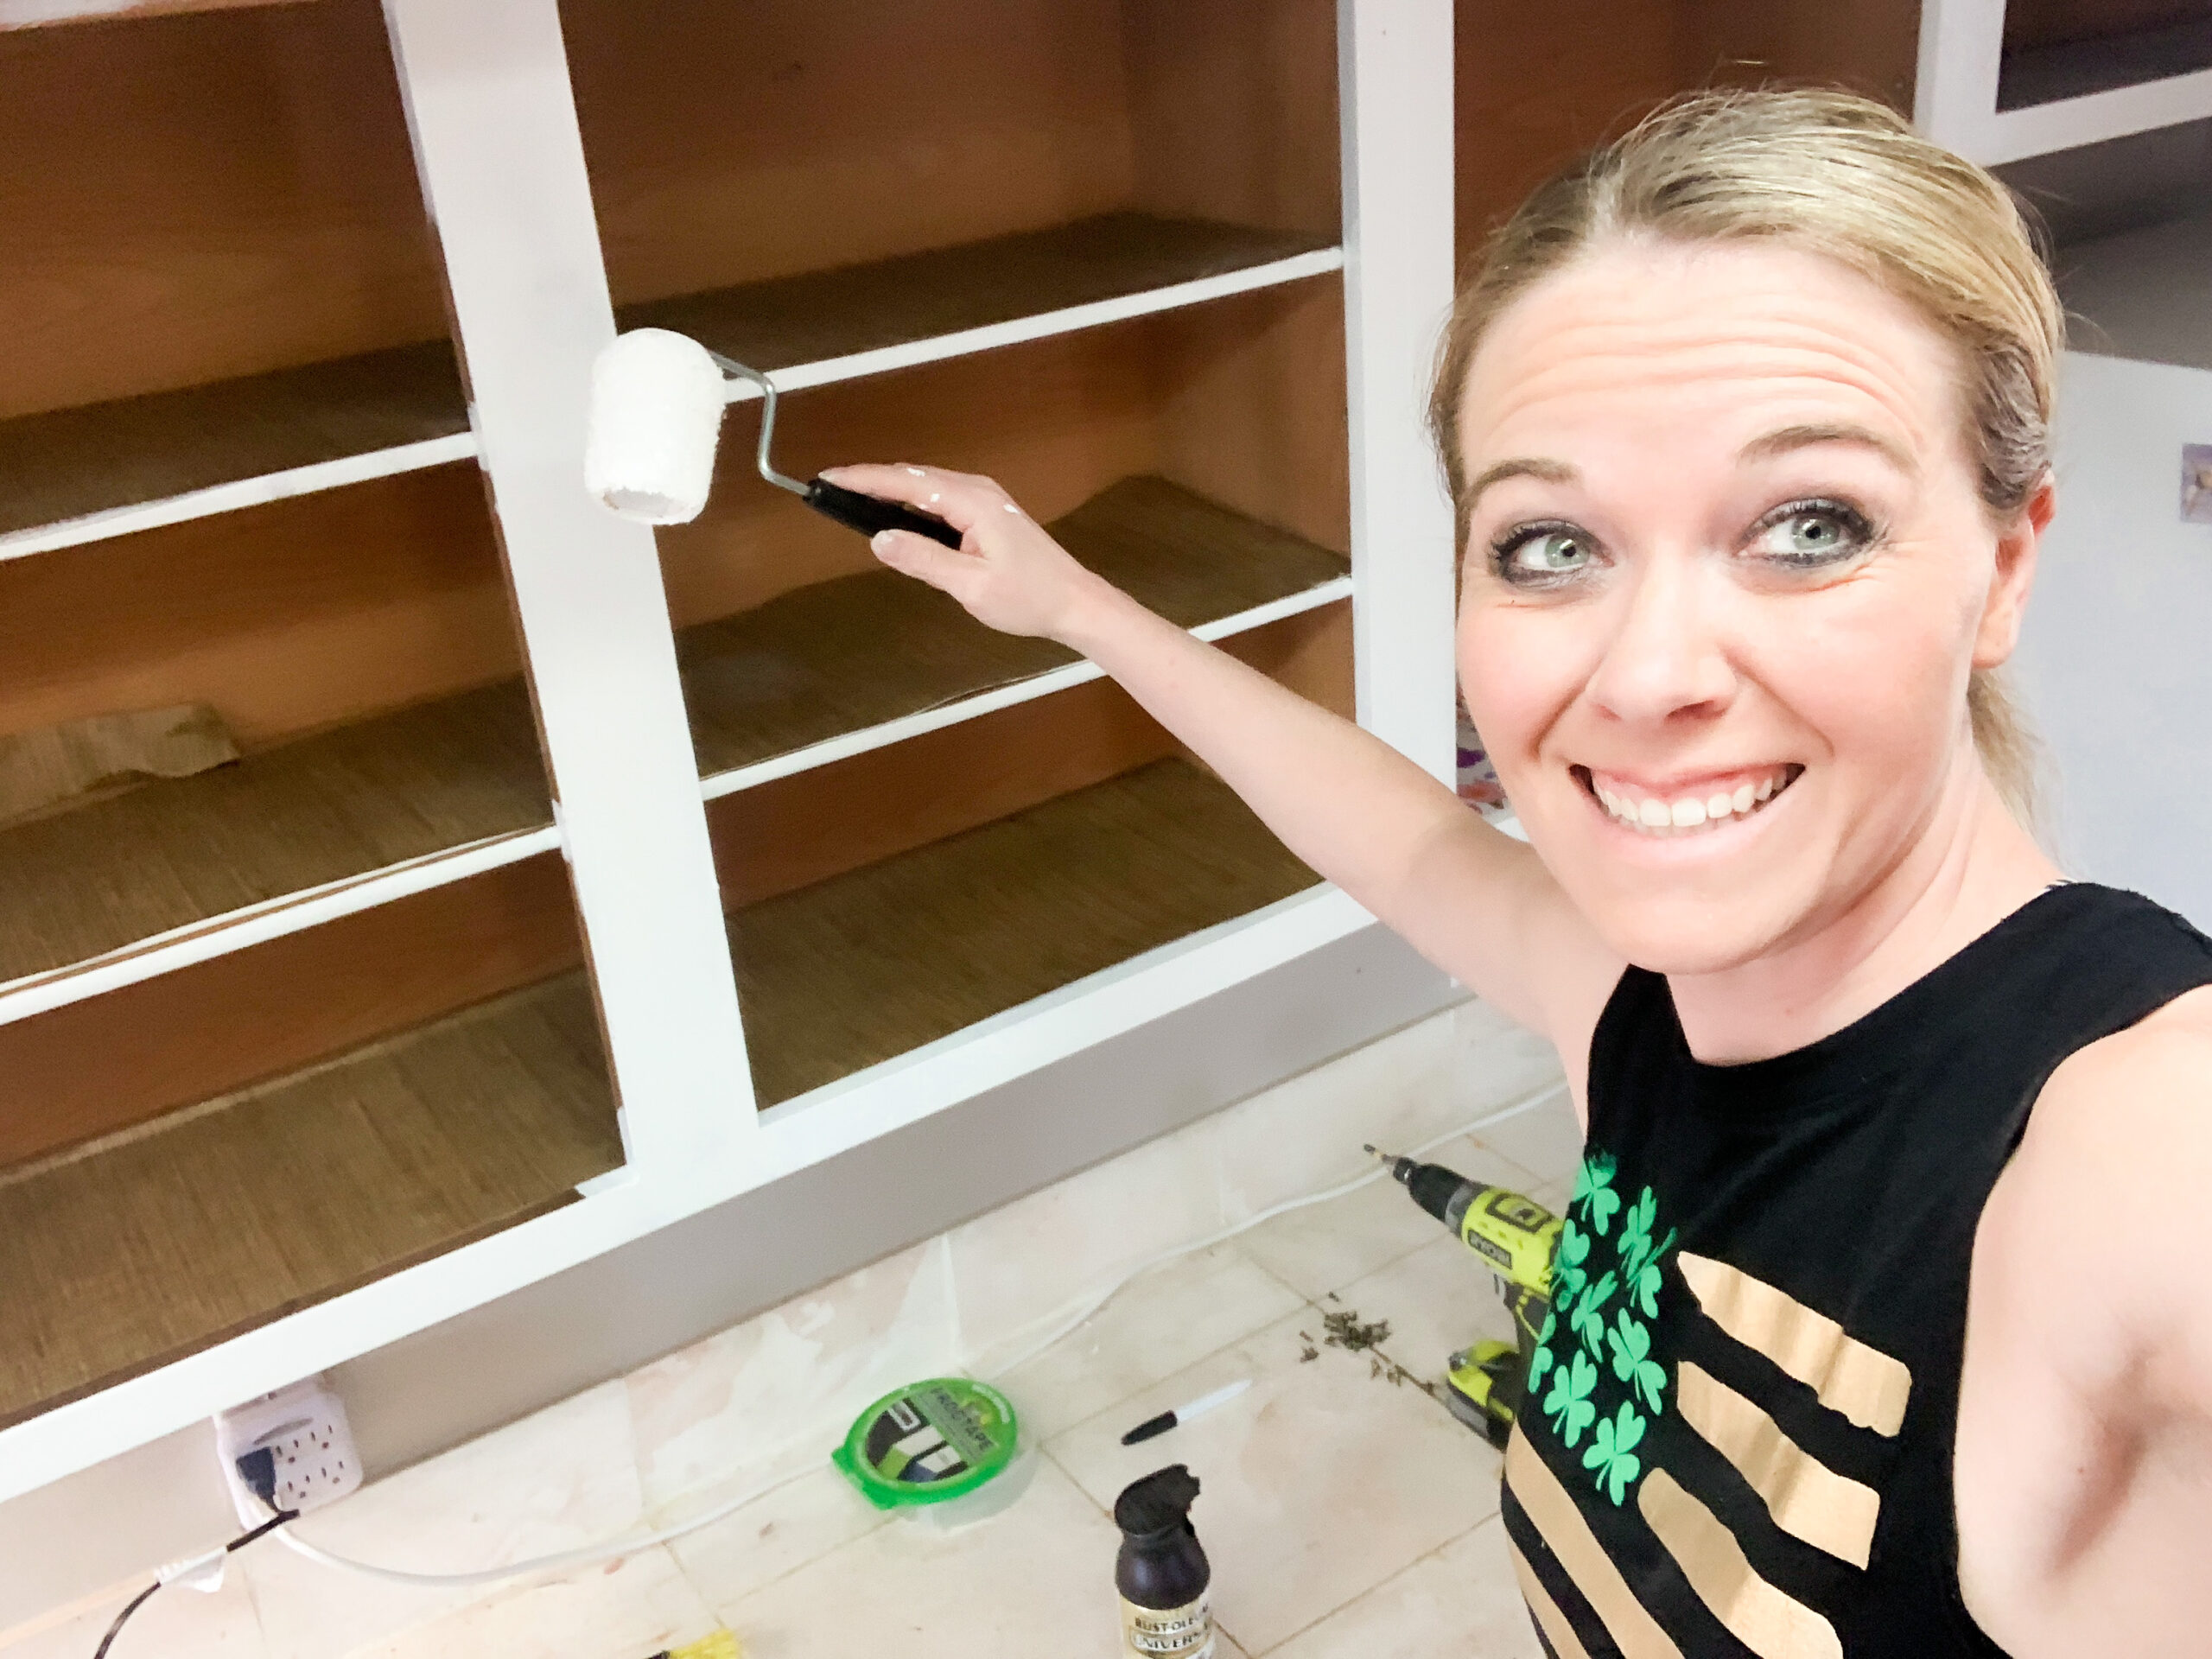
Yep! This is how to spent our St. Patty’s Day 2019!
My son even helped with some of the painting.
Day 3
Time to paint the bottom cabinets and remove the broken trash compactor.

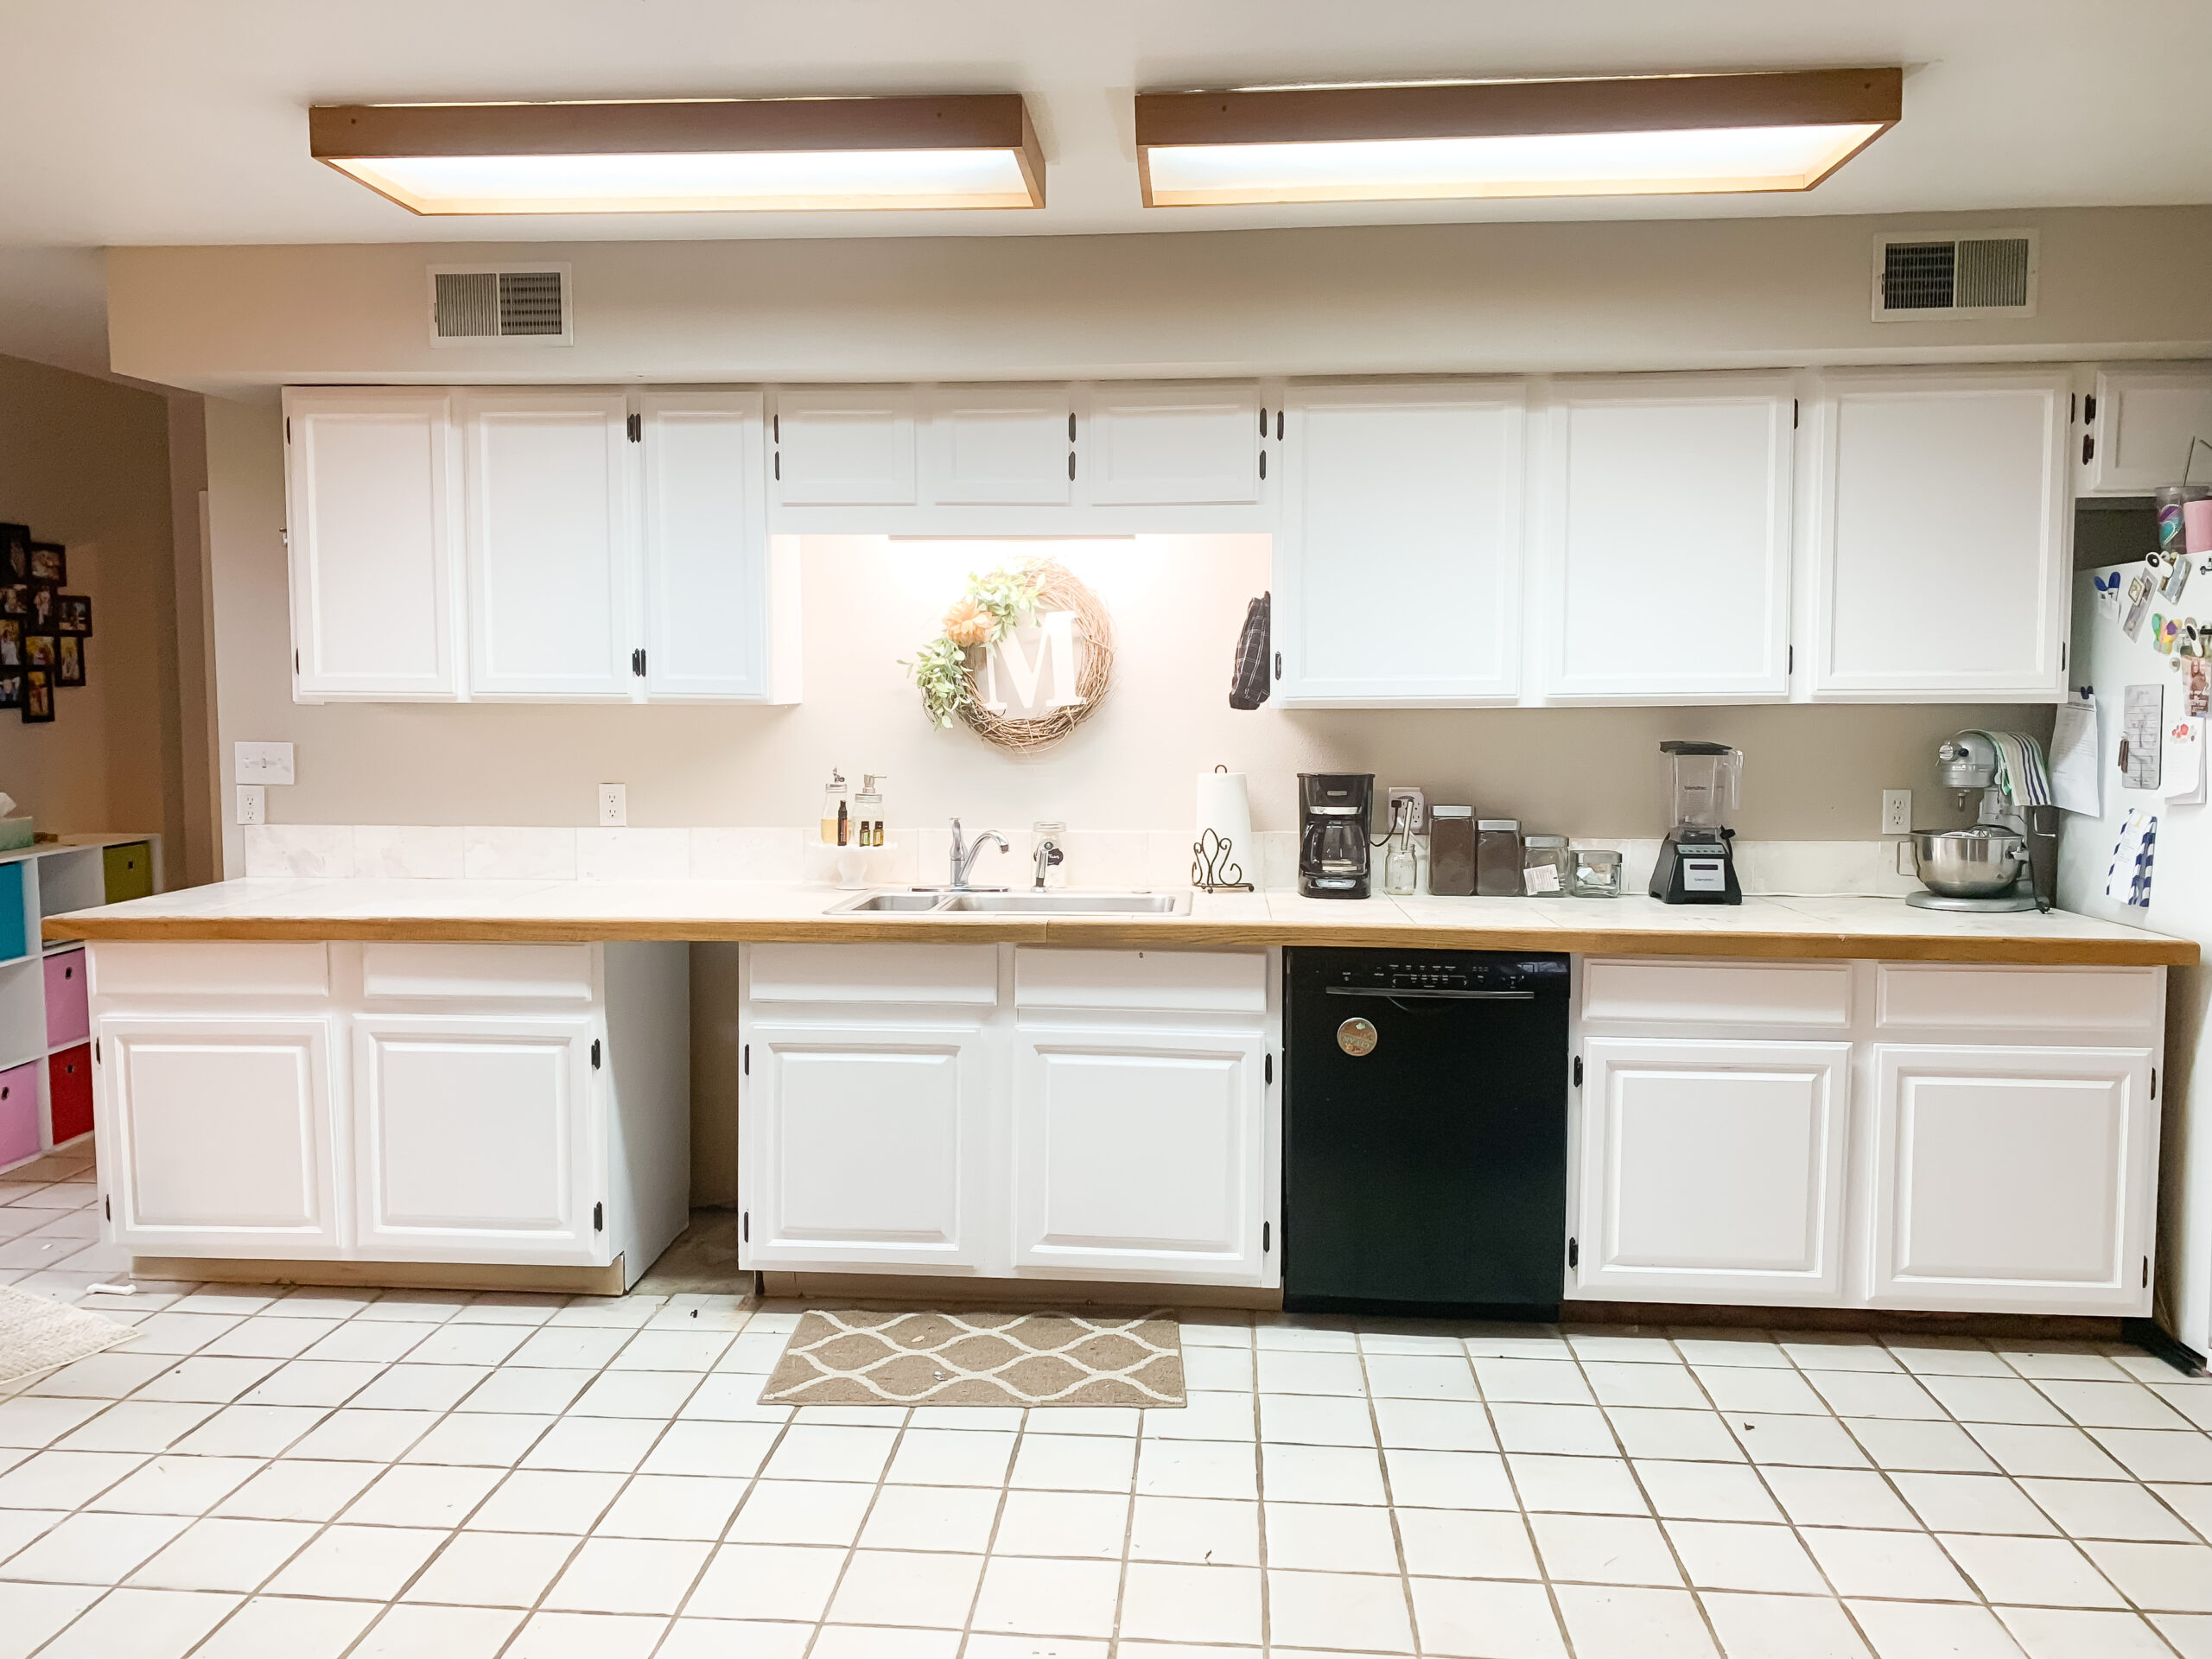
Finished!! Well with the painting that is!
Day 4
Time to work on the other side of the kitchen.
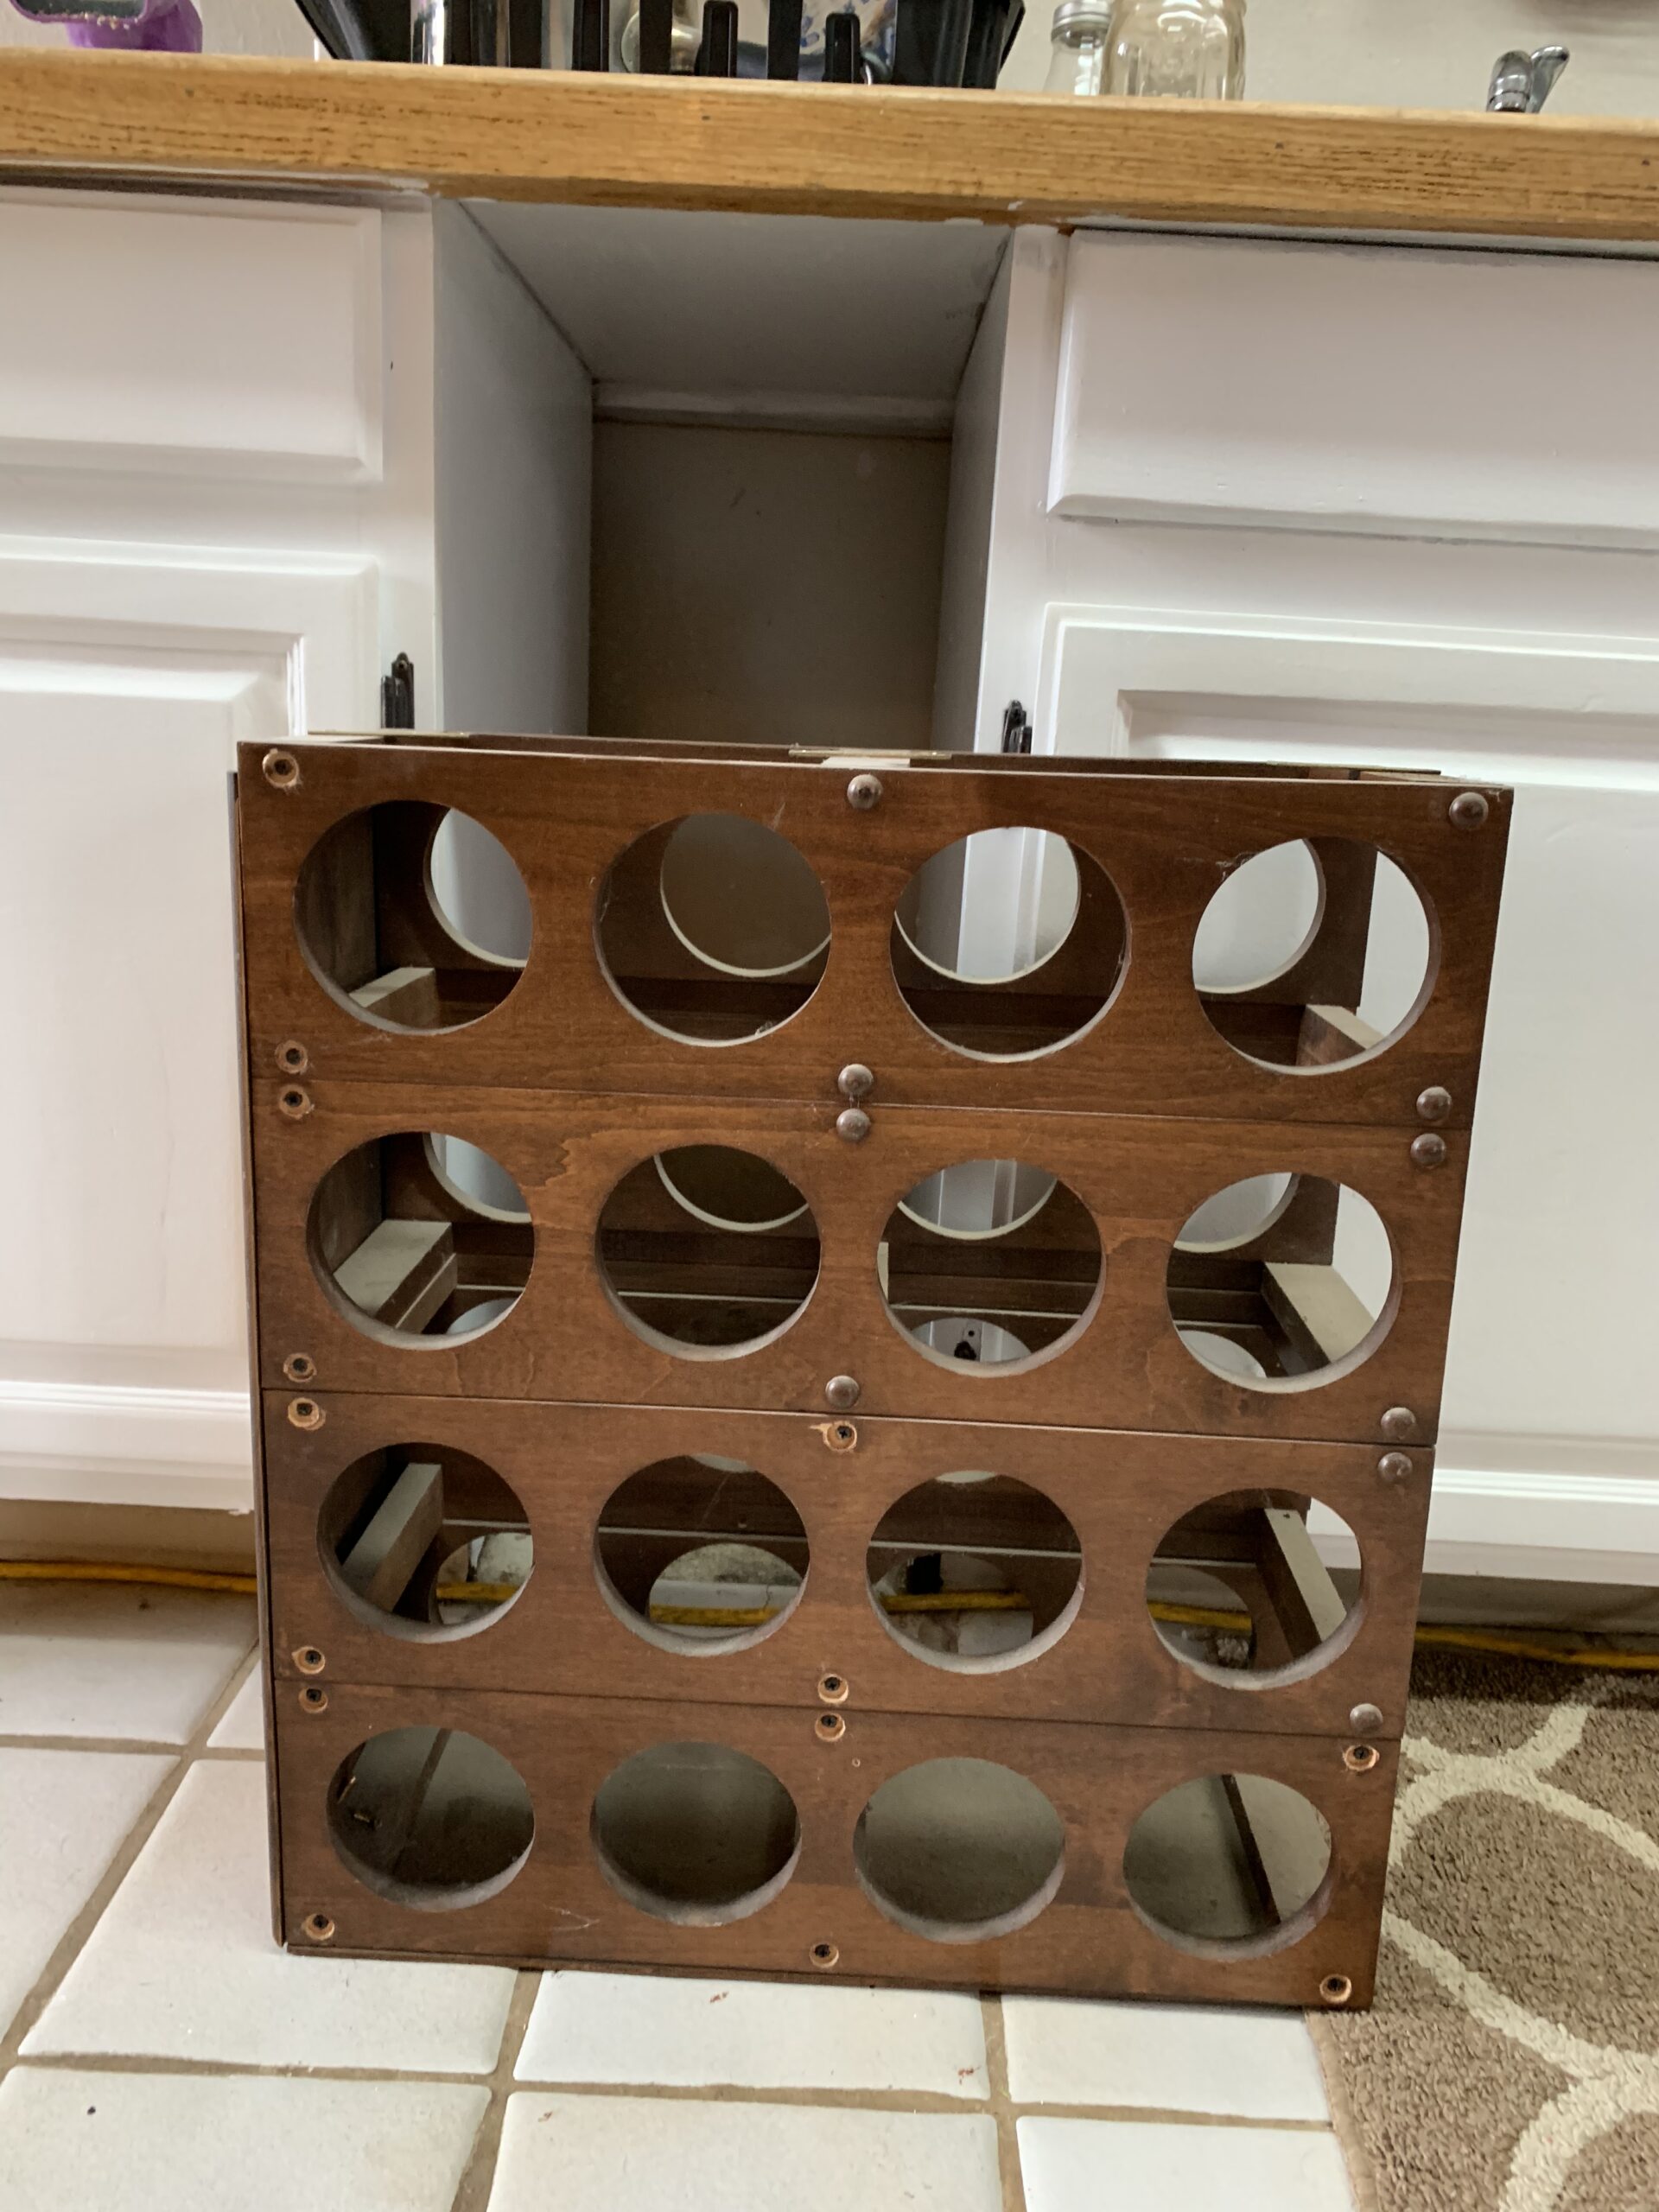
I knew I wanted to remove the broken trash compactor but we were not sure what to do here. We could just move the cabinets closer together but that would have to wait because we were not planning on re-doing the countertops at this time. I had the idea of a wine rack! So I went on the hunt to find a wine rack. This was a harder task than I thought it was going to be. My Father-in-Law had one at this house that he never used and gave it to us! Yay!! All we had to do is cut it to fit the space we had.
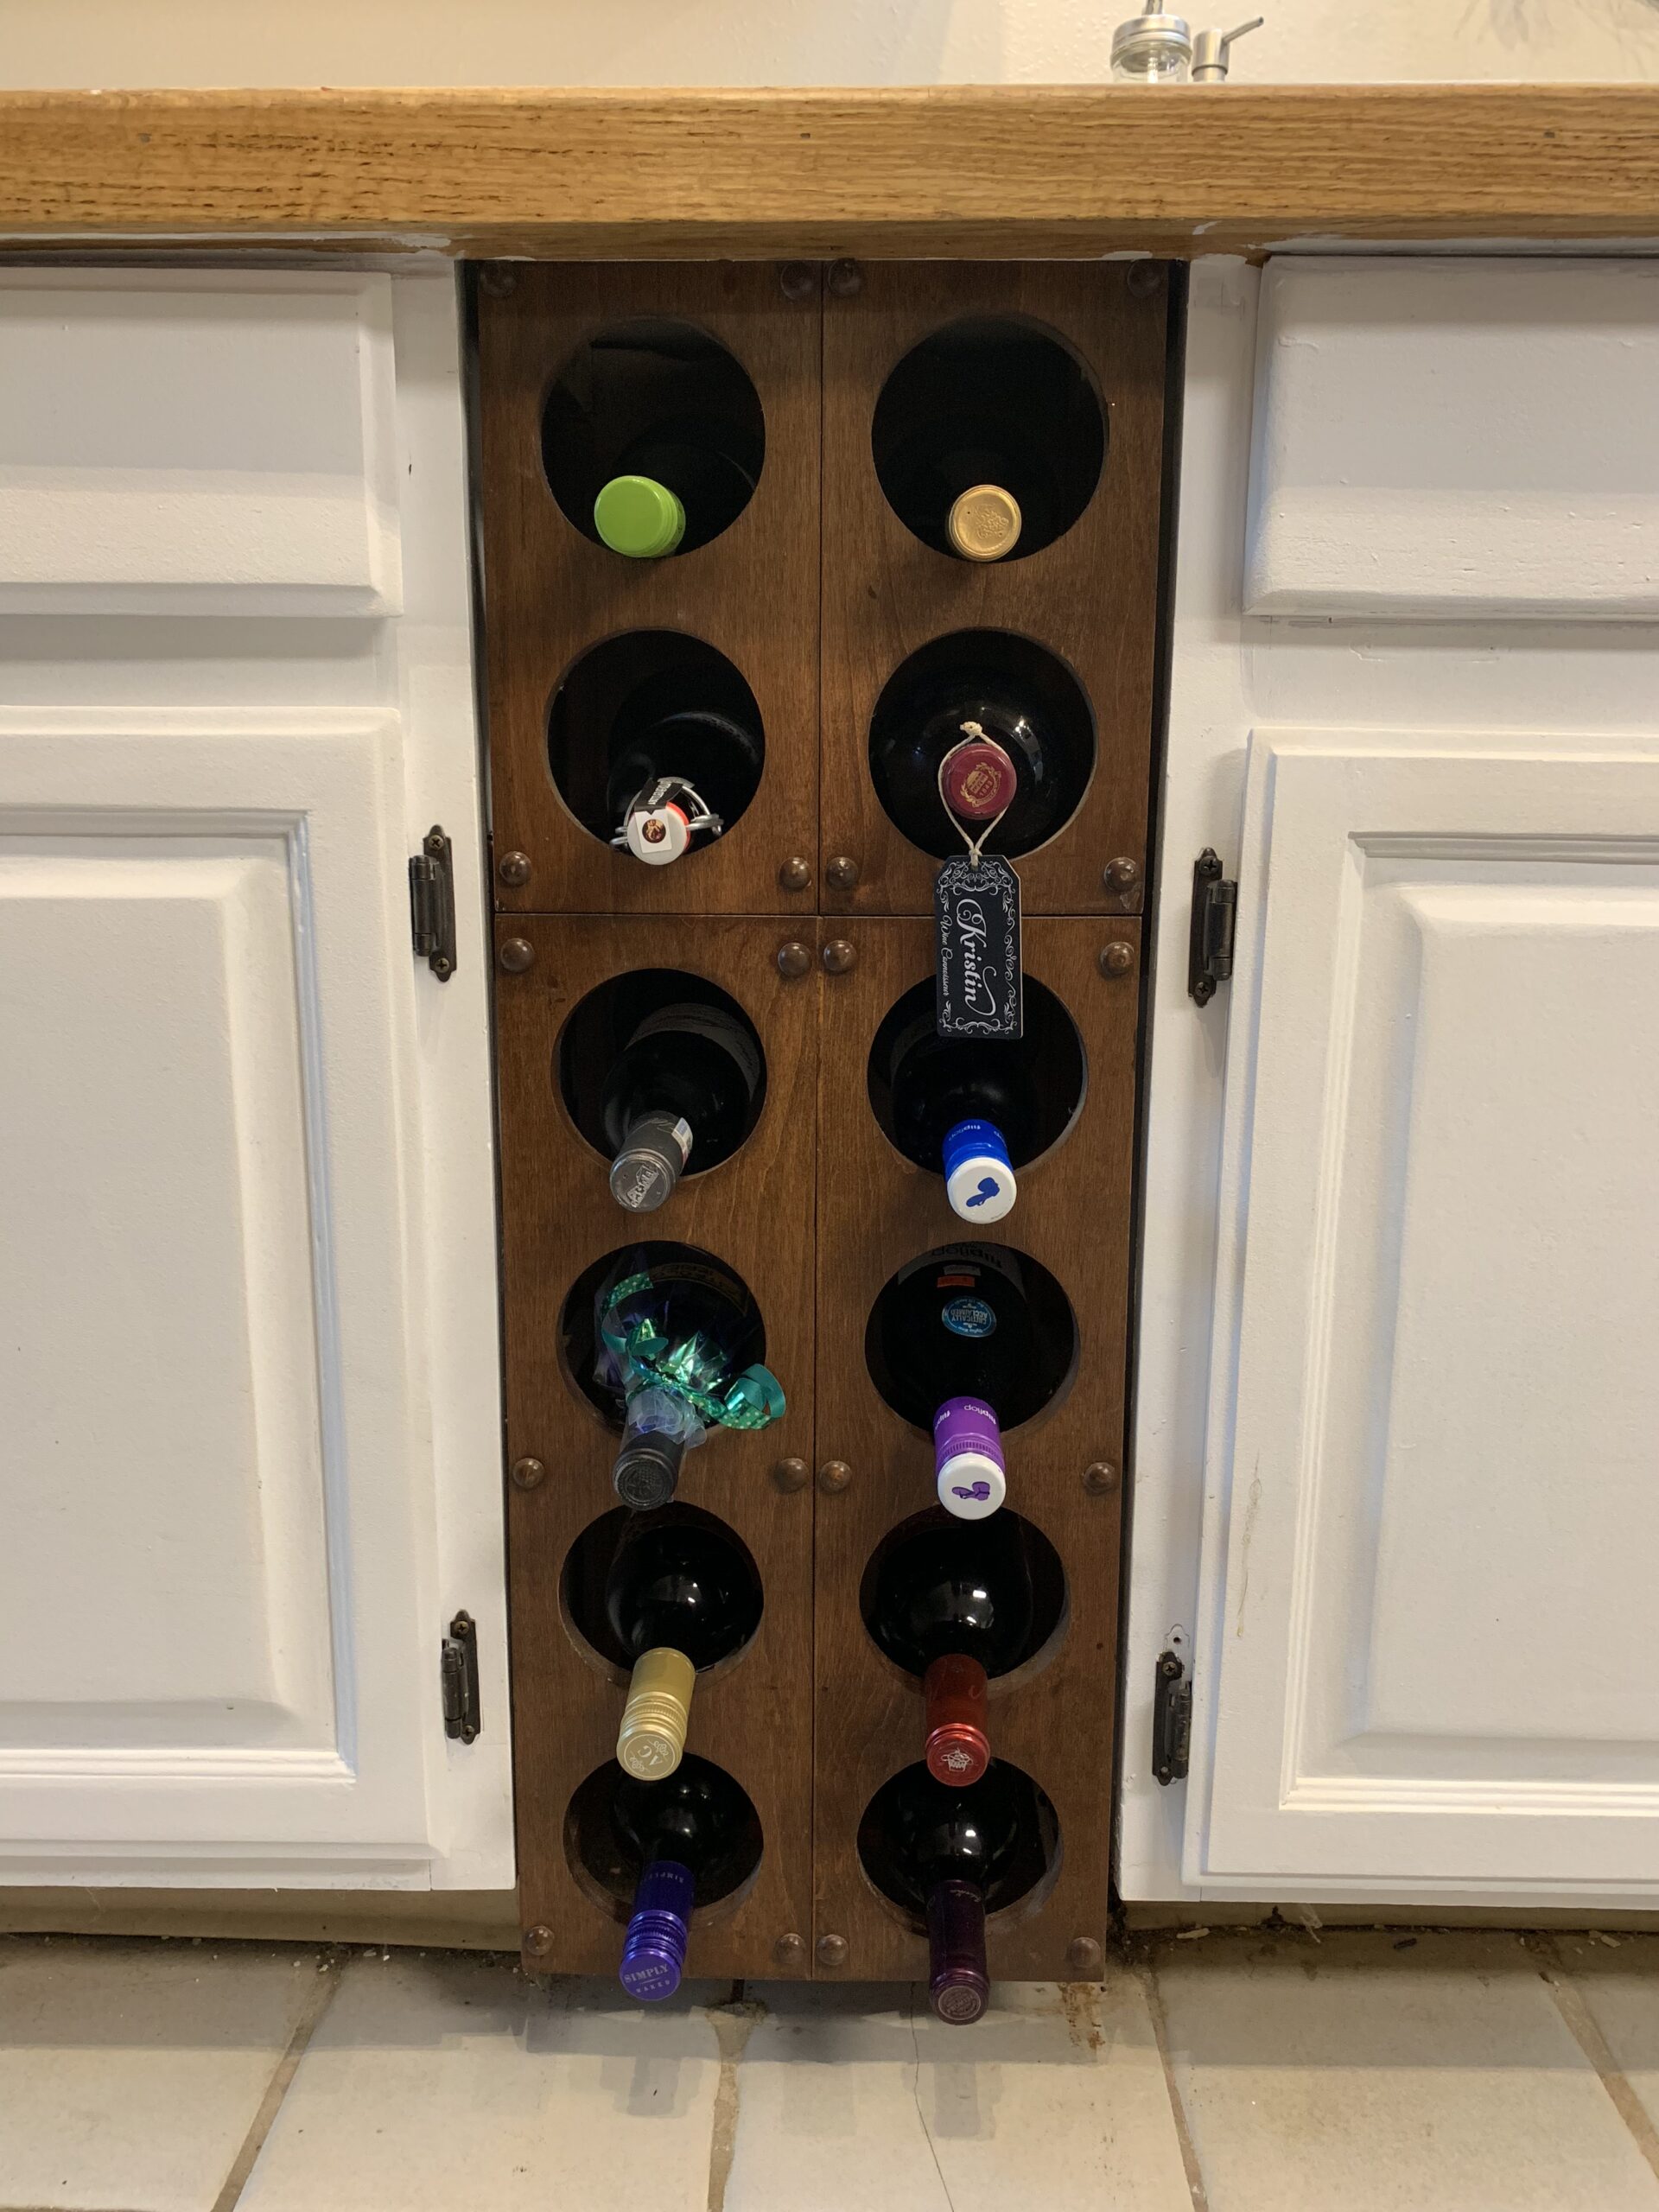
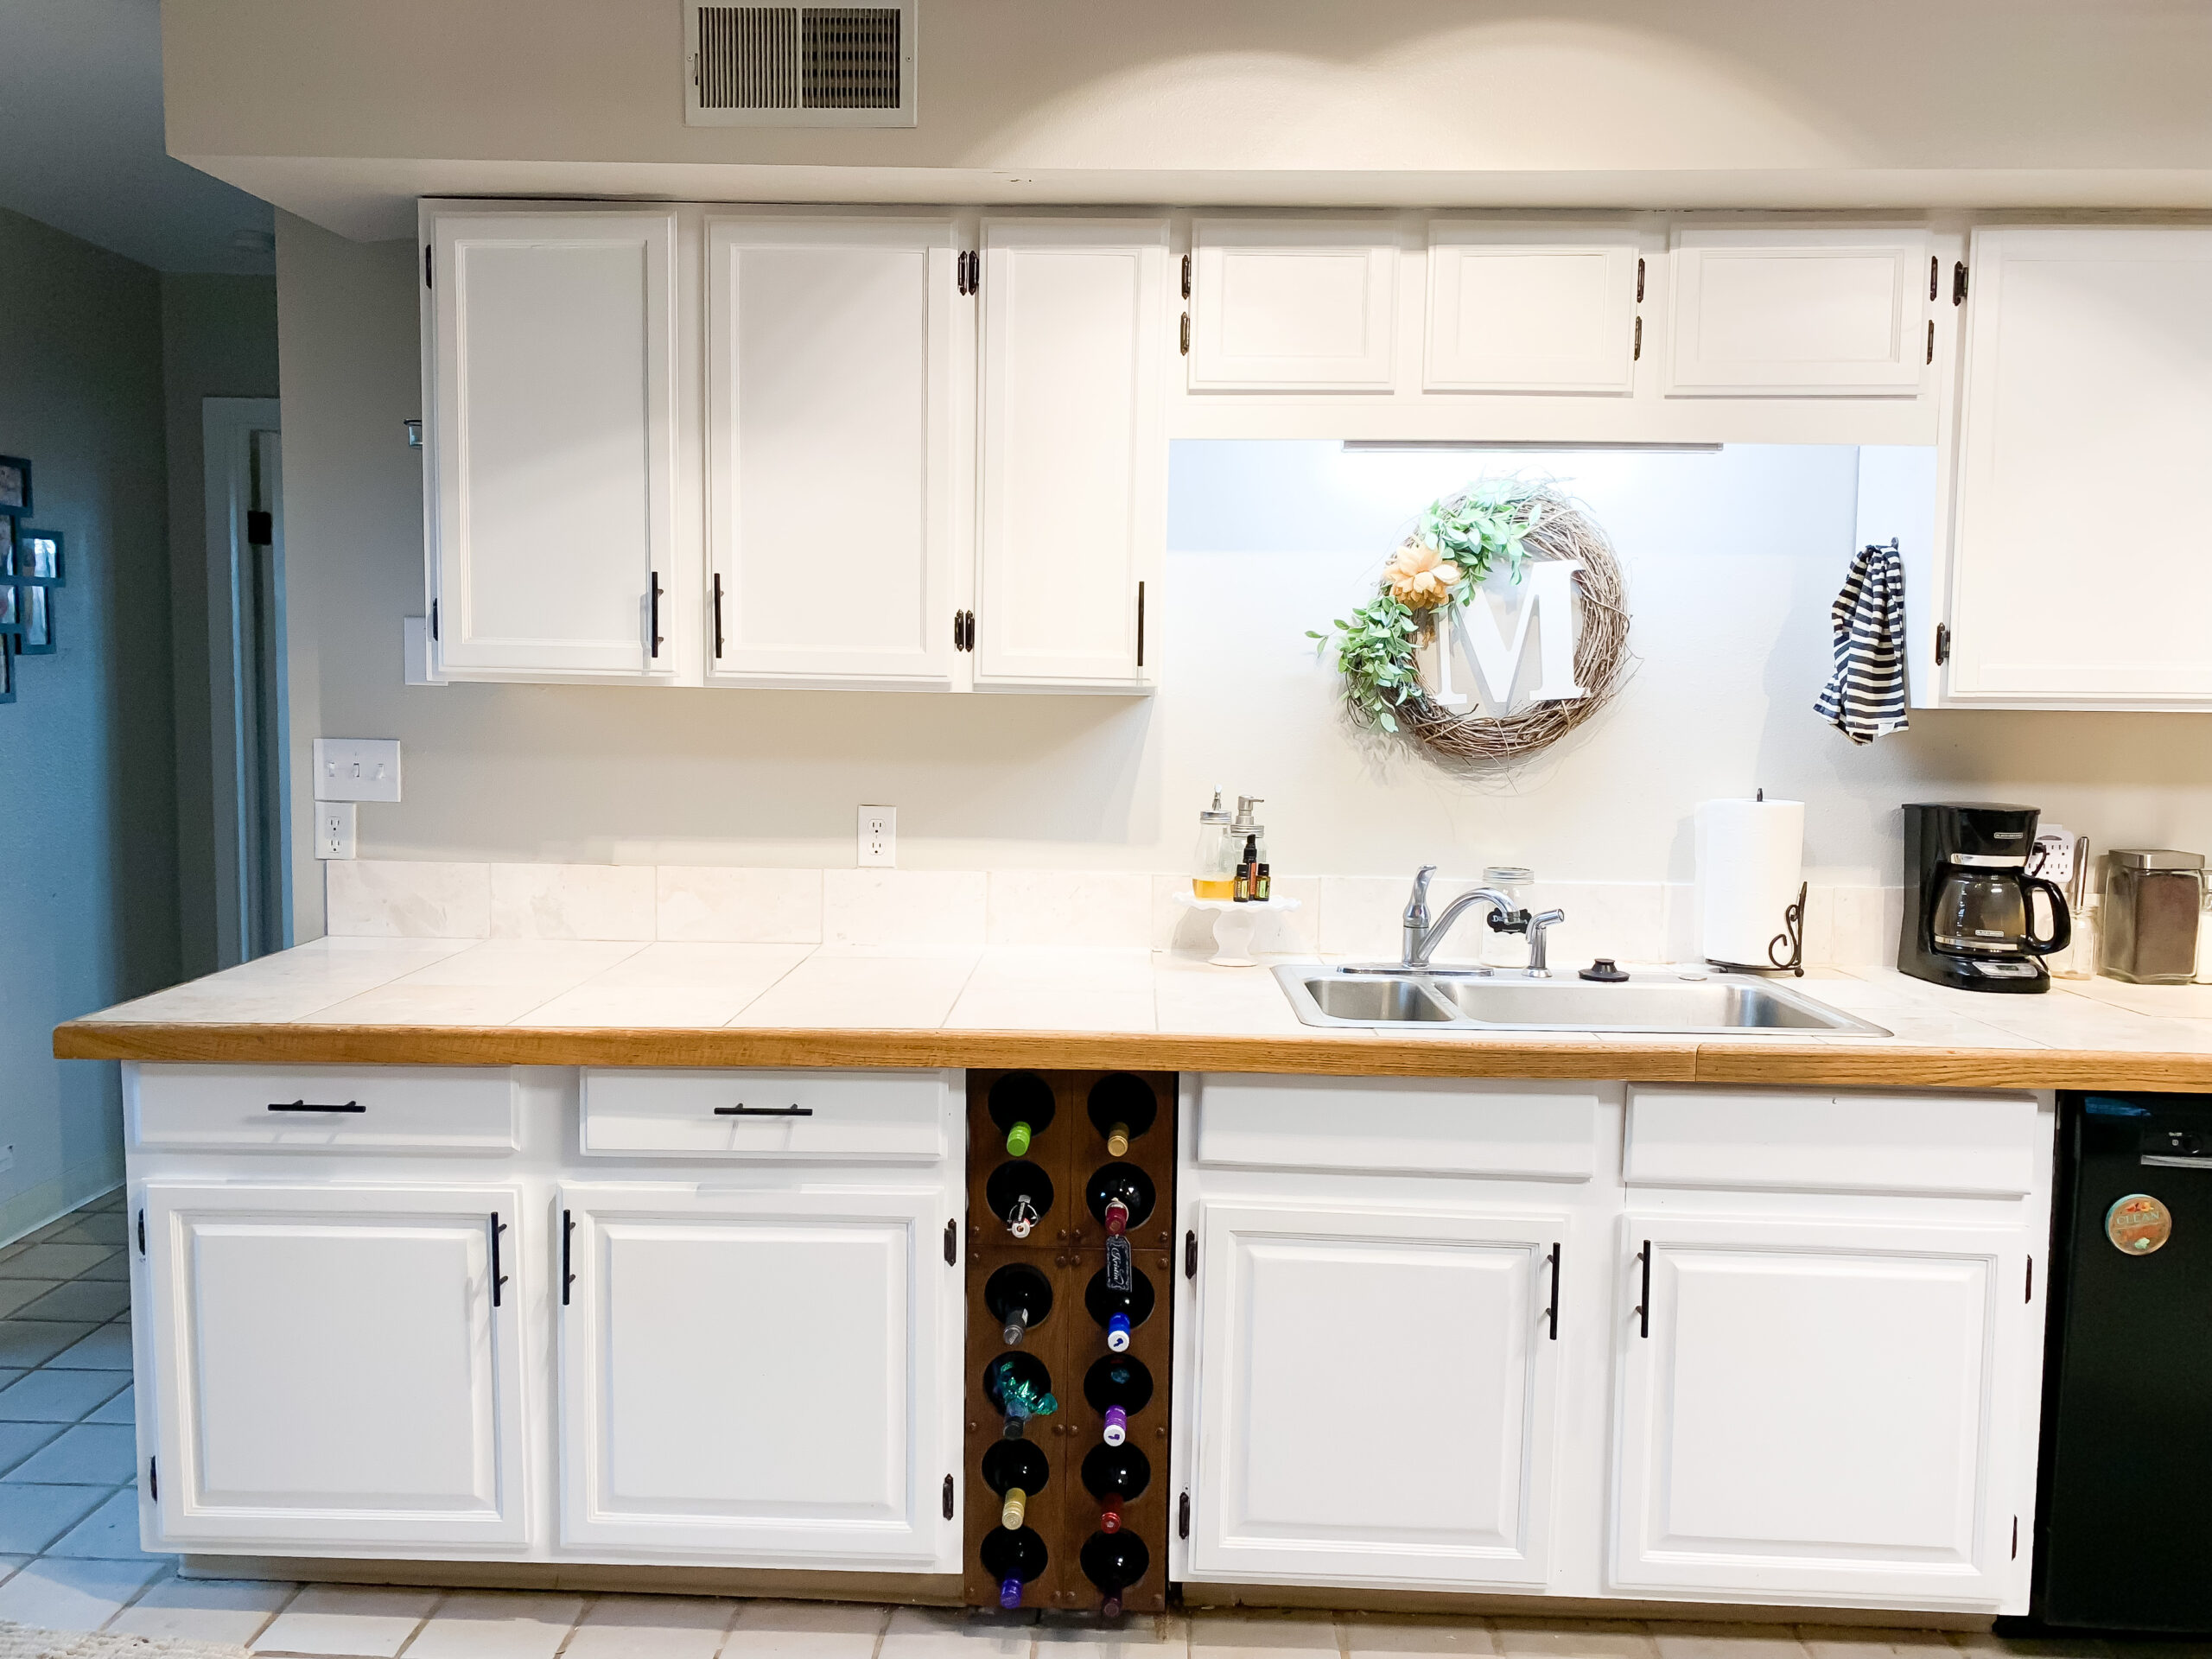
We added new hardware I ordered from Amazon and then we left it like this for about a month. I loved how it made the kitchen bright and cheery!
Then this happened!
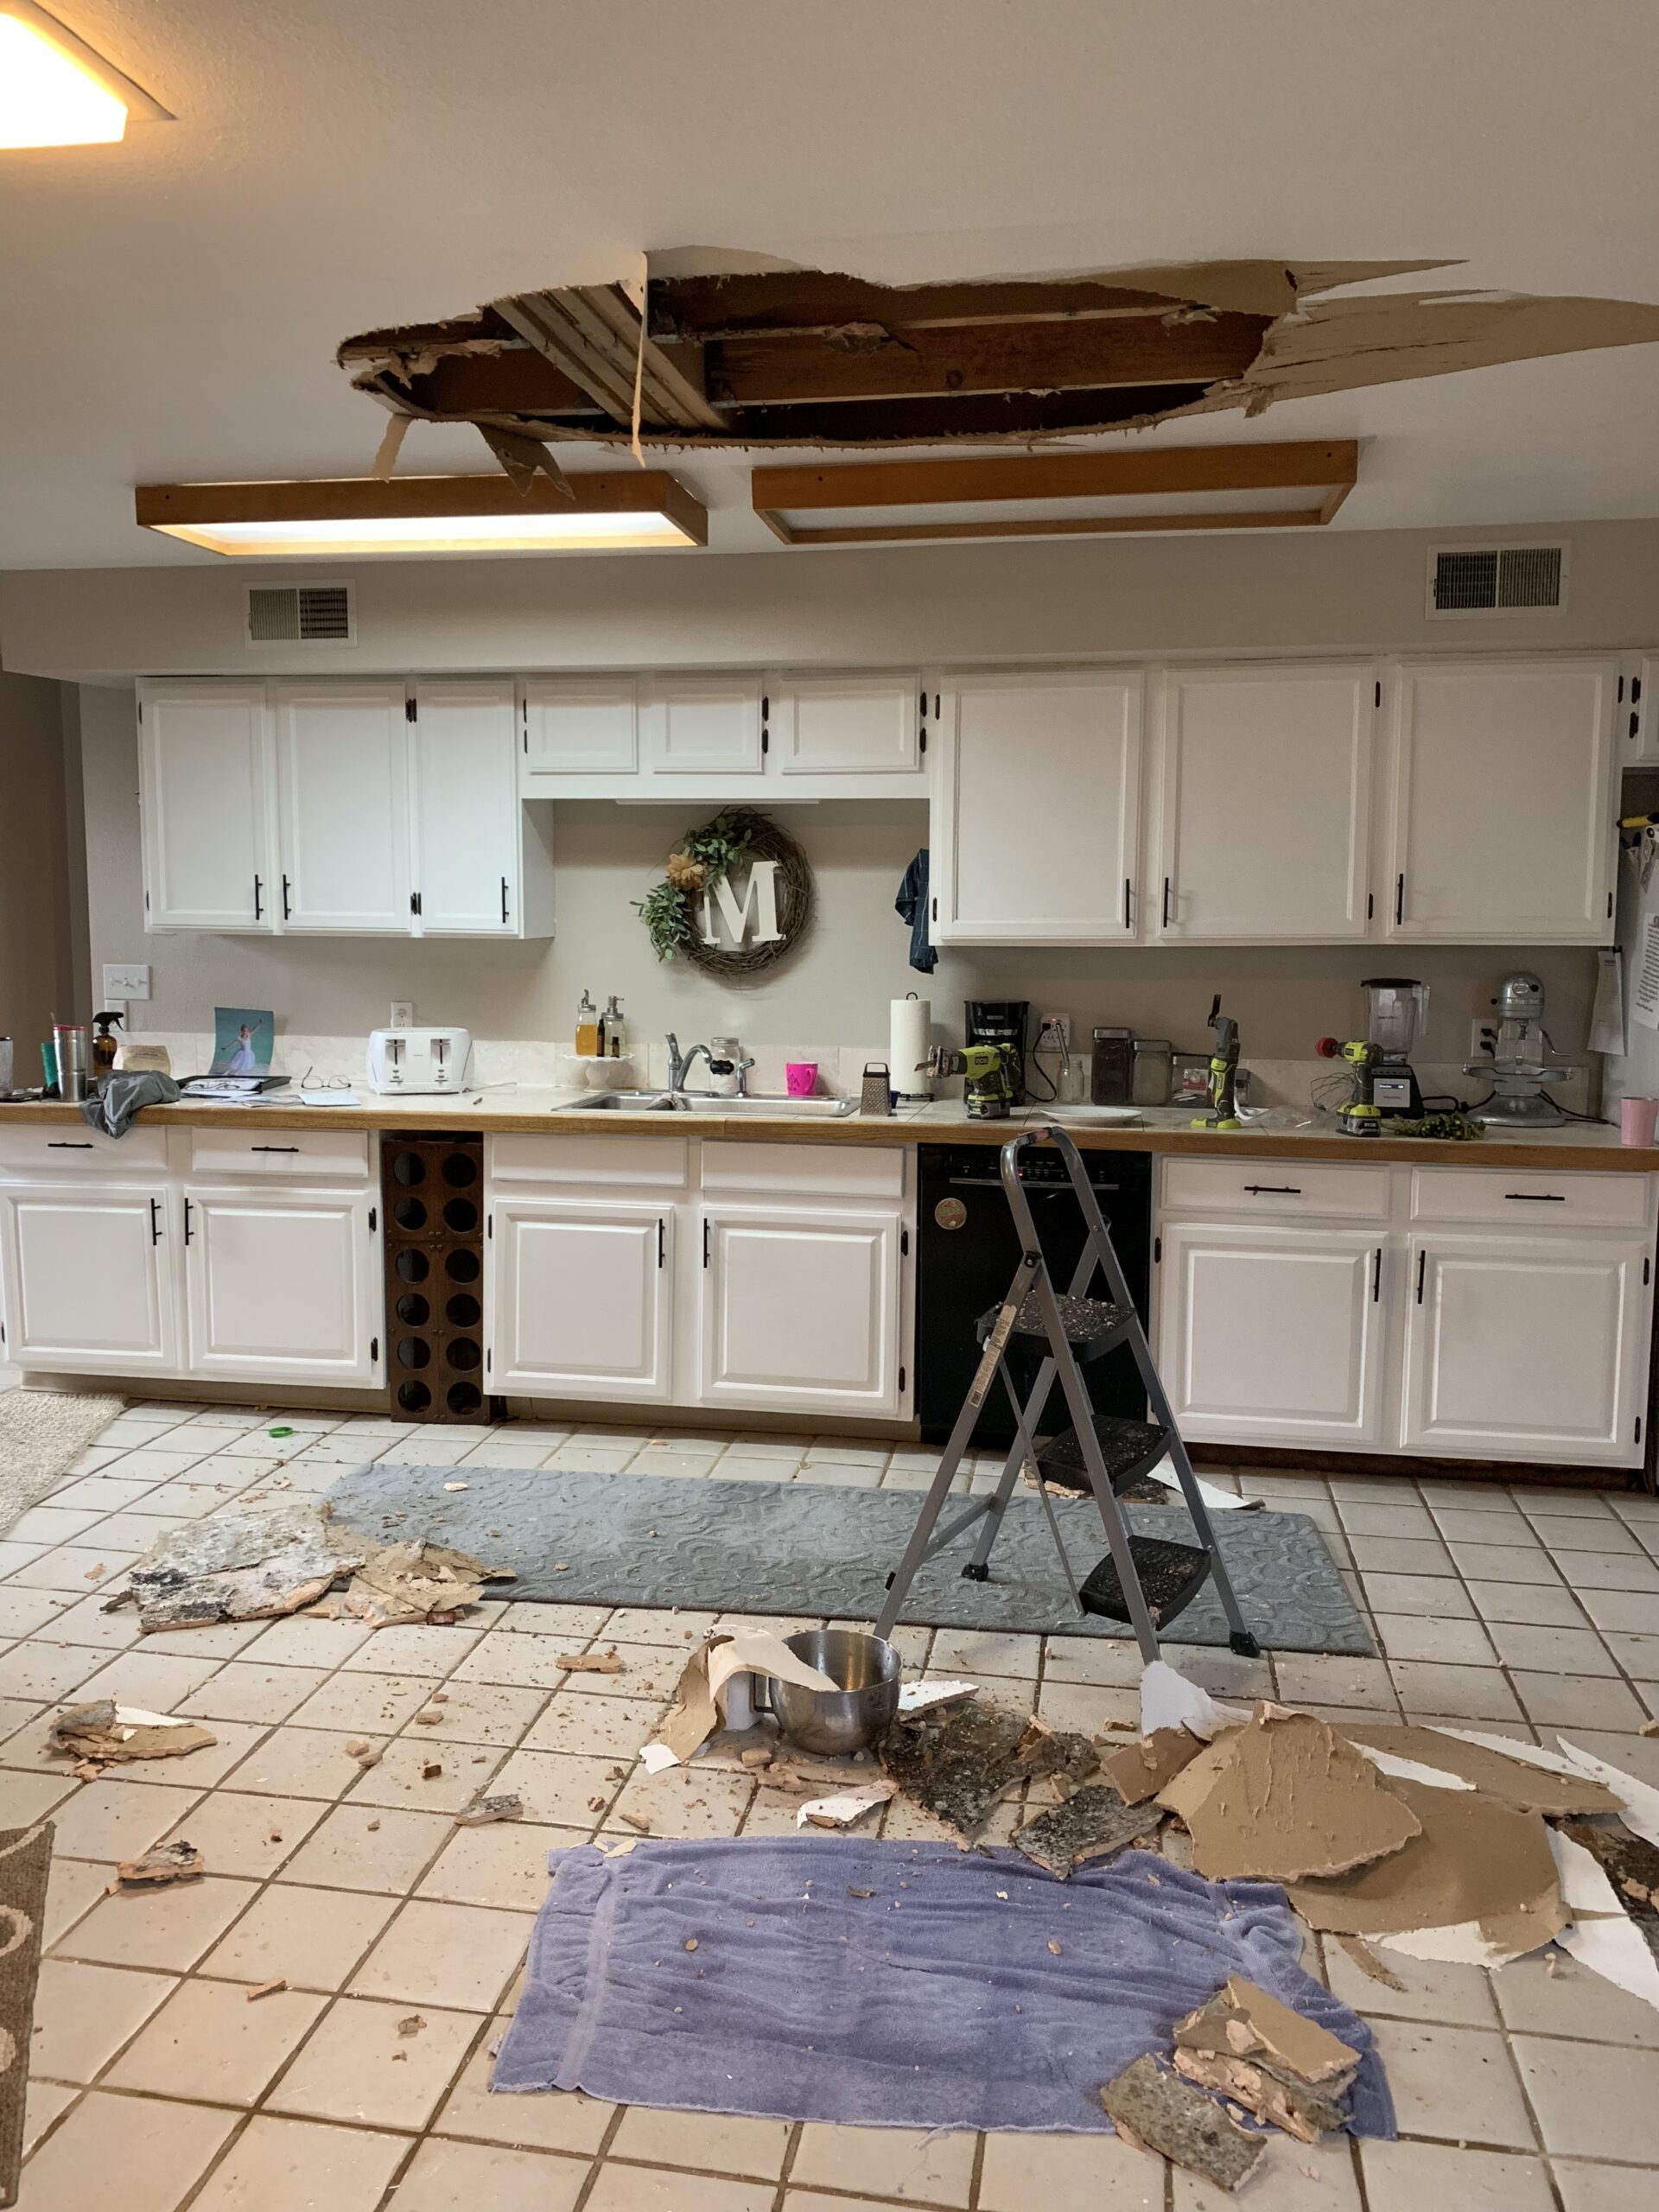
This was totally unexpected! Check back next time to see what we do to fix this terrible situation. This also happened one day before we left for a week vacation!
Related posts:

Kristin McConnell
Hi!! I’m Kristin, the heart behind Live Simply with Kristin. As newly empty-nest empty nesters, Ryan and I sold it all and live full-time in our cozy camper—trading big house stress for simple joys, freedom, and adventures together. Here, I share wholesome recipes that fit tiny spaces, fitness tips to stay strong on the go, small-space living hacks, and the beauty of intentional, less-is-more living. Grateful you're along for the ride—let's keep it simple and joyful! 🩷 ✝️


2 Comments
Mandy Chan
Looks very neat and modernized! I wish I can pull this off with mine!
Michele K Hervol
I’m in need of a kitchen makeover!! My kitchen is much smaller than yours, but that actually makes it harder because the space is so limiting. I like what you’ve done so far.