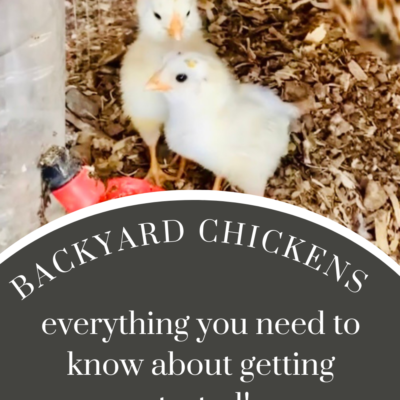
Getting Started with Backyard Chickens!
Spring is just around the corner which means it’s Baby Chick time!!
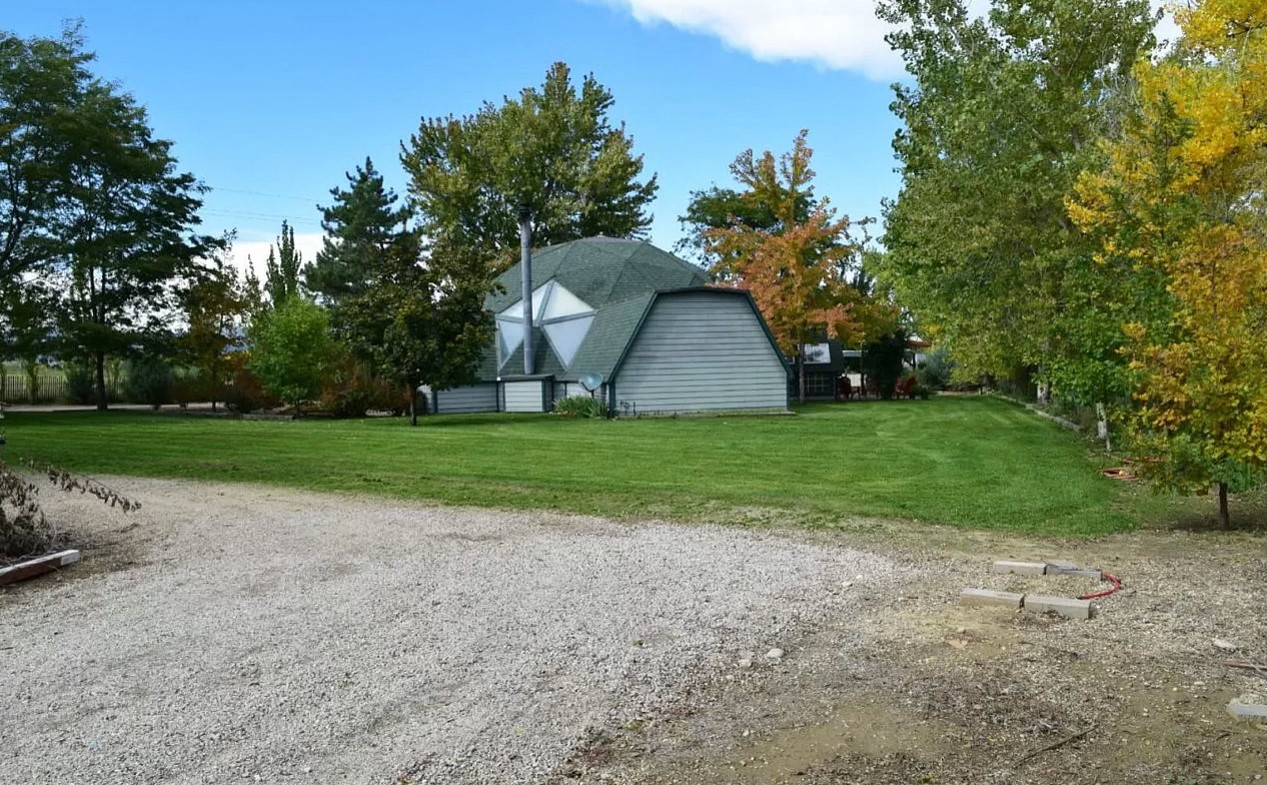
I still remember the day Ryan and I were sitting on our porch a few weeks after moving into our property talking about if we should get chickens that spring or wait until next year after we cleaned up the property a bit.
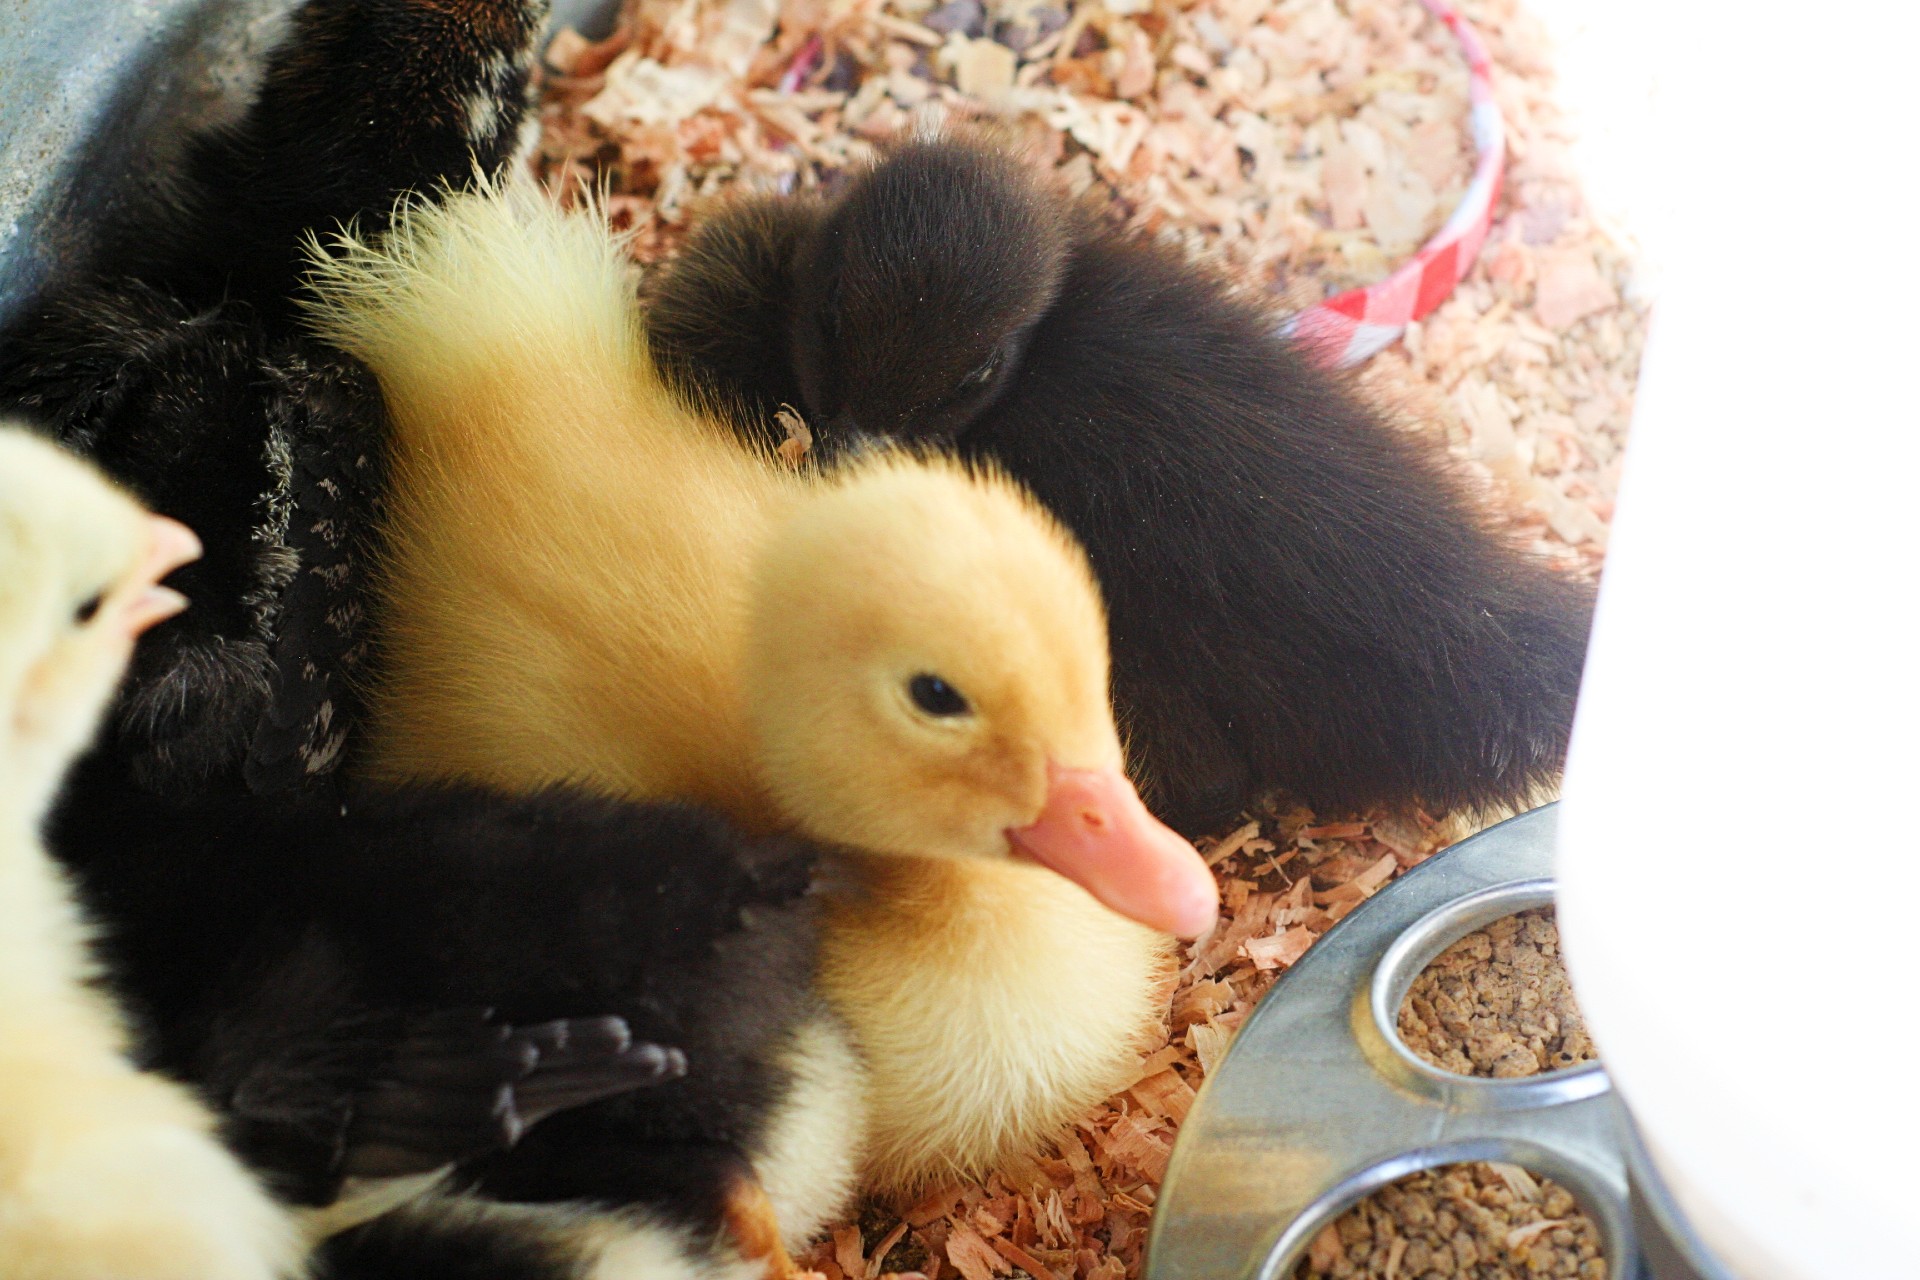
We decided to go ahead a get them! Before I knew it we were headed to Tractor Supply and got 4 chicks then we headed to Jax and got two ducks and 2 more chickens. I am so glad we did! I truly never imagined I would be a #crazychickenlady I still remember a year or two earlier in our old house our neighbor got chickens. She invited us over to check them out. I remember thinking they were cute but I didn’t want to hold them and they freaked me out a bit. They were at that awkward teenager stage. It seems silly to me now but if you don’t try new things and get out of your comfort zone every once in a while you just might miss a beautiful experience.
Here I am holding Frenchy the very first chick I ever held and that same evening I had to clean her pasty butt. Nothing like getting a full chicken experience on day 1!
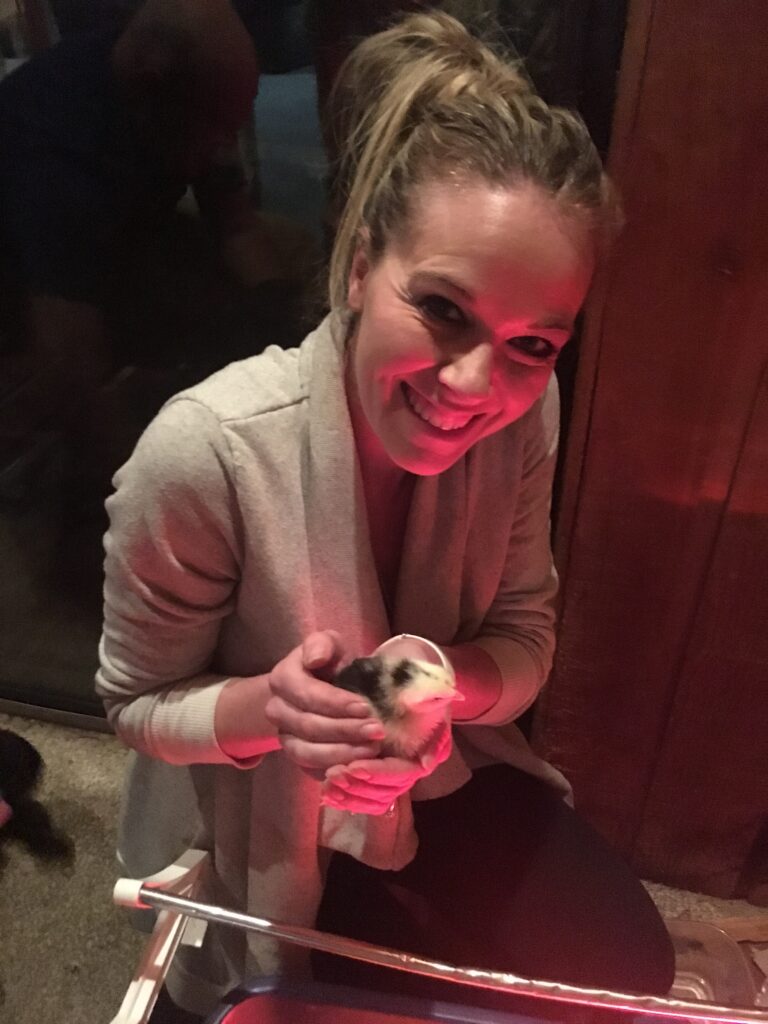
From this day forward I was hooked!
Getting Started with Backyard Chickens
Before you decide to raise chickens, it is helpful to consider why you are raising them.
- Do you enjoy having animals and are most interested in having a pet?
- Are you interested in producing your own egg supply?
- Do you want to raise chickens to fill your freezer with their meat?
- Would you want to enjoy them as a pet, collect their eggs, raise your own meat, and put them to work in your garden and/or orchard?
Answering these questions will help you decide the type of chickens you need.
Once you have decided on the commitment to put chickens in your backyard, there are some things you need to know.
What do you need to get started?
Supplies:
- Brooder
- Heat Lamp
- Water
- Food
- Bedding
The list grows a bit bigger once you are ready to transition them to an outside coop.
1. Brooder
This can be as fancy or as simple as you would like. We started off just using a tote, then got a metal tub, we also used a big cardboard box when they got a little bit bitter. Last summer I found a brooder at a garage sale for $15! I think it was meant for rabbits but it works perfectly for my chicks. Basically, you just need some sort of “container” for the new chicks
Once you have your brooder selected, you’ll want some sort of non-slip bedding on the bottom– we have always used pine shavings, (I like the fine) but other options are puppy pads, paper towels, or even sand.
Plan on cleaning the brooder every couple of days or two, but I check it frequently and remove areas of wet bedding or the super poopy stuff. Get a kitty litter scooper for times when you are just cleaning up the poop. You probably won’t have to completely strip it every day. The room that they are in will get pretty dusty from the pine chips and their feathers.
I don’t put a cover on my brooder, at first I wait until they get a little older and start to fly around a bit. If you have any sort of potential predators (including dogs and cats), I would definitely place chicken wire or mesh over the top. Just make sure you don’t use a cover that would block their ventilation.
You can get away with a reasonably small-sized brooder at the beginning, but if you have a large batch of new chicks, plan on expanding soon. They will grow faster than you think!
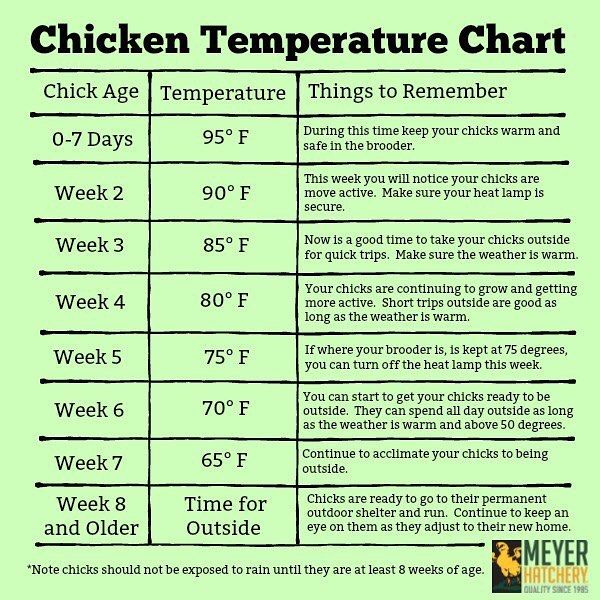
2. Heat
Heat is non-negotiable for babies. Chicks must be kept at 95-100 degrees for their first week or so of life, with the temperature gradually being decreased as they grow. I don’t use heat lamps for my big chickens, I will have a blog post about this soon. This is the Heat Lamp I use. I am also switching to a white heat lamp bulb instead of a red one.
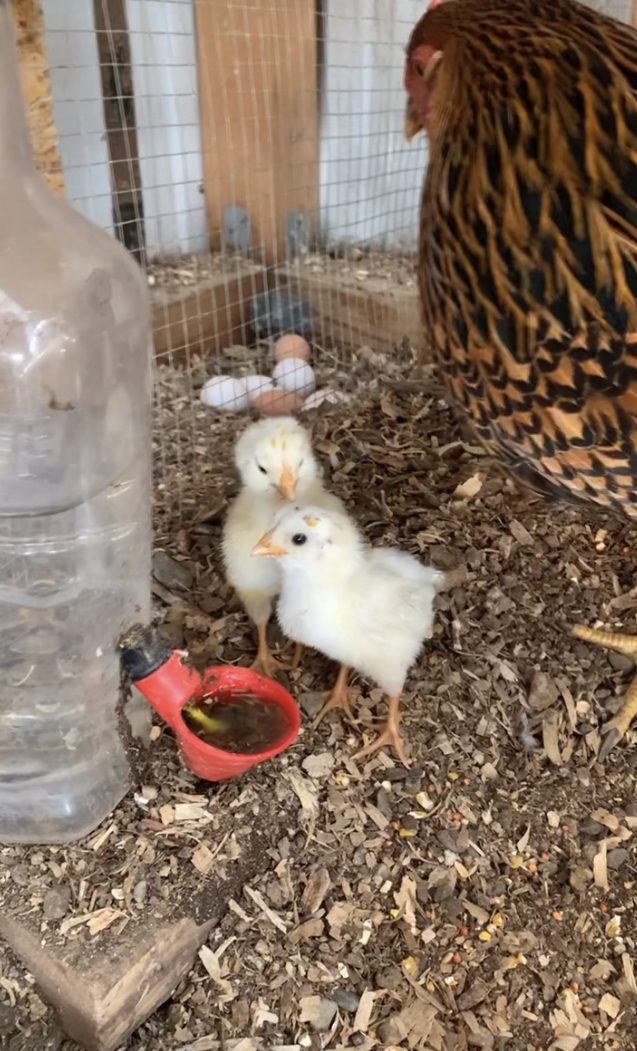
3. Water
Just like with any other living thing, water is a big deal for new chicks. When I first pull them out of their box, I gently dip their beaks into the waterer so they know it’s there.
I highly recommend using a special chick waterer of some sort, as an open bowl leaves your new flock at risk of drowning.
Make sure the chick’s water stays clean and full at all times. You will find yourself changing the water a lot. By nature, they scratch around, which means they kick wood chips in the water. They will also perch on the side and poop in the water.
4. Feed
Chickens need quality food, and it is a good idea to feed them with organic, non-GMO grains.
You will start with a chick starter feed. New chicks have very specific nutritional requirements at this point of their life since they grow so quickly. They don’t stay on the chick starter for very long before transitioning to either meat bird feed or layer feed. I use this cute little chick feeder for the first couple of weeks, but it doesn’t take them long, and will need a larger feeder. And they’re messy. They spill everything and walk in it as much as possible… Like with the water I make sure they know it is there by gently putting their necks in the feed.
- Day 1 to 6 weeks should be fed a diet of approximately 20% protein.
- With 7 to 14 weeks old chickens, you will want a feed containing 16%-18% protein.
- At 15 to 18 weeks, put them on 16% protein finish feed.
- After 18 weeks, put them on 16% laying feed. Laying feed helps create harder eggshells. You can always add your kitchen scraps to their diet as well.
Grit – Chickens need grit to help break down their food for proper digestion. I usually just give them a small amount in a mason jar lid.
Treats- Scrambled eggs are a great treat and source of protein for them. That may seem weird at first but remember egg yolk is their first food.
5. Raise your Chicks to come when you call
Feeding time is also a great time to start training them to come to you. From day 1 when I give them their food or a treat I make a little call it can be whatever you like mine is churk churk churk… I tap on the food and say my call, I also do this when I give them their scrambled eggs. This teaches them when they come to the sound they will get a treat. This makes it so much easier when they are older to come to you to go back in the coop. Now that my girls know me as soon as they see me walking up to the run they race to the door! They know it’s treat time!
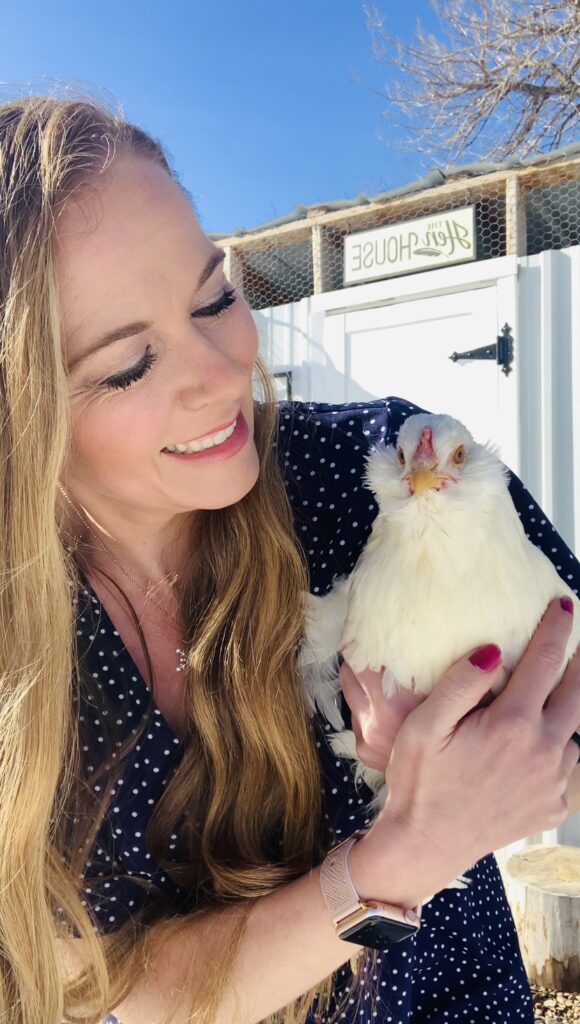
6. Hold them often!
Holding your chicks often will help them get used to you and not be so scared. I make a point to hold each one every day. Gently handling your chicks will help them to get accustomed to human touch. Some will be happy to interact with you than others, and that’s perfectly normal. Encourage the shy ones with feed from your hand. Be patient and they’re sure to come around.
Daily Routine
During weeks 1-3, keep your chicks warm at all times with a heat lamp. Pay attention to see if your chicks are piling up on top of each other. If they are, they aren’t warm enough. If they are avoiding the heat lamp, they may be too hot.
At about three weeks of age, they may start perching on the side of the brooder. You will want to come up with a lid for the brooder to keep your home from being overrun with tiny chickens.
- First thing in the morning, check on your chicks. Fill their food and water, and make sure they have a supply of grit. Tip: Grab them some fresh greens or some grass from your yard for those extra nutrients.
- After your chicks are several weeks old, you may want to move them outside during the day. If the weather does not permit moving the brooder outside, keep the brooder indoors, where it’s around 70°F, and start turning the heat lamp off during the day.
- Move the chicks back inside under the heat lamp for the evening. Refill the food and water and lay new pine shavings if their bedding begins to smell. Tip: The shavings make great compost when your chicks are done in the brooder.
In my Insta Stories, I asked what questions you had about raising chickens for the first time.
Question from IG:
1. What table scraps should they not have?
Chickens are pretty good at not eating things they can’t have. If you give them raw eggs just make sure to break them up so they don’t get in the habit of eating their fresh eggs.
Here are a few things to avoid giving to your chickens.
Avocado skins and pits: These contain persin, a fungicidal toxin, that can be fatal to chickens. In my experience, the chickens just eat the avocado insides and leave the skin alone.
Nightshade leaves: Do not feed your chickens leaves or greens from any plants in the nightshade family, including tomatoes, potatoes, eggplants, and peppers. Though nightshade leaves are toxic, the fruits and vegetables from these plants are perfectly fine for chickens to eat.
Processed foods: Highly processed foods often contain chemicals and oils that are not natural for chickens to consume.
2. How do you keep your eggs as clean as possible?
A clean coop is a happy coop, and a happy coop is a healthy coop. Take the time to clean your coop on a weekly basis. I do the deep litter method of bedding, I just add new pine chips, both to the floor of the coop and the nest boxes.
Chickens will pick up dirt and manure on their feet from the dirty floor and drag it into their nesting areas with them.
This can be challenging in the wet months. It helps to keep the coop and run with fresh bedding. I use wood chips in the run and pine chips in the coop.
Discourage your hens from sleeping in the nesting boxes they will poop in them if they do.
3. Where do you buy your chicks?
So far I have only bought chicks at Tractor Supply and Jax. I am thinking this year about ordering some silkies and other breeds from a hatchery. If I do I will update you on the process.
7. How many nest boxes will I need for my hens?
I currently have 12 hens and three nesting boxes. The boxes are 12″ x 12″ You know what? They all lay in one box! It’s a rare occasion that I find an egg in my other two boxes! A rule of thumb is one nest box for every 5 – 6 hens. My hens typically take turns laying an egg but that have been times when I will find 2 or even 3 hens in the box at the same time!
I hope this helps you decide to get chickens and what you need to get started! What did I miss? Leave me a comment below!


Kristin McConnell
Hi!! I’m Kristin, the heart behind Live Simply with Kristin. As newly empty-nest empty nesters, Ryan and I sold it all and live full-time in our cozy camper—trading big house stress for simple joys, freedom, and adventures together. Here, I share wholesome recipes that fit tiny spaces, fitness tips to stay strong on the go, small-space living hacks, and the beauty of intentional, less-is-more living. Grateful you're along for the ride—let's keep it simple and joyful! 🩷 ✝️

2 Comments
Amanda Montgomery
Thank you so much for all the helpful tips! I am getting 50 chicks in a week and 5 ducklings in 2 weeks. Could you do a similar post, but about raising ducks?
Kristin McConnell
Hi Amanda! You are very welcome!! I am so excited for you! You will have your handful with 50 chicks! How fun!! Yes! Thank you for the suggestion! I will do a post all about ducks as well! Please let me know if you have any other questions! =)