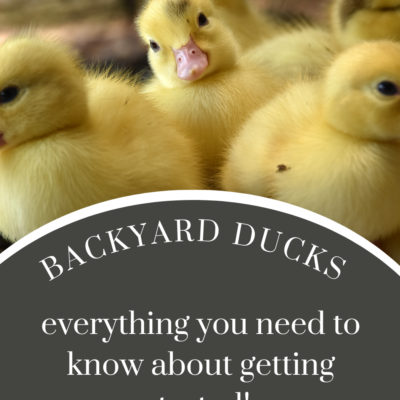
Getting Started with Backyard Ducks!
Spring is just around the corner which means it’s Baby Chick time!!
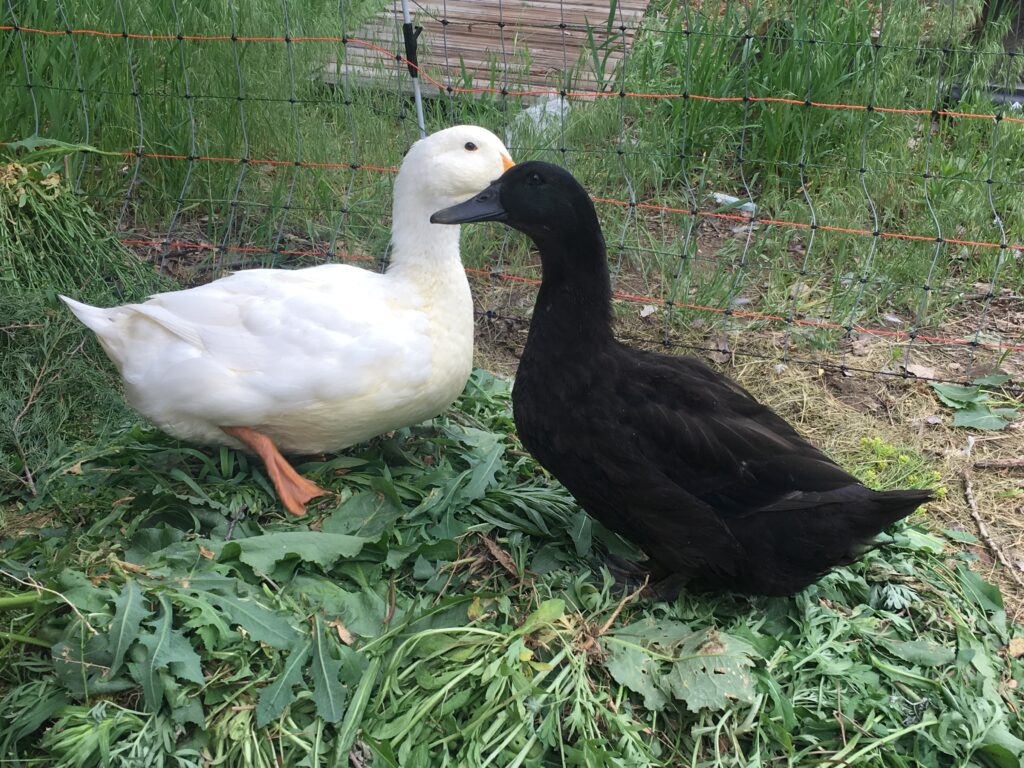
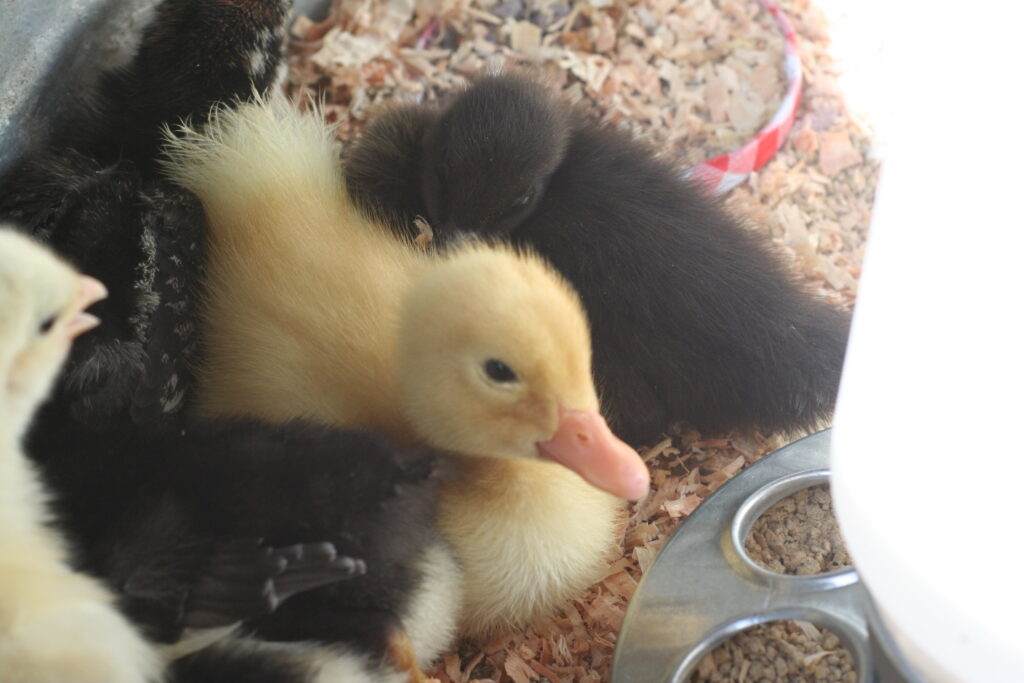
When we first talked about raising chickens my son said he really wanted to raise ducks. We decided to get a pair. They were both straight runs so we didn’t know the sex of the two ducks. When I first started writing this blog I thought we had got two female ducks but ended up with a male. But looking back at my old Instagram stories we didn’t know and Jack my son was hoping for two drakes! We ended up with a female Cayuga her name was Chuck until we discover she was a hen and not a drake so her name became Charlette. The other was a drake White Pekin names Scrooge McDuck. They are so much fun but if you thought chickens were messy well ducks are even messier!
We raised court ducklings and chicks together in the same brooder but you can have separate brooders if you would like, Eventually, I did separate our ducks and chickens into a different coop my drake (male duck) Scrooge McDuck wouldn’t stop mating with my hens and killed a couple of them in the process.
What do you need to get started?
Supplies:
- Brooder
- Heat Lamp
- Water
- Food
- Bedding
The list grows a bit bigger once you are ready to transition them to an outside coop.
1. Brooder
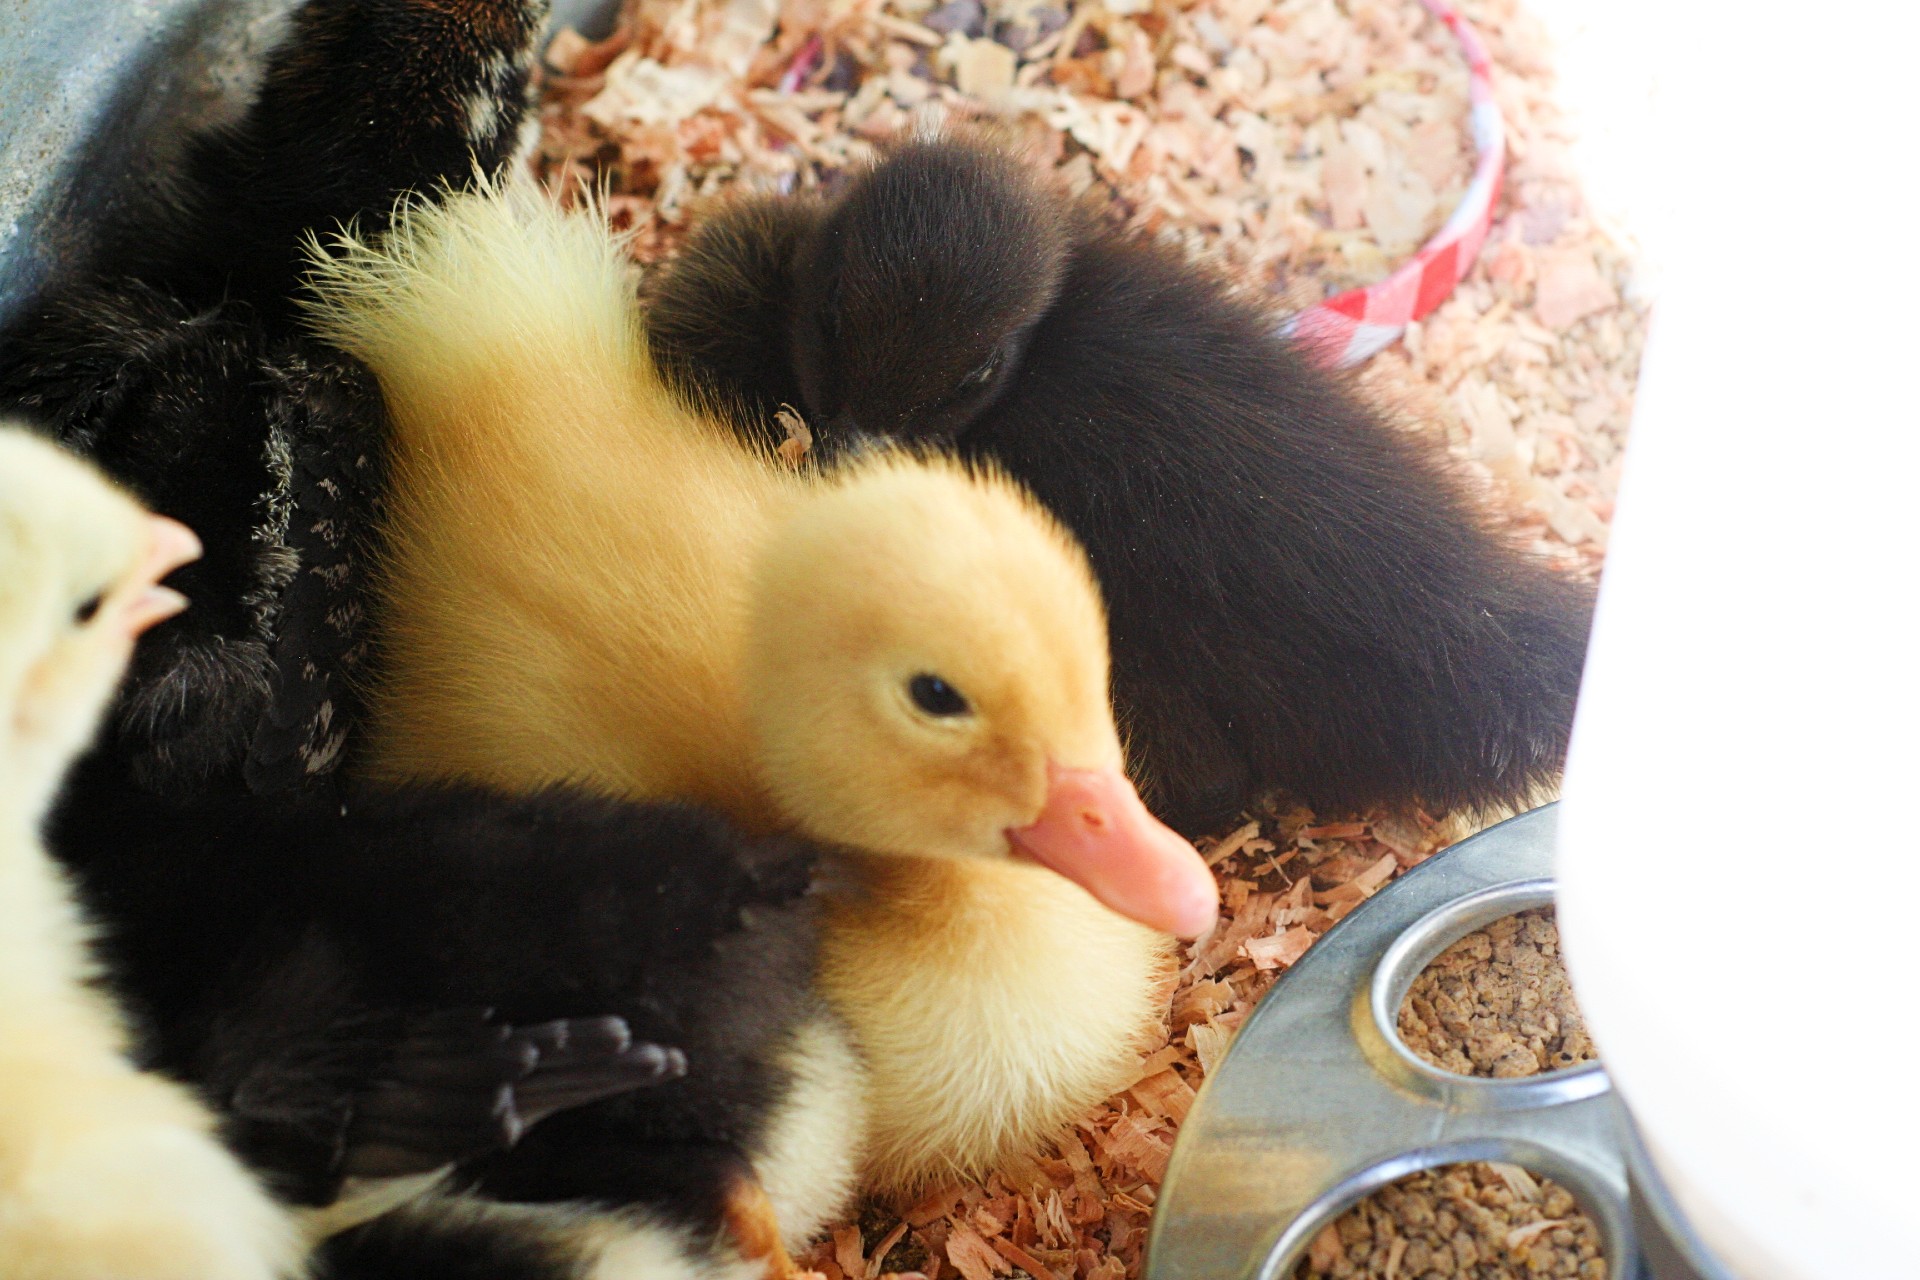
This can be as fancy or as simple as you would like. We started off just using a tote, then got a metal tub, we also used a big cardboard box when they got a little bit bitter. Last summer I found a brooder at a garage sale for $15! I think it was meant for rabbits but it works perfectly for my chicks and ducks. Basically, you just need some sort of “container” for the new ducklings.
Once you have your brooder selected, you’ll want some sort of non-slip bedding on the bottom– we have always used pine shavings, (I like the fine) but other options are hay, puppy pads, paper towels, or even sand. You will want to stock up on bedding. Ducklings are messy and love to get water everywhere and you don’t want to keep the brooder as dry as possible.
Plan on cleaning the brooder every couple of days or two, but I check it frequently and remove areas of wet bedding or the super poopy stuff. Get a kitty litter scooper for times when you are just cleaning up the poop. You probably won’t have to completely strip it every day. The room that they are in will get pretty dusty from the pine chips and their feathers.
You can get away with a reasonably small-sized brooder at the beginning, but if you have a large batch of new ducks, plan on expanding soon. They will grow faster than you think!
Ducklings should be kept in a brooder until they are at least six weeks old. Once ducklings of any breed reach this stage they are large enough to hold their own in a flock setting.
2. Heat
If you have brooded chicks before, you will notice that ducklings don’t need heat for nearly as long as chicks do. For ducklings, start out with 90-degree heat on the first day and then try to go down about one degree per day for 2-3 weeks. By the end of three weeks, that would bring you to 69 degrees and if you are brooding your ducks inside, the air temperature in your house is likely just as warm. When the outside temperatures are consistently in at least the 50s and the ducklings are at least 4 weeks old, they can move outside.
3. Water
To start a chick waterer will work but once they get a little bit bigger they will need one that is deep enough that they can get their whole bill in it. They blow out through their nose holes to dislodge any food that’s stuck, and they need to submerge their faces to do this. I use a cat water bowl to start then upgraded to a dog bowl when they got a little bit bigger.
When I first put the ducklings into the brooder for the first time, I gently dip their beaks into the waterer so they know it’s there.
They grow so fast that by the end of that first week, they will be having a hard time fitting their heads and bills in the dish. Ducks need to be able to dunk their whole head in the water to keep their nostrils clean & moist, and their eyes clear. After the first week, I switch to a metal cat water bowl. It’s easy to clean and heavy enough the ducks can’t overturn it.
Make sure the water bowl is only deep enough that they can get there bills in but not too deep they can fall into,plus they will climb into it! Ducklings without a momma duck aren’t yet waterproof and can drown, so they can’t have a deep water source in their brooder.
If you have chicks in the brooder with the ducklings just watch the chicks with an open water bowl there is a risk they could drown. I didn’t have any issues with my chicks though. Just something to keep an eye out for.
Make sure the duckling’s water stays clean and full at all times. You will find yourself changing the water a lot.
4. Feed
Ducklings need quality food, and it is a good idea to feed them with organic, non-GMO grains.
Ducklings can eat the same starter feed you would give chicks. Which makes it nice. Ducklings eat a lot more than chicks. New ducklings have very specific nutritional requirements at this point of their life since they grow so quickly. They don’t stay on the chick starter for very long before transitioning to layer feed. I use this cute little chick feeder for the first couple of weeks, but it doesn’t take them long, and will need a larger feeder. And they’re messy. They spill everything and walk in it as much as possible… Like with the water I make sure they know it is there by gently putting their necks in the feed.
To support ducklings’ fast growth, you want to find a starter feed that is high in protein for the first few weeks (20-21%) if possible. At around 3 weeks, the duckling’s growth will really kick into high gear and they will be going through feed like crazy. Because of this, you want to switch to a slightly lower protein grower feed (16-18%) so they don’t go into protein overload. If you can’t find a lower protein chick grower feed, you can “dilute” the feed by adding a low protein grain like oats to the feed. Mix in raw, uncooked oats to replace about 25% of the feed. Too much protein can lead to a wing deformity called angel wings where the wing joint sticks out instead of laying flat against the body.
- Day 1 to 3 weeks should be fed a diet of approximately 20-21% protein.
- With 4 to 20 weeks old chickens, you will want a feed containing 16%-18% protein.
- After 21 weeks, put them on 16% laying feed. Laying feed helps create harder eggshells. You can always add your kitchen scraps to their diet as well.
Grit – Until ducklings have access to dirt need grit to help break down their food for proper digestion. You want to wait until they are 3 weeks old or older to strat giving them grit. I usually just give them a small amount in a mason jar lid.
Treats- Scrambled eggs are a great treat and source of protein for them. That may seem weird at first but remember egg yolk is their first food. Mealworms, frozen peas are another great treat. You can also add these into their water to help promote drinking water and for a fun activity for them.
5. Raise your Ducklings to come when you call
I train my ducklings the same way I do my chicks. Feeding time is also a great time to start training them to come to you. From day 1 when I give them their food or a treat I make a little call it can be whatever you like mine is churk churk churk… I tap on the food and say my call, I also do this when I give them their scrambled eggs. This teaches them when they come to the sound they will get a treat. This makes it so much easier when they are older to come to you to go back in the coop.
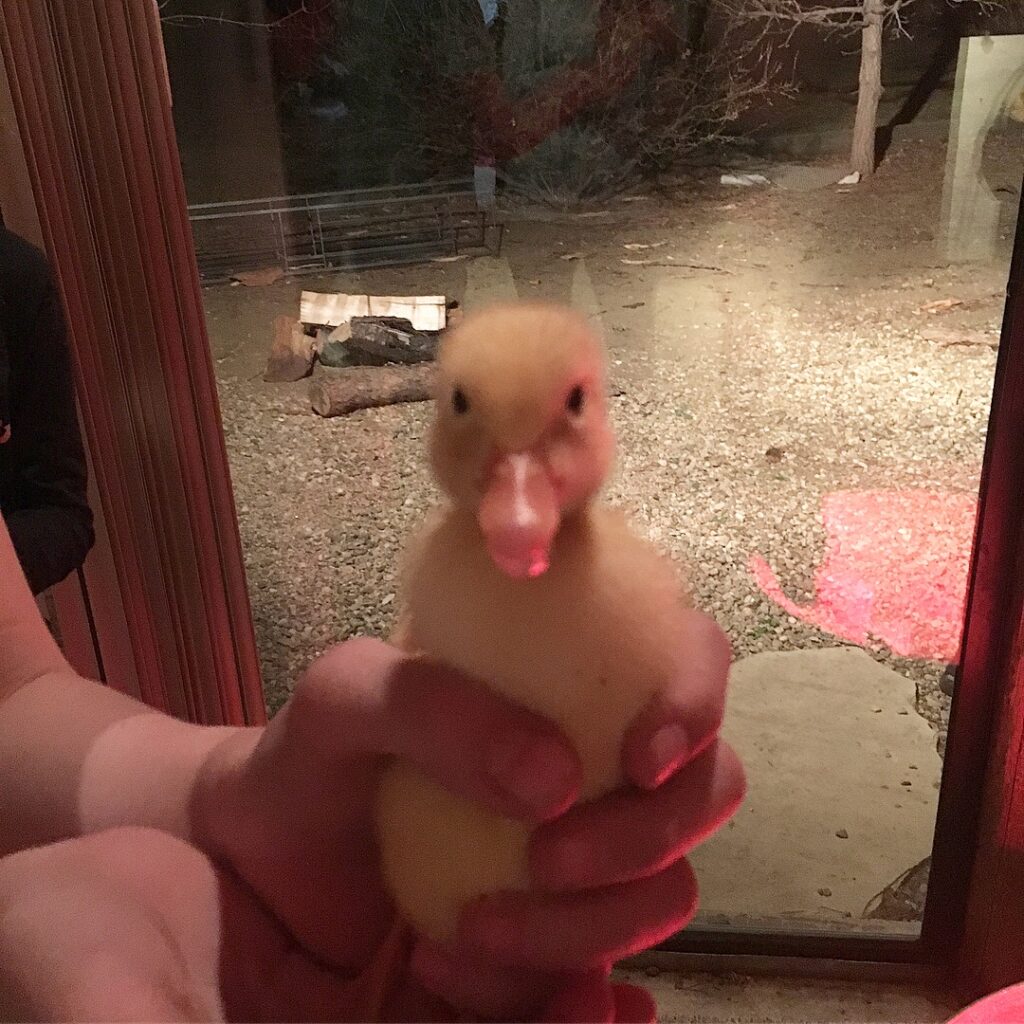
6. Hold them often!
Holding your ducklings often will help them get used to you and not be so scared. I make a point to hold each one every day. Gently handling your ducklings will help them to get accustomed to the human touch. Some will be happy to interact with you than others, and that’s perfectly normal. Encourage the shy ones with feed from your hand. Be patient and they’re sure to come around.
7. Swimming Lessons
Ducklings love to swim! Swimming your ducklings helps with proper muscle development, and makes them happy.
Let your ducklings swim for about 5 minutes or less (less if they look like they’re done or getting bored) during the first two weeks, and stay with them the whole time. During the first week, a large kitchen bowl will work. By week 4+ an outdoor kiddy pool or indoor bathtub will be needed, and you can also start letting them decide when they’re done and when to get out of the water.
As soon as you take them out of the water, make sure they have a warm, dry place to dry themselves. Putting them back in their brooder with access to their heat lamp will do.
Use warm water, not cold or hot water in their swimming container.
A few things to keep in mind for swimming time!
- Ducklings get cold very easily. This can quickly lead to hypothermia, illness, and death
- They don’t produce their own oil yet, so they’re not waterproof. In the wild, ducklings cover themselves with momma duck’s oil when they cuddle underneath and against her feathers.
- They might not be able to get out of the swimming pool on their own.
- Don’t put large or deep water bowls in your duckling brooder. Instead, the water dishes should be no deeper than a couple of inches and easy for them to get out of.
- Don’t put a swimming pool or swimming bowl in their brooder.
8. When to move your ducklings outdoors
Once your ducklings have their juvenile feathers and “look like ducks” (weeks 6-8), it’s time to move them outdoors into their permanent home. T
This should be a graduated process, not a sudden transition. Each day leading up to move-out day, your ducklings should be provided with more time outdoors (with safety precautions taken to keep them safe from predators).
This helps them gain confidence and comfort in their new outdoor surroundings.
Daily Routine
During weeks 1-3, keep your ducklings warm at all times with a heat lamp. Pay attention to see if your ducklings are piling up on top of each other. If they are, they aren’t warm enough. If they are avoiding the heat lamp, they may be too hot.
- First thing in the morning, check on your ducklings. Fill their food and water, and make sure they have a supply of grit, when they are old enough. Tip: Grab them some fresh greens or some grass from your yard for those extra nutrients.
- After your duckings are several weeks old, you may want to move them outside during the day. If the weather does not permit moving the brooder outside, keep the brooder indoors, where it’s around 70°F, and start turning the heat lamp off during the day.
- Move the duckings back inside under the heat lamp for the evening. Refill the food and water and lay new pine shavings if their bedding begins to smell. Tip: The shavings make great compost when your duckings are done in the brooder.
I hope this helps you decide to get ducks and what you need to get started! What did I miss? Leave me a comment below!

Related posts:

Kristin McConnell
Hi!! I’m Kristin, the heart behind Live Simply with Kristin. As newly empty-nest empty nesters, Ryan and I sold it all and live full-time in our cozy camper—trading big house stress for simple joys, freedom, and adventures together. Here, I share wholesome recipes that fit tiny spaces, fitness tips to stay strong on the go, small-space living hacks, and the beauty of intentional, less-is-more living. Grateful you're along for the ride—let's keep it simple and joyful! 🩷 ✝️
You May Also Like

Master Your Metabolism

Quick Leg Toning Exercise