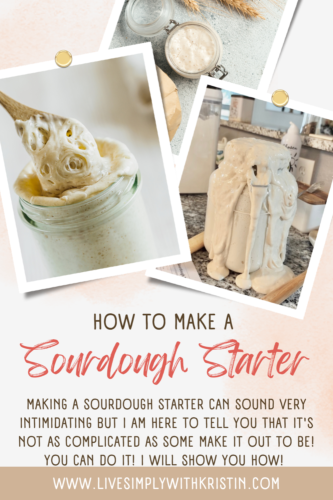
How to Make a Sourdough Starter from Scratch Without Discarding: A Step-by-Step Guide
Making a sourdough starter can sound very intimidating but I am here to tell you that it’s not as complicated as some make it out to be! You can do it!
Creating a sourdough starter from scratch is a rewarding and flavorful adventure that allows you to bake delicious bread at home. While many traditional recipes call for discarding portions of the starter during the feeding process, I find this process unnecessary. This guide will show you how to make a strong and healthy sourdough starter without any waste.
Follow these steps to start your sourdough journey!
Ingredients:
- Organic All-Purpose Flour
- Filtered Water
- Glass jar with a loose-fitting lid
- Rubber band
- Towel
Day 1 Mixing the Initial Starter
- 1/4 cup or 55g All-Purpose Flour
- 1/4 cup or 55g Warm Filtered Water
Combine equal parts flour and filtered water in a wide-mouth mason jar. Mix well to form a thick, pancake-like batter. Loosely set the mason jar lid on top but don’t tighten it. Place rubber band on jar marking the level of mix. Cover it with a towel and leave it until tomorrow.
Day 2 First Feeding
Today we feed our starter!
- 1/4 cup or 55g All-Purpose Flour
- 1/4 cup or 55g Warm Filtered Water
Add all-purpose flour and warm filtered water to your starter from the day before maintaining a 1:1:1 ratio. Mix well.
Move the rubber band up on the jar marking the dough level. Place a lid lightly on top. Cover with a towel. Set aside until tomorrow! You may notice small bubbles forming.
Day 3 Second Feeding
- 1/4 cup or 55g All-Purpose Flour
- 1/4 cup or 55g Warm Filtered Water
Mix equal parts all-purpose flour and warm filtered water (1:1:1) into the batter. Mix well.
Move the rubber band up on the jar marking the dough level. Place a lid lightly on top. Cover with a towel. Set aside until tomorrow!
Day 4 – Feeding & Glass Jar Upgrade
- 1/4 cup or 55g All-Purpose Flour
- 1/4 cup or 55g Warm Filtered Water
- Larger Glass Jar
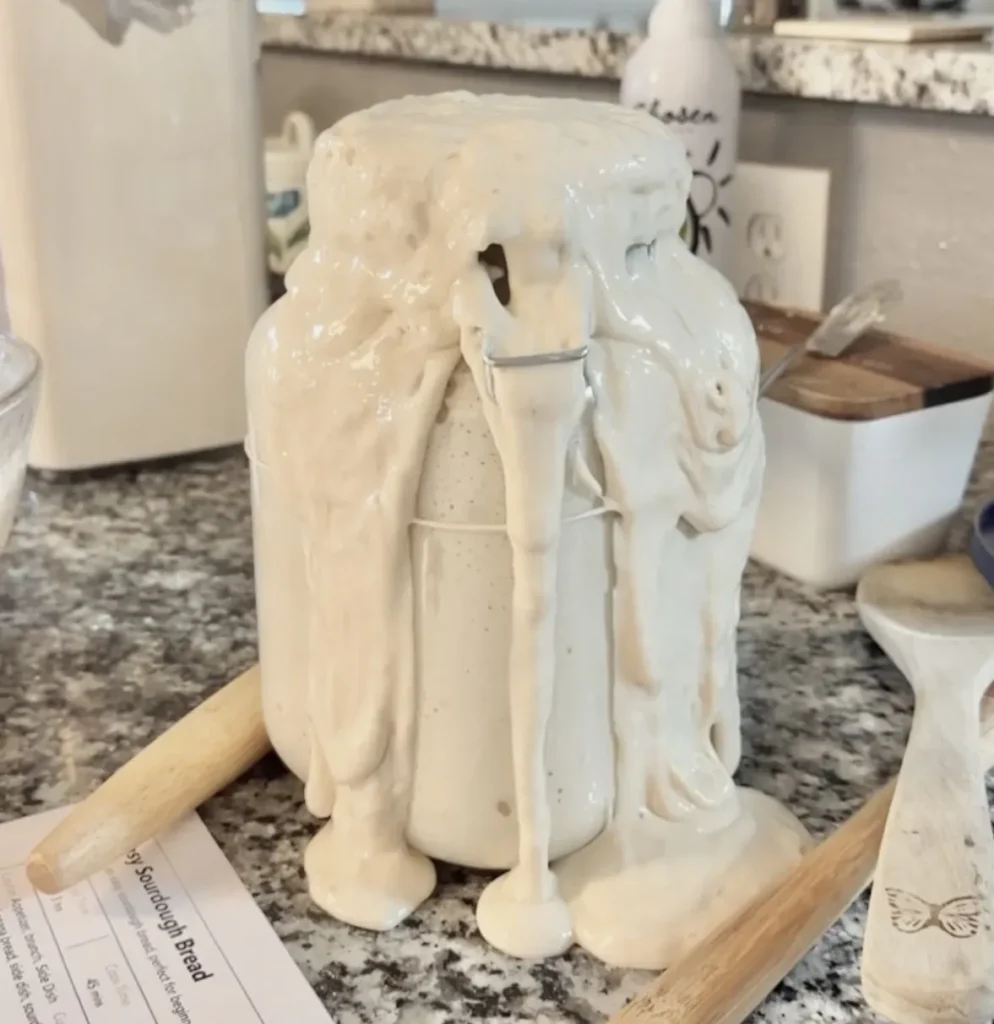
Time to upgrade the jar! Continue feeding the starter with all-purpose flour and water daily, maintaining the 1:1:1 ratio. Mix well. Then transfer the starter into the larger jar.
Move the rubber band up on the jar marking the dough level. Place a lid lightly on top. Cover with a towel. Set aside until Observe the consistency, looking for bubbles, a rise in volume, and a tangy aroma.
Day 5 – Observation and Adjustments
- 1/4 cup or 55g All-Purpose Flour
- 1/4 cup or 55g Warm Filtered Water
On Day 5, your sourdough starter may exhibit more robust activity. Continue with the 1:1:1 feeding ratio using all-purpose flour and water. If your starter is consistently doubling in volume within 4-8 hours after feeding, it’s a positive sign. However, if it’s not as active, consider adjusting the feeding ratio to 1:2:2 (starter:flour:water) to provide more food for the yeast.
Day 6 – Fine-Tuning
- 1 cup All-Purpose Flour
- 1 cup Warm Filtered Water
By Day 6, your sourdough starter should be showing increased vigor. Today we are increasing our flour and water to 1 cup flour and 1 cup of warm filtered water. Stick with the 1:1:1 feeding ratio unless you adjusted it on Day 5. Evaluate the consistency of your starter – it should be thick, creamy, and full of bubbles. If it’s not quite there yet, don’t worry; sourdough starters can develop at different rates.
Continue to be patient and maintain your daily feeding routine. If your starter is doubling in volume within a reasonable time frame and has a pleasant sour aroma, it’s on the right path. If you notice any off-putting odors or unusual discoloration, it might be an indication of a problem. In such cases, you may need to make adjustments, such as changing the feeding ratio, increasing or decreasing the temperature, or even switching to a different type of flour.
Day 7 – Maturity
- 1 cup All-Purpose Flour
- 1 cup Warm Filtered Water
By day 7, your sourdough starter should be mature, showing consistent activity and a pleasant sour smell.If it is doubling in size after about 4 hours of feeding it’s now ready for baking. If not no big deal just continue to feed each day until its ready.
I didn’t start baking with mine until day 10. Each climate is different. As you go you will start to learn the behaviors of your sourdough!
Maintenance
Once your starter is established, you can shift to a maintenance routine. Store it in the refrigerator and feed it once a week or before using it in a recipe. If you want to bake, take it out a day before and feed it twice before using.
Tips:
- Use non-chlorinated water, as chlorine can inhibit the growth of wild yeast.
- Be patient; sourdough starters may take longer to mature in cooler environments.
- Maintain a consistent feeding schedule for a stable and active starter.
- Experiment with different flours for unique flavor profiles.
Creating a sourdough starter without discarding is a simple and sustainable process that yields fantastic results. Enjoy the journey of nurturing your own wild yeast culture and using it to bake delicious, homemade sourdough bread.
Happy baking!

Related posts:

Kristin McConnell
Hi!! I’m Kristin, the heart behind Live Simply with Kristin. As newly empty-nest empty nesters, Ryan and I sold it all and live full-time in our cozy camper—trading big house stress for simple joys, freedom, and adventures together. Here, I share wholesome recipes that fit tiny spaces, fitness tips to stay strong on the go, small-space living hacks, and the beauty of intentional, less-is-more living. Grateful you're along for the ride—let's keep it simple and joyful! 🩷 ✝️